Return Mode
To return products and thus create a return receipt, you can switch to return mode in the primasello register. To do this, press the ‘Return’ button and the register will switch to return mode. The current mode is displayed in the shopping cart in the bottom line (the mode line).
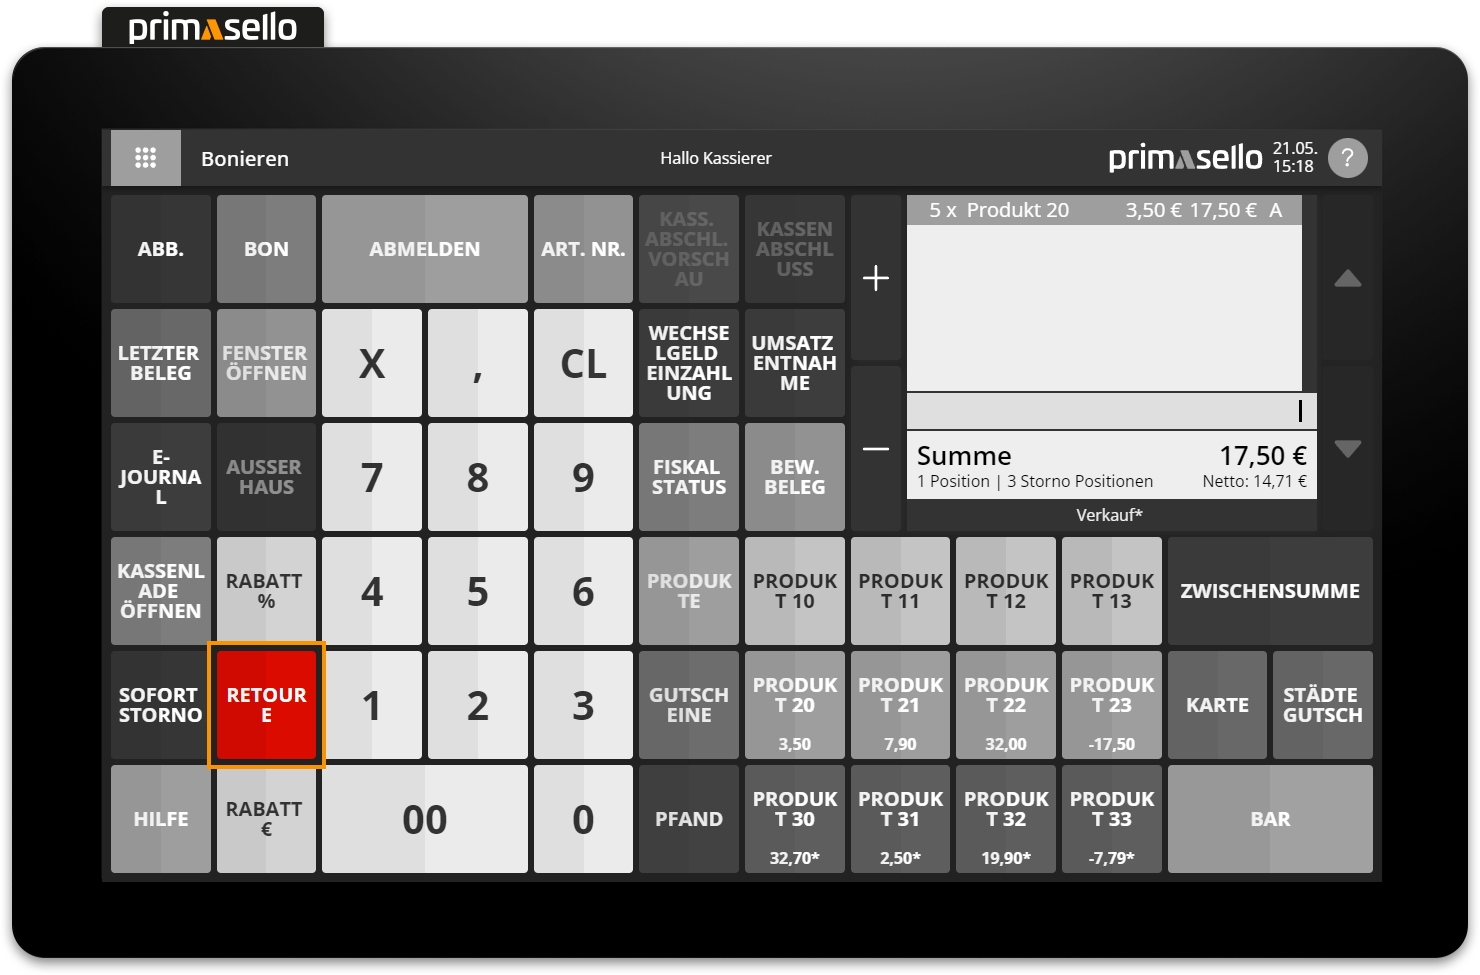
Add return
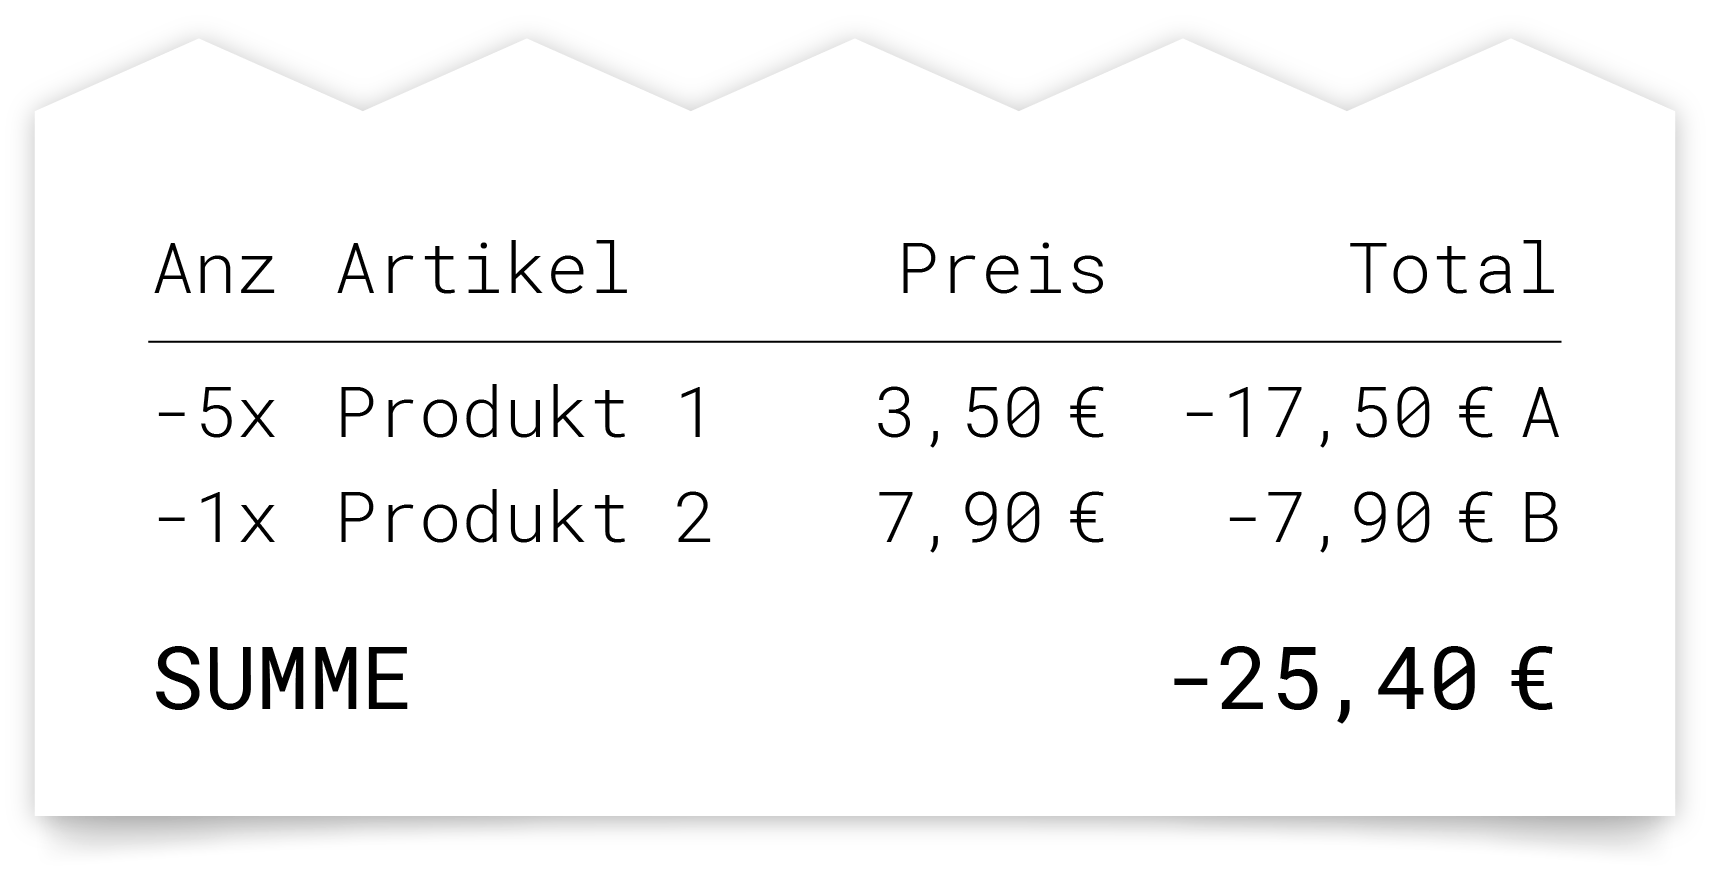
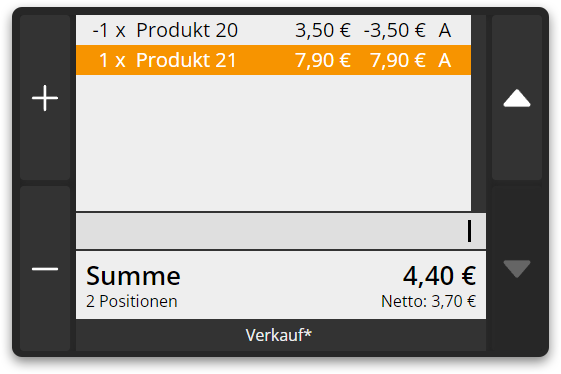
In 'Return’ mode, the returned products can be registered using the usual operating procedure. The register automatically registers a negative quantity for the entered products and creates a return receipt when the receipt is closed.
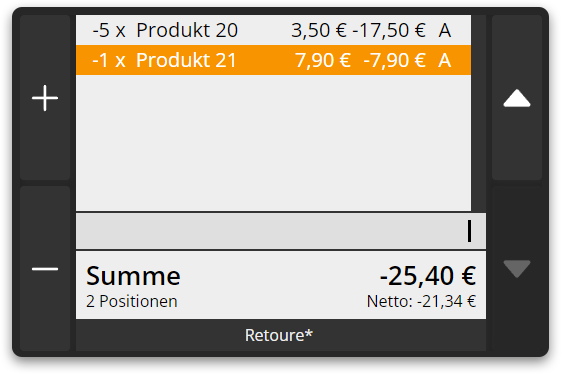
Example: Button input and input field


5x 350 |
|Example: Item and receipt
Add items
How to add products to the item list is explained in the chapter Items.
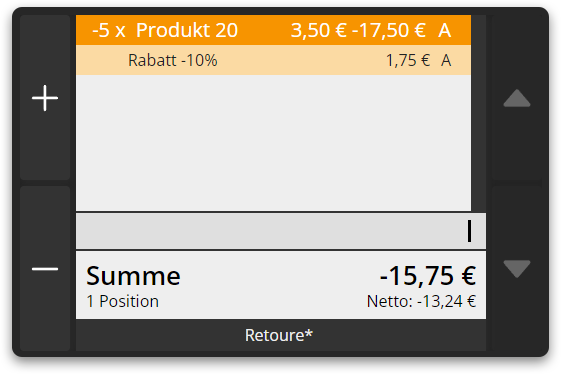
Discounts in return mode
To process returns of discounted products, discounts can also be registered as usual in return mode. The register automatically converts the negative amount of a discount into a positive amount, which is added to the negative total of the receipt.
Example: Button input and input field
5x 350 |
10 |Example: Item and receipt
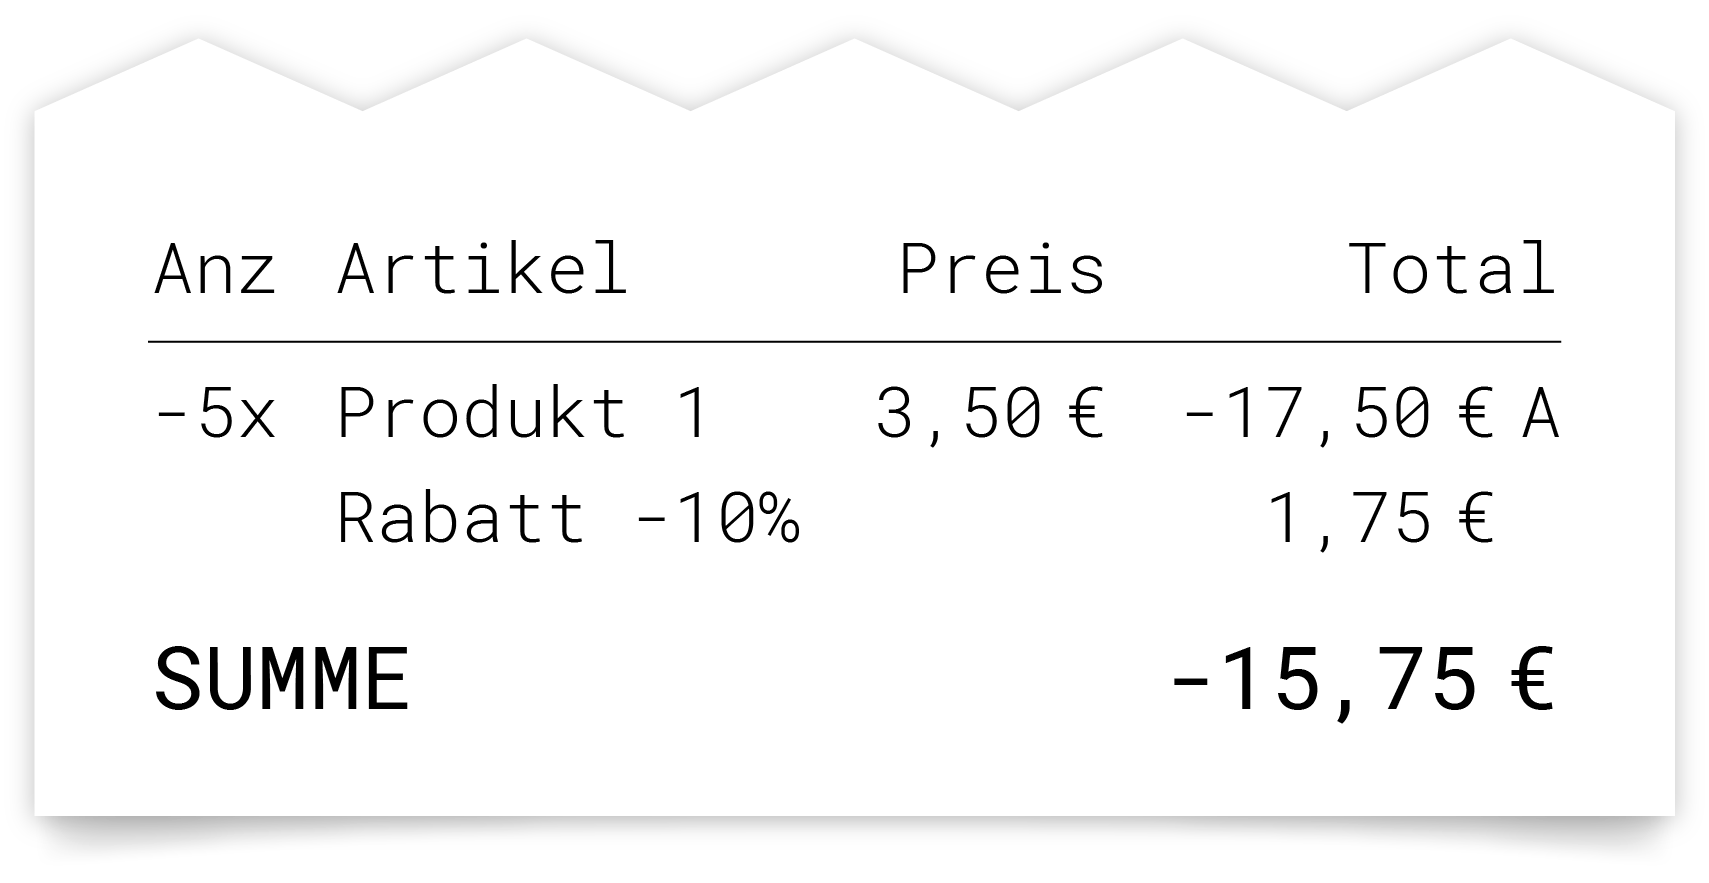
Add discounts
How to register discounts is explained in the chapter Discounts.
Exit return mode
When you press the ‘Return’ button to switch to 'Return' mode, the button changes appearance. It now displays a back arrow and the text ‘Sale’. Pressing the ‘Return’ button again (or now the ‘Sale’ button) switches the register back to ‘Sale’ mode. The products registered as returns remain in the shopping cart and nothing changes on the receipt.

Register returns and sales together
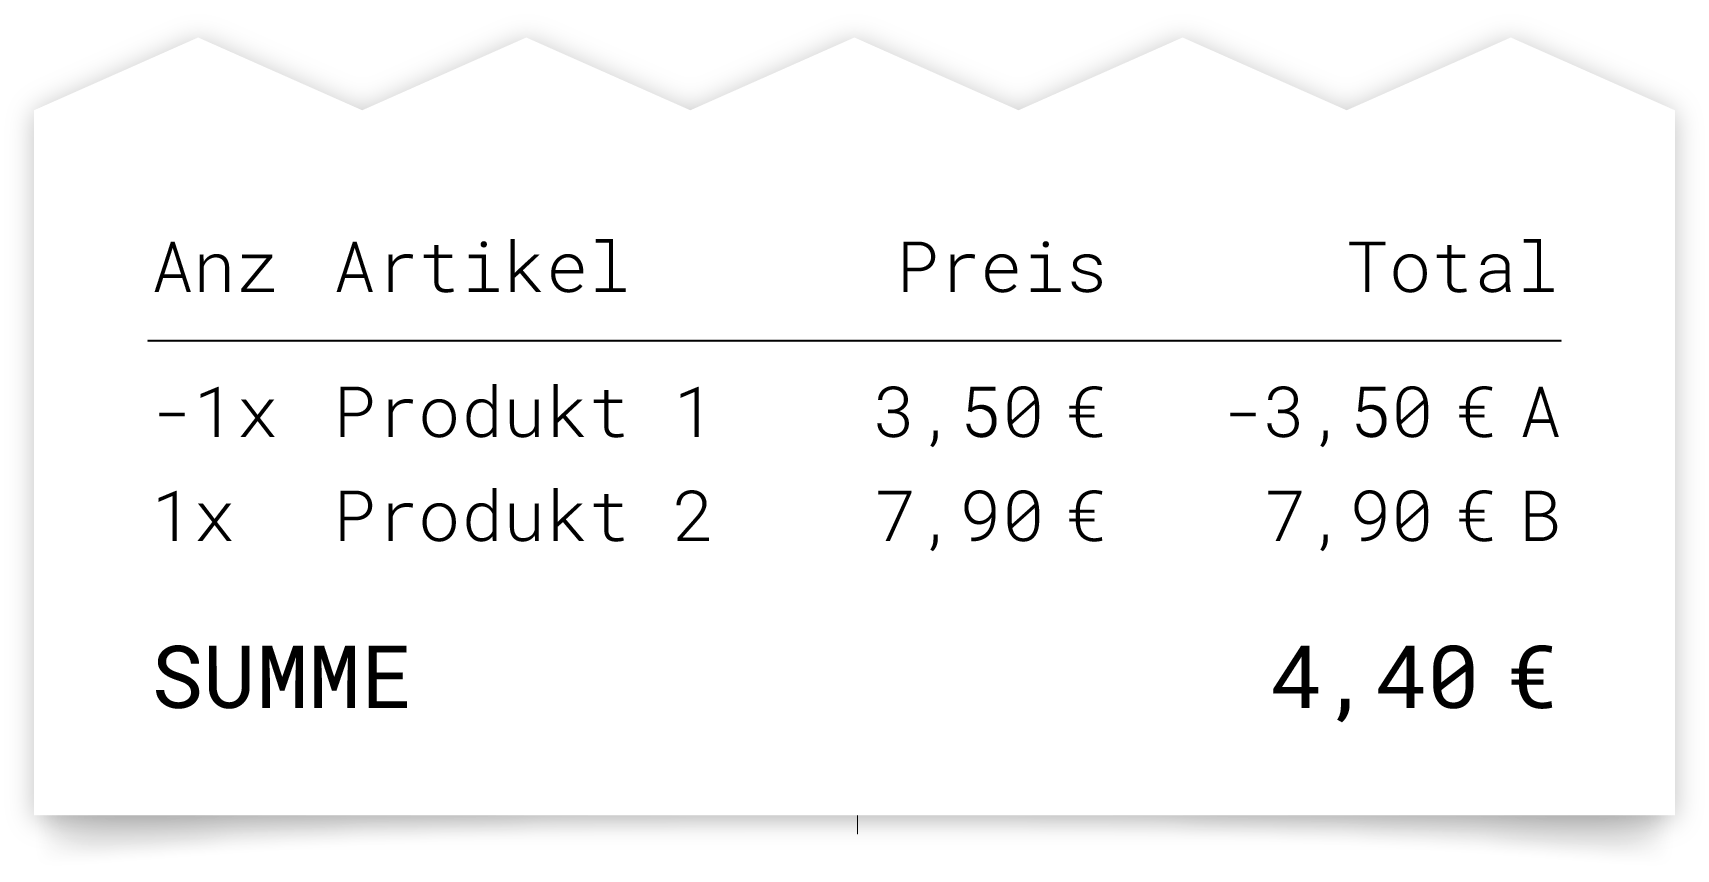
It is possible to register both returns and sales items on the same receipt. To do this, you can simply switch between modes in the billing process.
Example: Button input and input field
350 |
|Example: Item and receipt
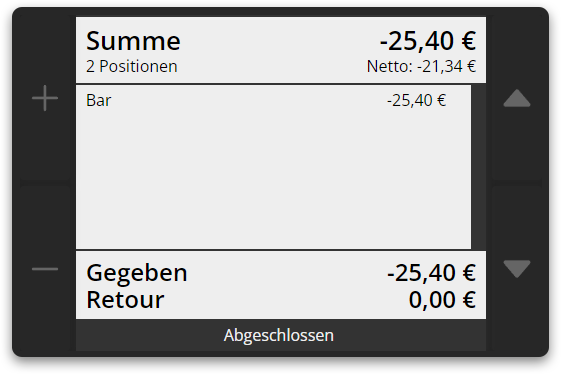
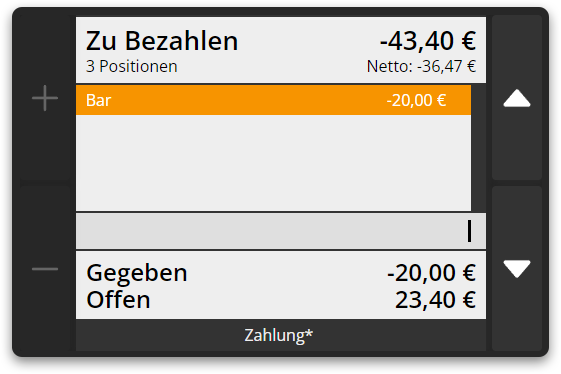
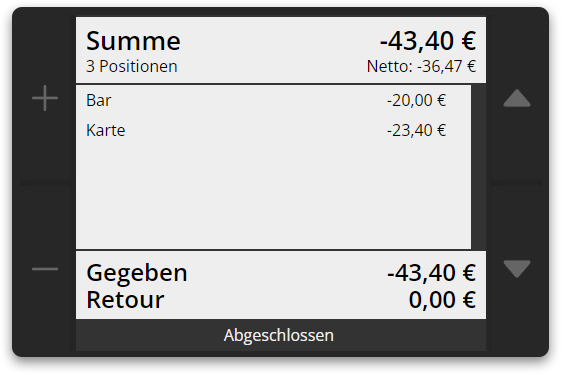
Create return with partial payments
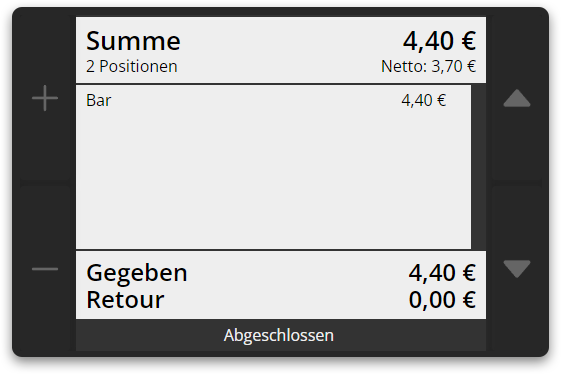
If a return receipt is to be refunded with different partial payments, these can be created in the same way as in 'Sale' mode. The primasello cash register automatically creates negative amounts from the partial payment amounts entered.
Create partial payments
How to close an invoice with multiple payment methods is described in the chapter Closing Invoices.
Correct input
Each input can be deleted from the input field using the ‘CL’ button.
Delete items
How to delete items is described in the chapter Remove Line.
Error messages
Various error messages may appear when adding items.
Fehlermeldung | Bedeutung | Lösung |
|---|---|---|
No items available. | A receipt can only be created once items have been added to the shopping cart. | First add products to your shopping cart and then repeat the input. To open the cash drawer without making a sale, press the ‘Open cash drawer’ button. |
Total amount too high for current receipt. Do not enter any amount when paying by card. | The total amount of the payment methods is greater than the invoice amount and the payment method is not cash. No change can be calculated for payment methods other than cash, so the amount of the payment method has to be lower. | Enter a lower amount for the partial payment or no amount if the remainder is to be paid using the payment method. |