Shopping Cart
The shopping cart is the display area for all registered items and is located on the register interface. It consists of an item list, an input line, a total line, a mode bar, and function buttons on both sides.
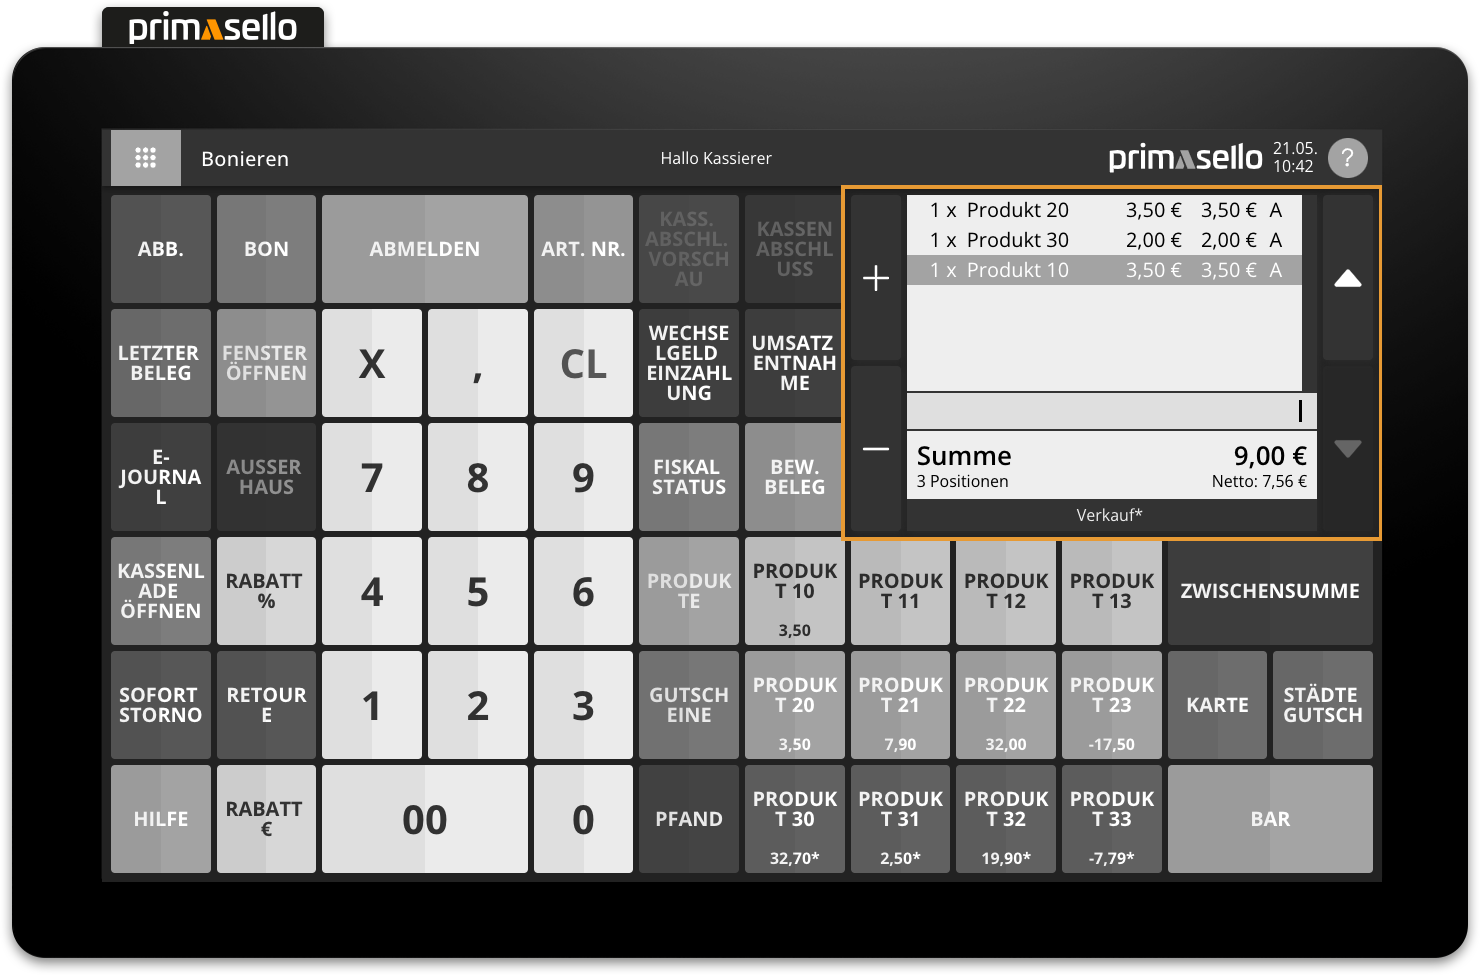
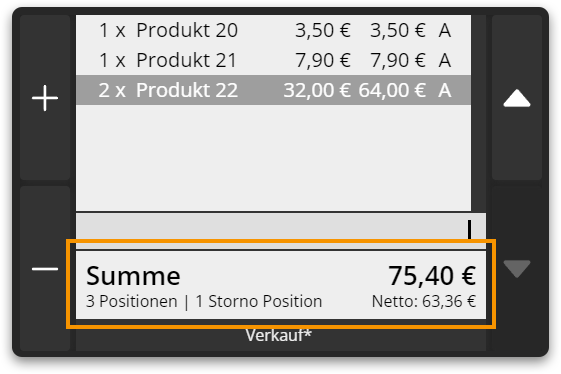
List of positions
Each item added to the shopping cart is displayed in this list. Each line contains (from left to right):
For products: the quantity of the item, the product name, the unit price, the total price and the tax rate identifier
For discounts: the description, the percentage and the amount
For subtotals: the description and the total
For partial payments: the payment method and the amount
The information displayed for an item is also shown on the customer display. The currently selected item is highlighted in orange – further functions can be performed for this item (e.g. change quantity, give discount, cancel).

Input field
The current entries are displayed in the input field. When you select the digits on the numeric keyboard, they are displayed in the input field in the order in which they were pressed. Quantity entries are saved after pressing the ‘X’ key (multiplier) on the left side of the input field.

Correct input
Any input in the input field can be deleted by pressing the ‘CL’ button on the numeric keyboard. This clears the entire input field (including quantity memory and repeat input) and the input can be repeated.
Example: Button input and input field
5x 350 |
|Total line
The total amount (‘Total’) of the receipt is displayed in the total line. Below this is the number of all registered items on the receipt (including cancellation items) and the net total.
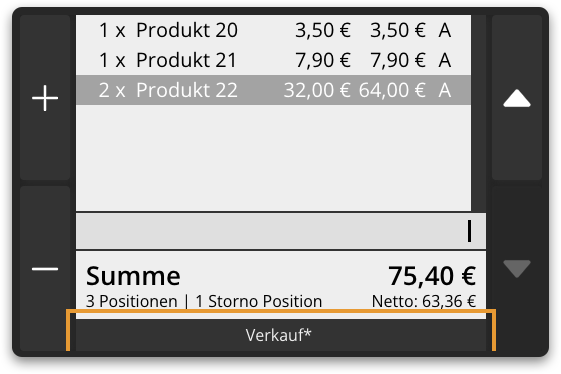
Mode bar
The mode bar displays the current status of the receipt. The text ‘HospR’ appears on the left-hand side if the 'Hospitality receipt' function is activated for printing the current invoice. The current mode of the register is displayed in the middle. Depending on the selection, 'Dine-in' or 'Takeaway' is displayed on the right-hand side of the line if the ‘Dine-in/Takeaway’ function is activated.
The individual functions and how they can be activated or switched are described in more detail in the following chapters.
Function buttons
Next to the shopping cart are two groups of function buttons. These can be used to select individual items in the list and increase or decrease their quantity.
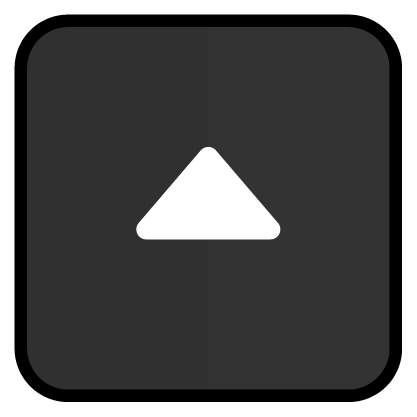
Arrow buttons
The arrow keys are located on the right-hand side of the shopping cart. These can be used to move back and forth between items in order to select the desired item. The selected item will be highlighted in orange.

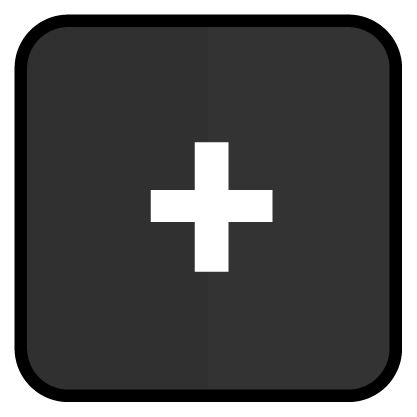
Plus and minus buttons
There is a plus and a minus button on the left-hand side. These can be used to change the quantity of the selected item. When entering quantities with decimal places (e.g. 1.3x product 1), the quantity is rounded up or down to the next integer when increasing or decreasing.
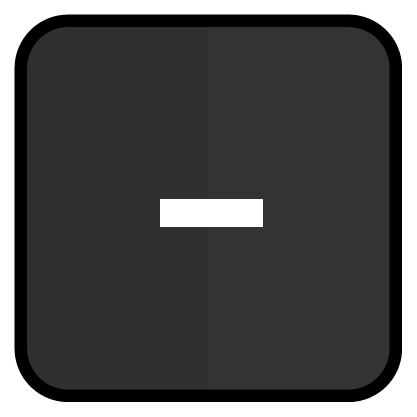
Minimum input
The quantity of an item cannot be reduced to 0x in sales mode. To remove the item, the remove line function has to be used.