User
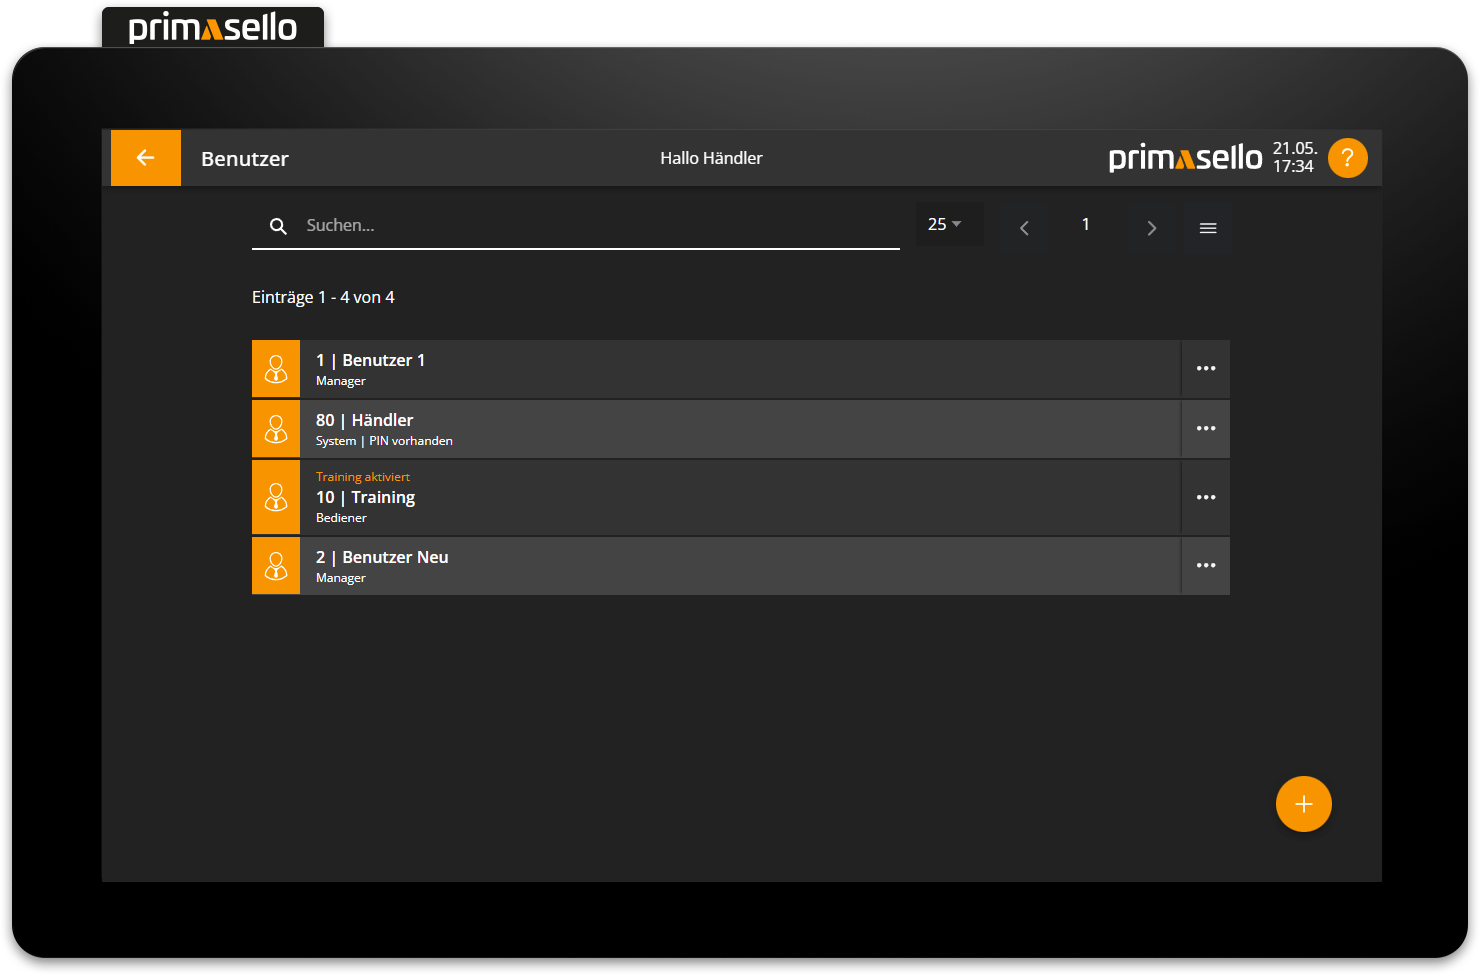
This chapter describes how to create new users and edit existing ones. Users can be accessed in the main menu in the ‘Master data’ section via the ‘Users’ button.

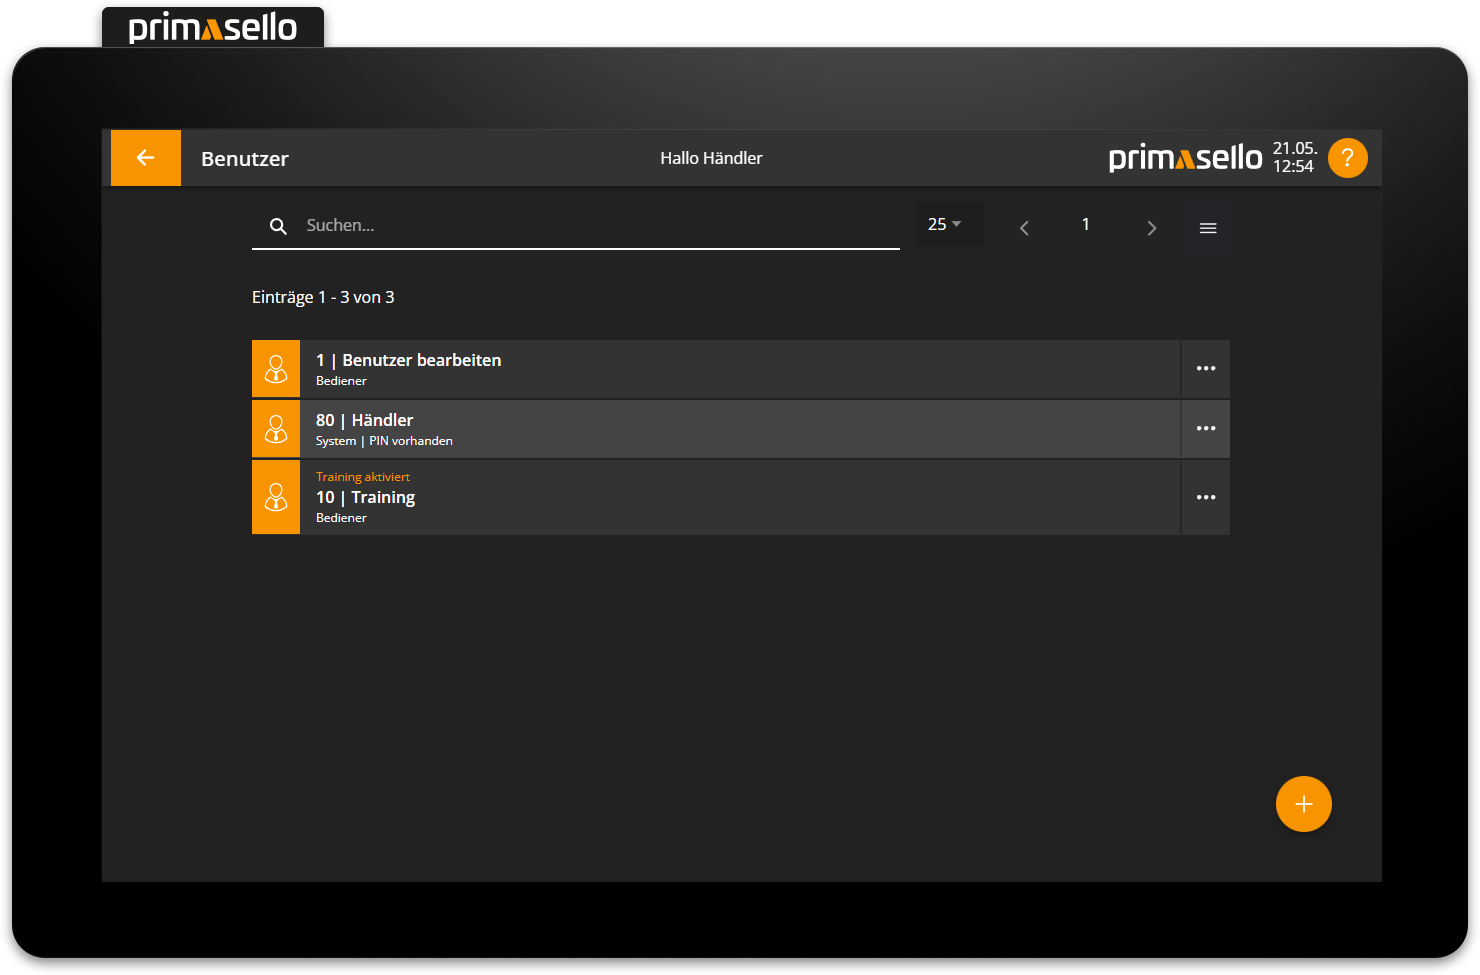
There are several standard users that are automatically created by the system:
User 1 - User number: 01 (Admin)
Training - User number 10 (Training)
Technician - User number 80 (technician access)

A total of up to 98 users can be created.
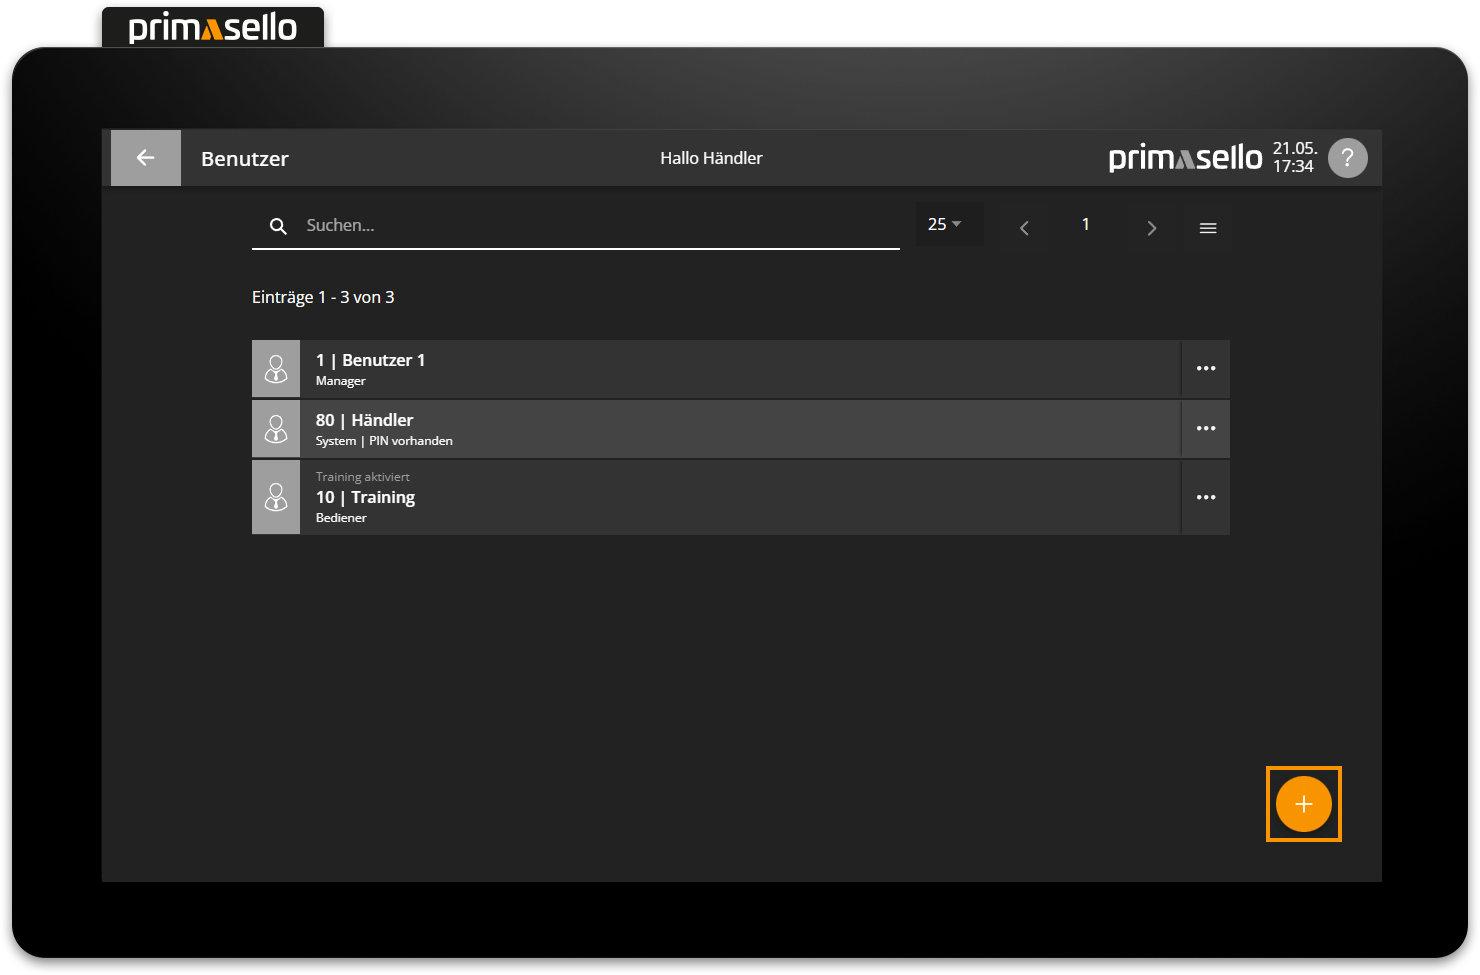
Create new user
In the user list view, you can press the orange ‘plus’ button at the bottom right of the screen to create a new user.
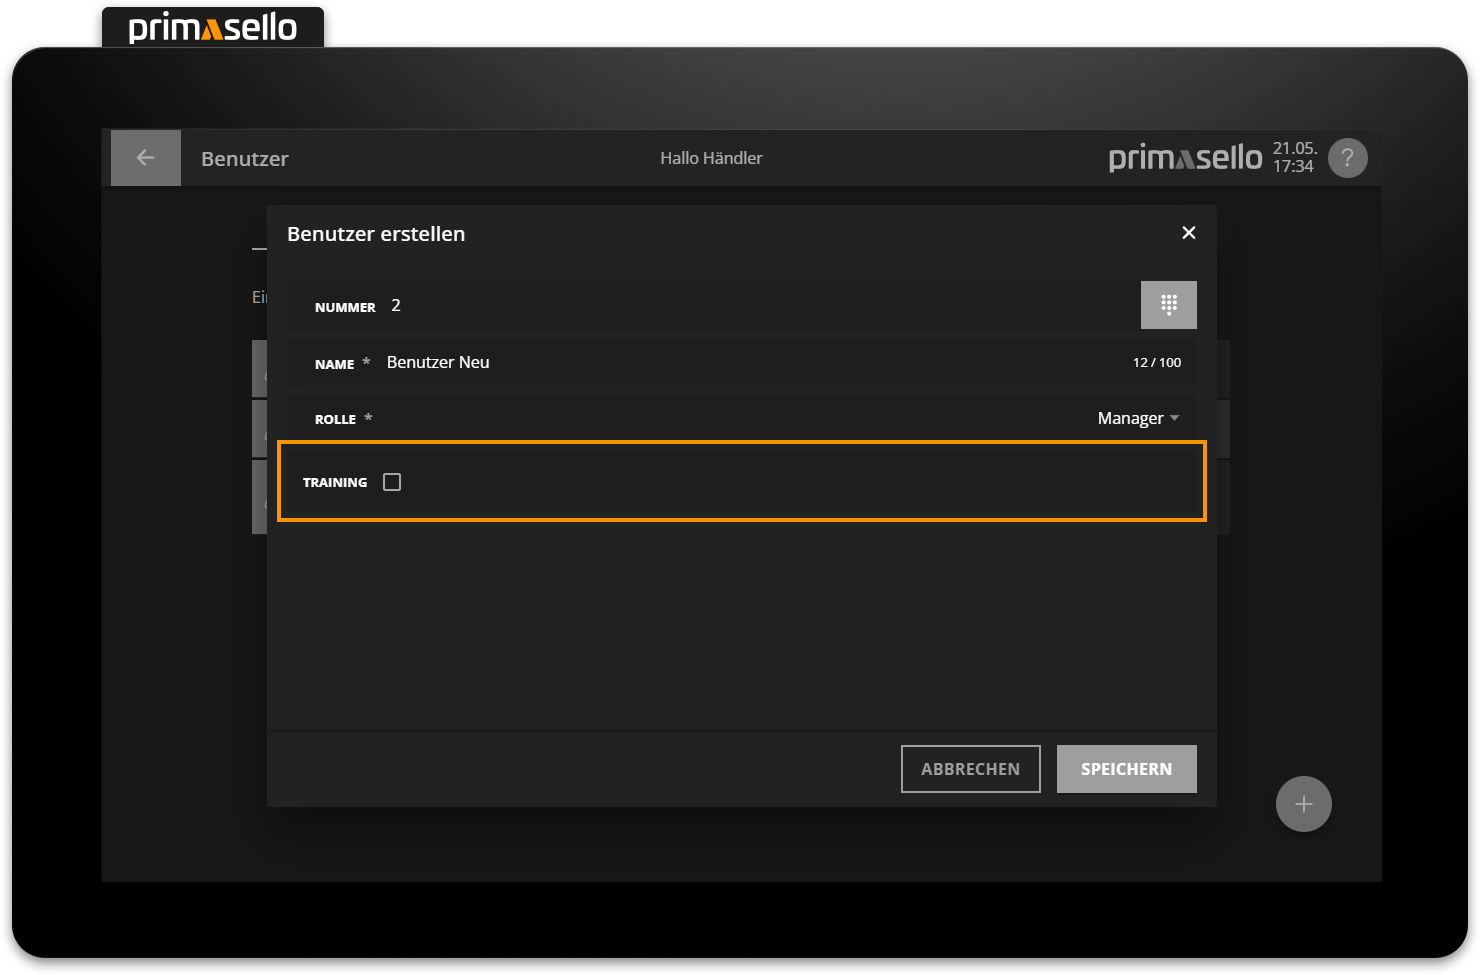
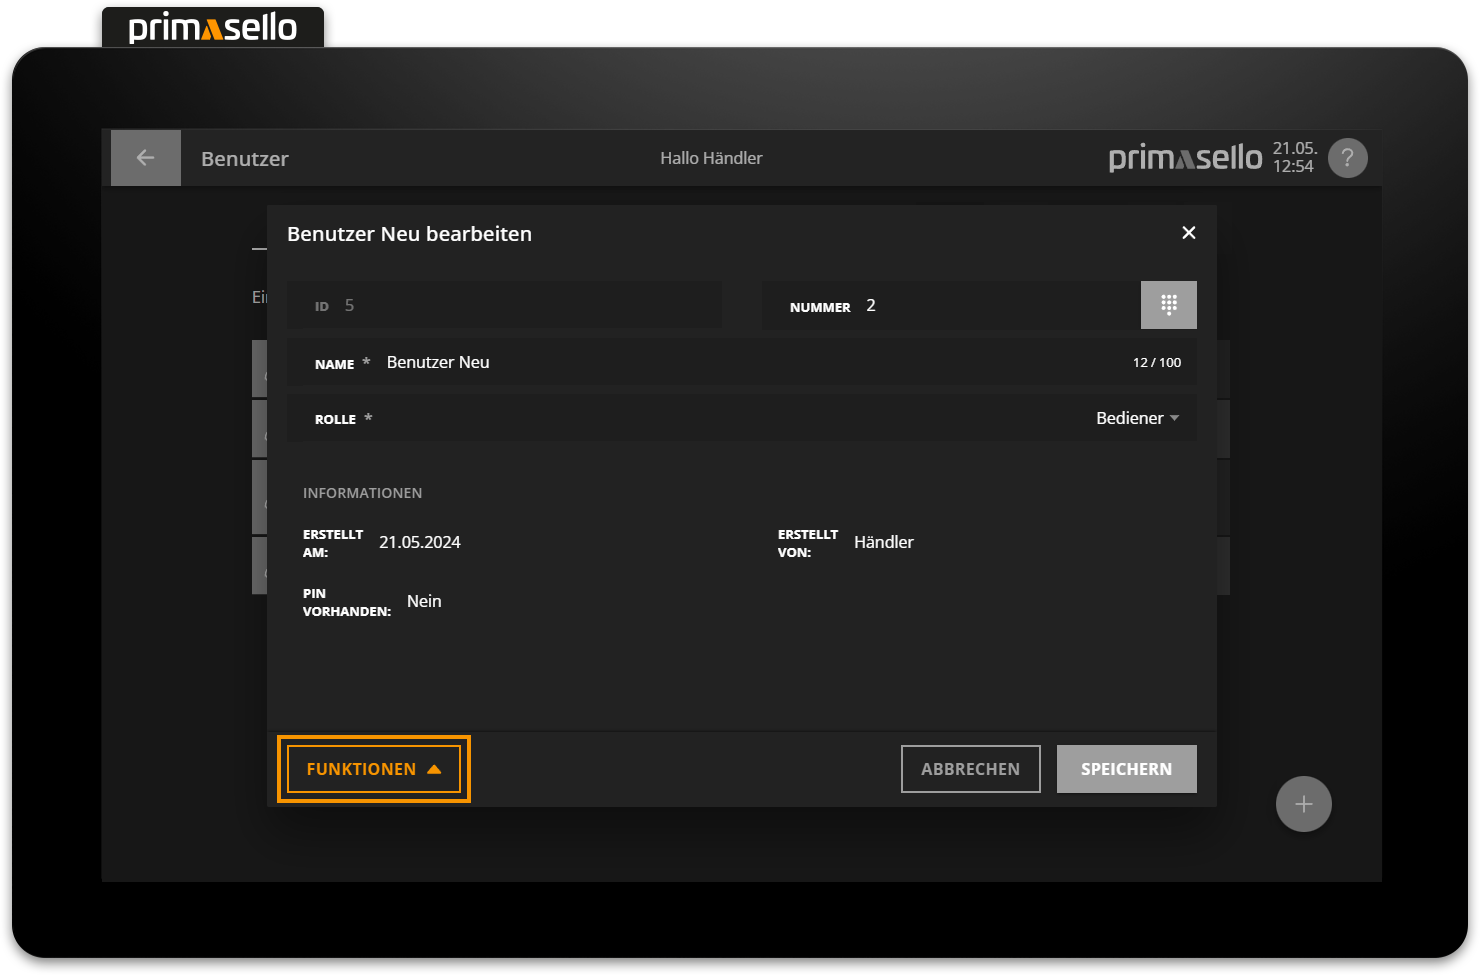
A separate window opens with information about the new user. All fields are automatically pre-filled and can be edited by clicking on them.
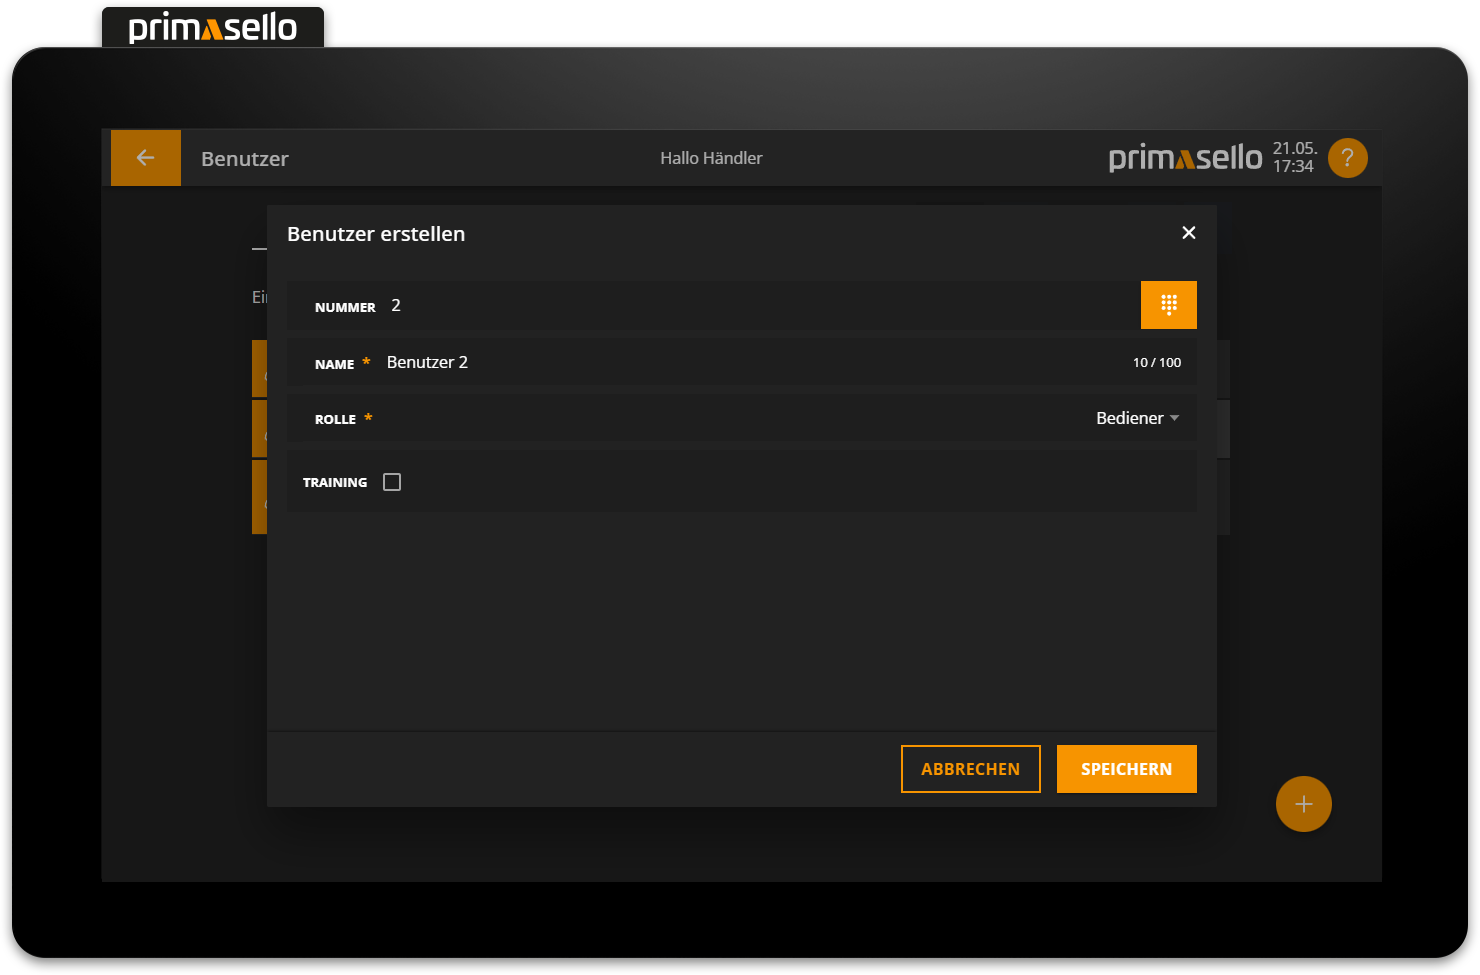
The user is assigned the next highest number that has not yet been used. However, this can be changed to any two-digit number at any time. By clicking on the name field, the user can be given a name, which is then displayed at the top of the status bar when logging in.

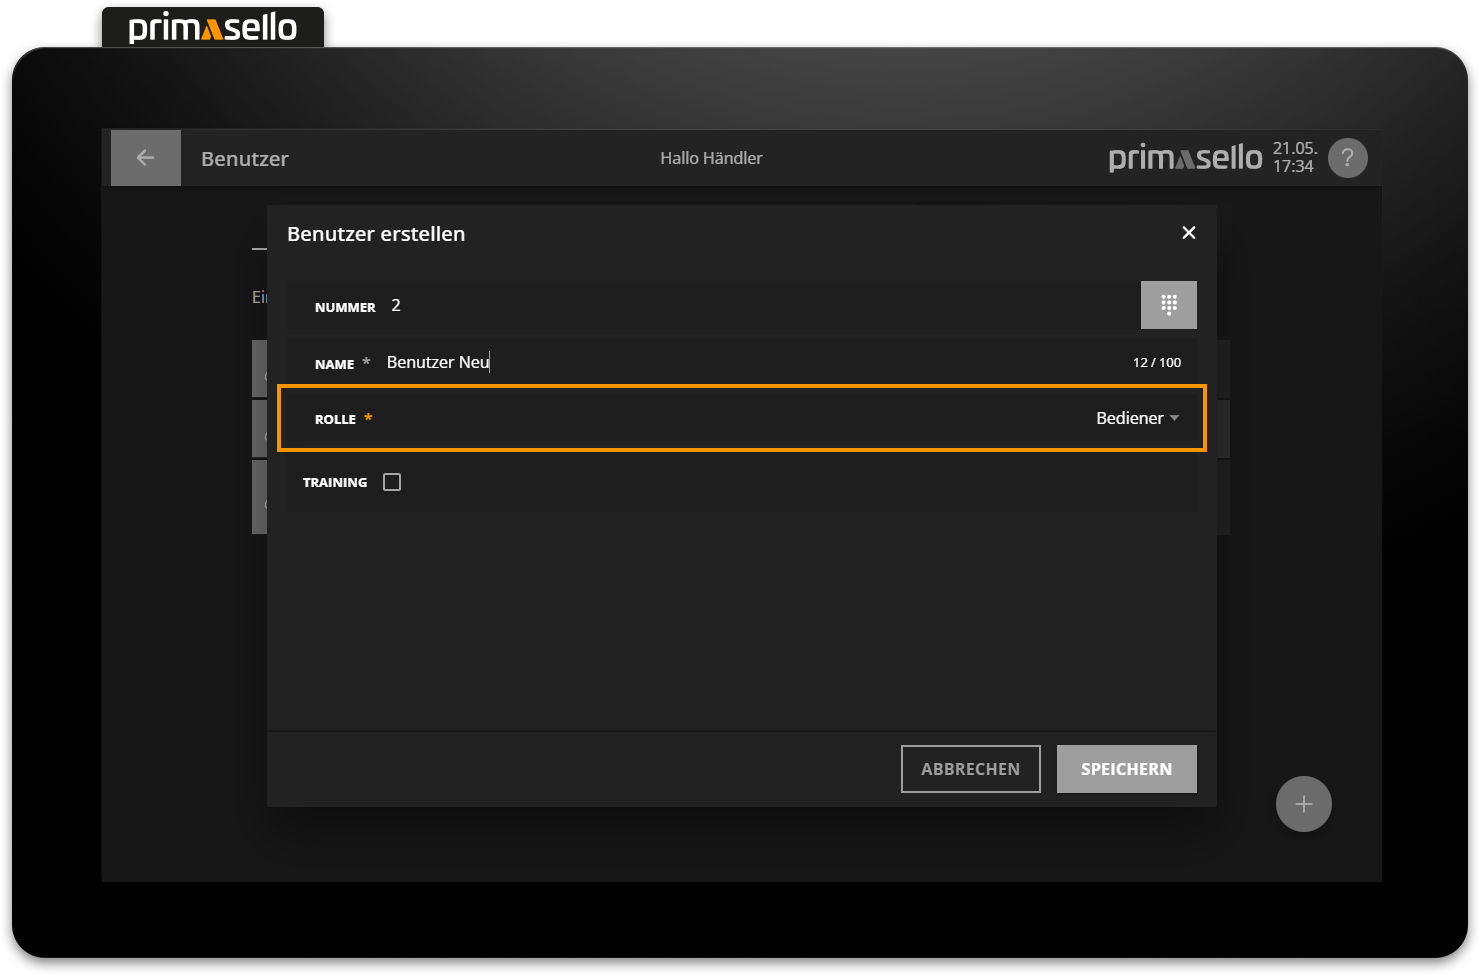
Each user is assigned a role. The role and its permissions control which functions the user can perform in the register.
Permissions
How to set permissions for roles is described in the chapter User Roles.
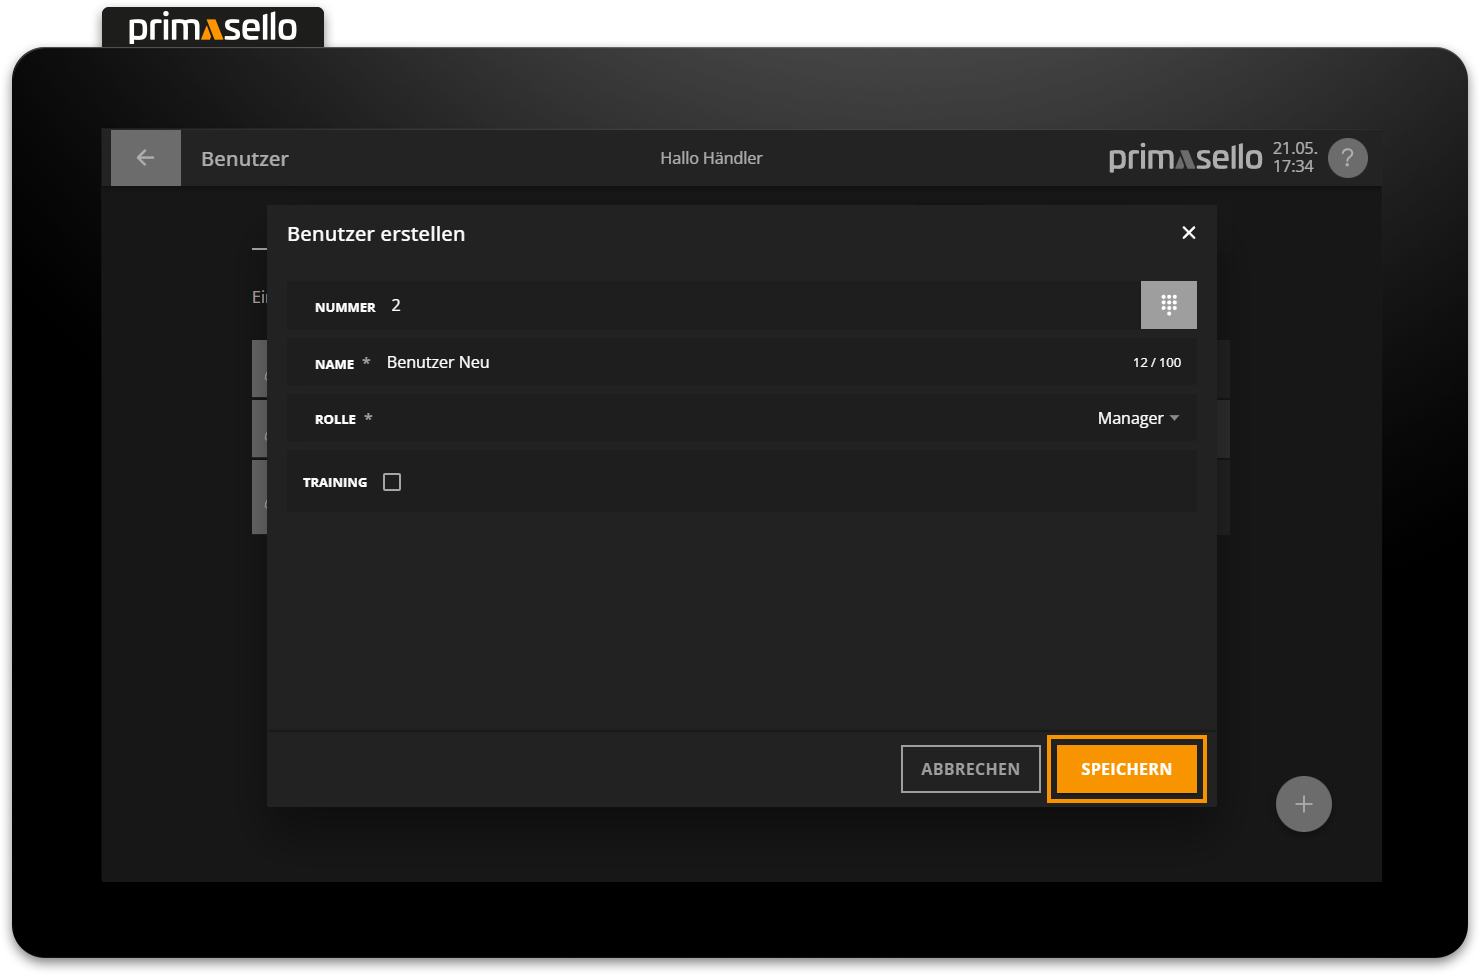
Pressing the orange ‘Save’ button in the lower right corner creates the new user and closes the window. Creating a new user can be cancelled by pressing the “Cancel” button or by pressing the ‘x’ button in the upper right corner – all settings will be lost.
Training user
If a new training user is to be created, the checkbox next to ‘Training’ has to be selected before the user is saved. This setting cannot be undone!
Training user
More information about training user can be found in the chapter Training User.
Edit user
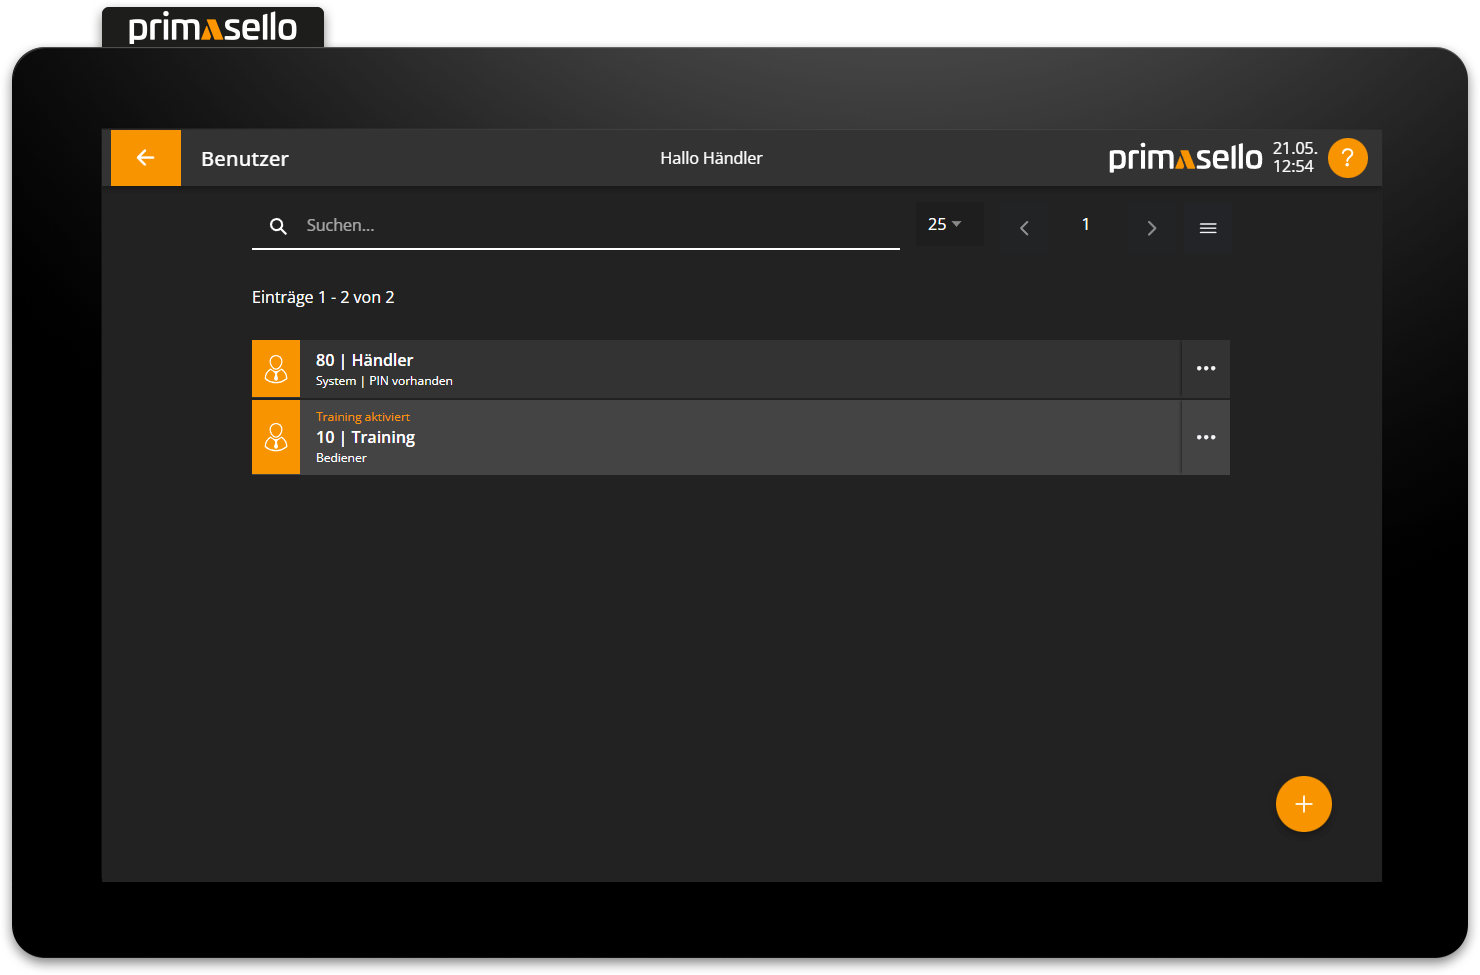
To edit an existing user, you can tap on the respective entry in the list or alternatively tap on the button with the three dots at the end of the line.
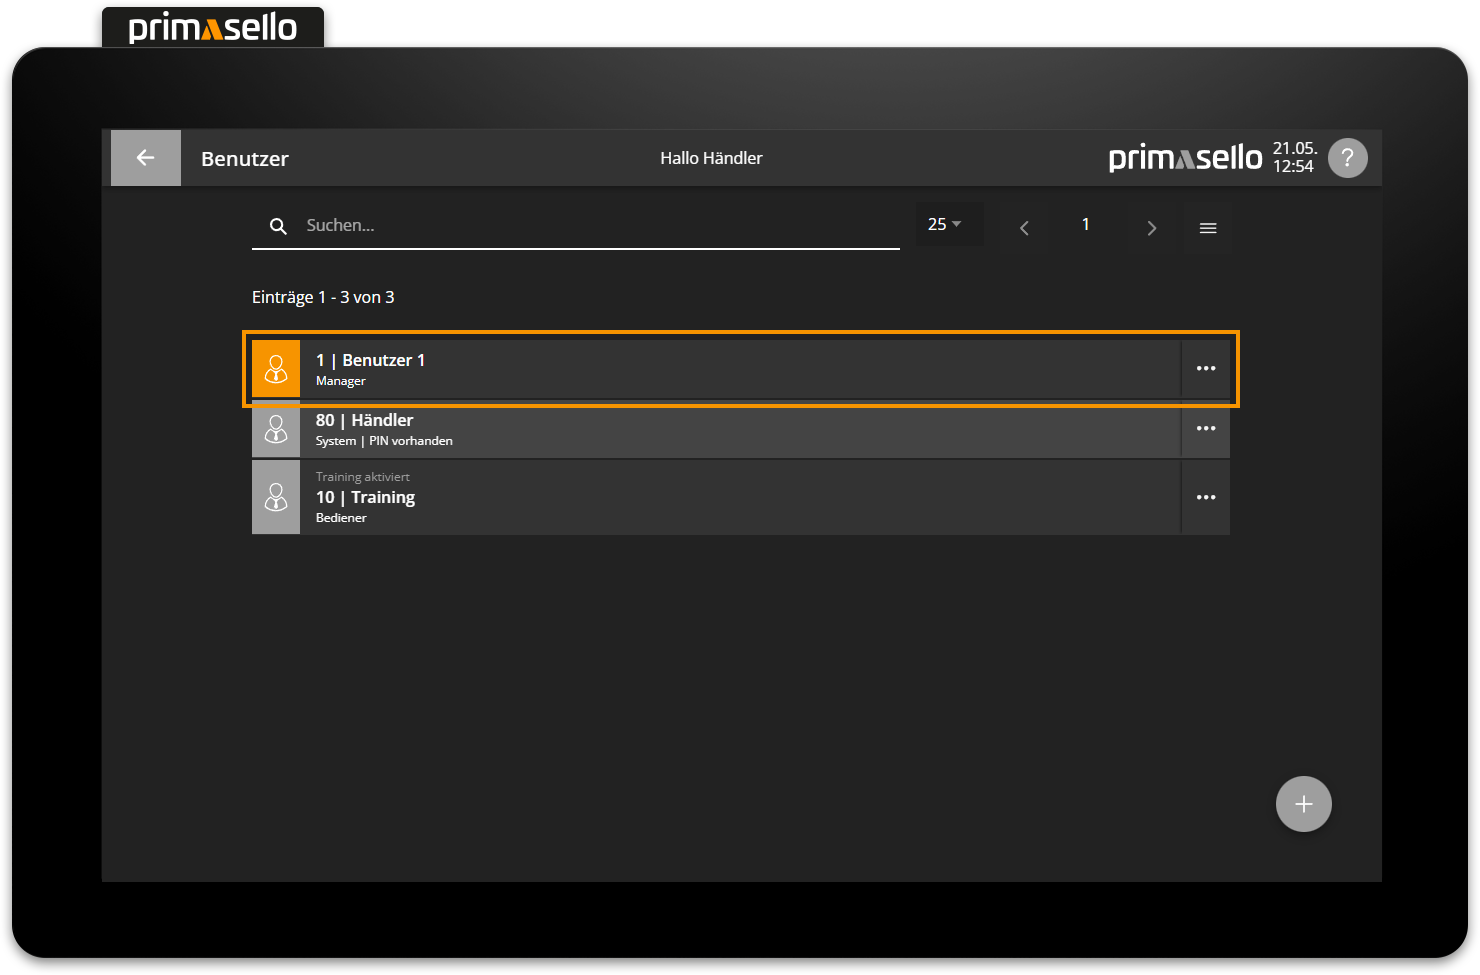
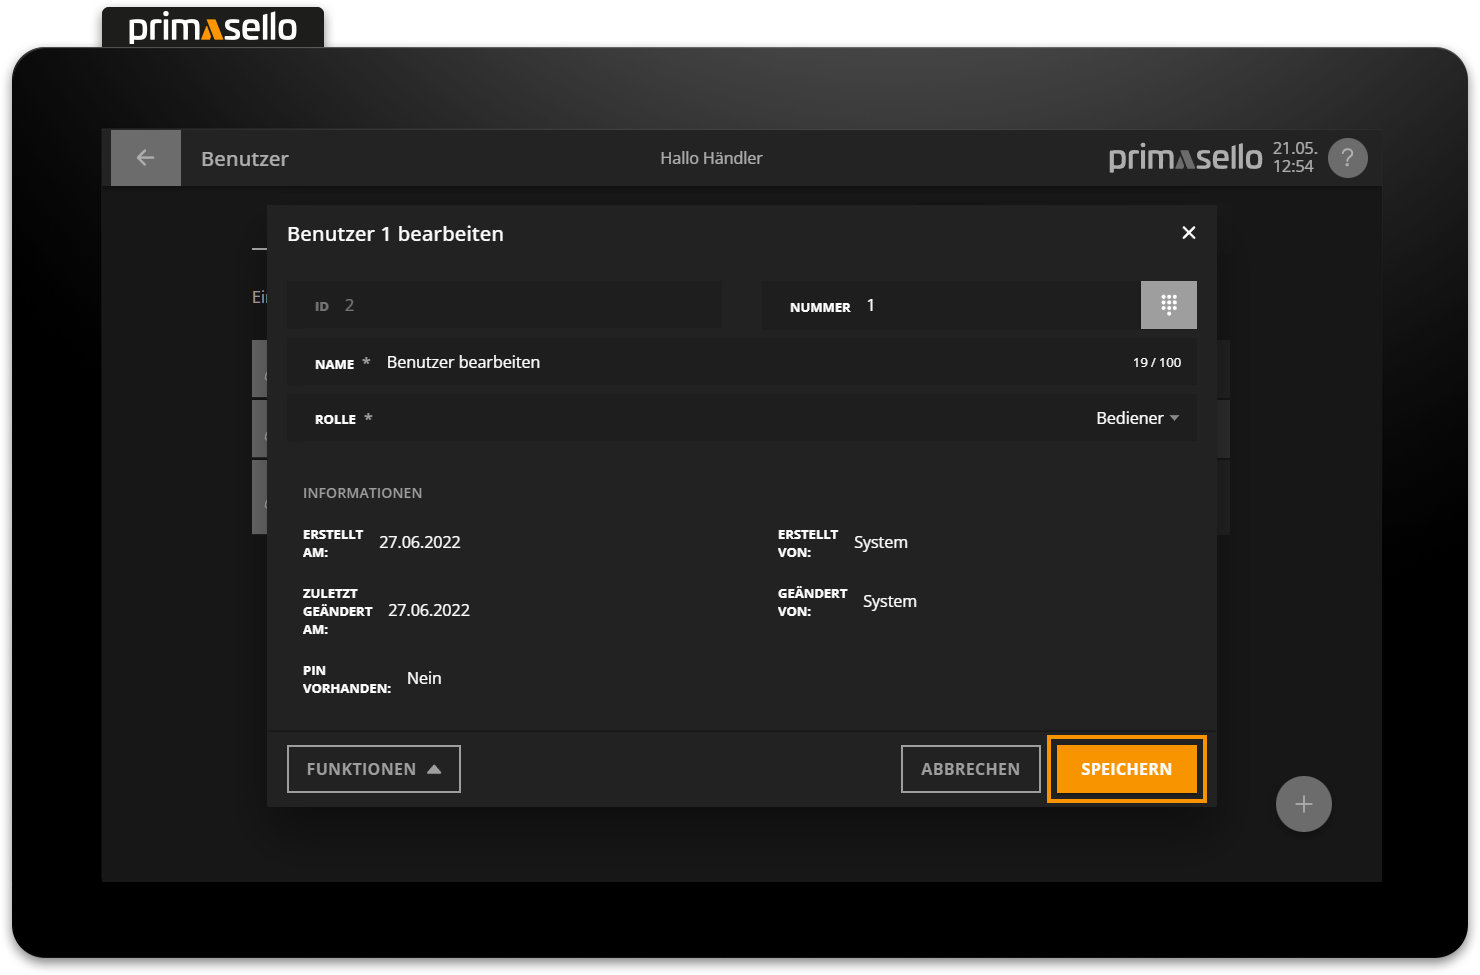
A separate window opens with information about the selected user. You can edit this information by clicking on one of the fields.
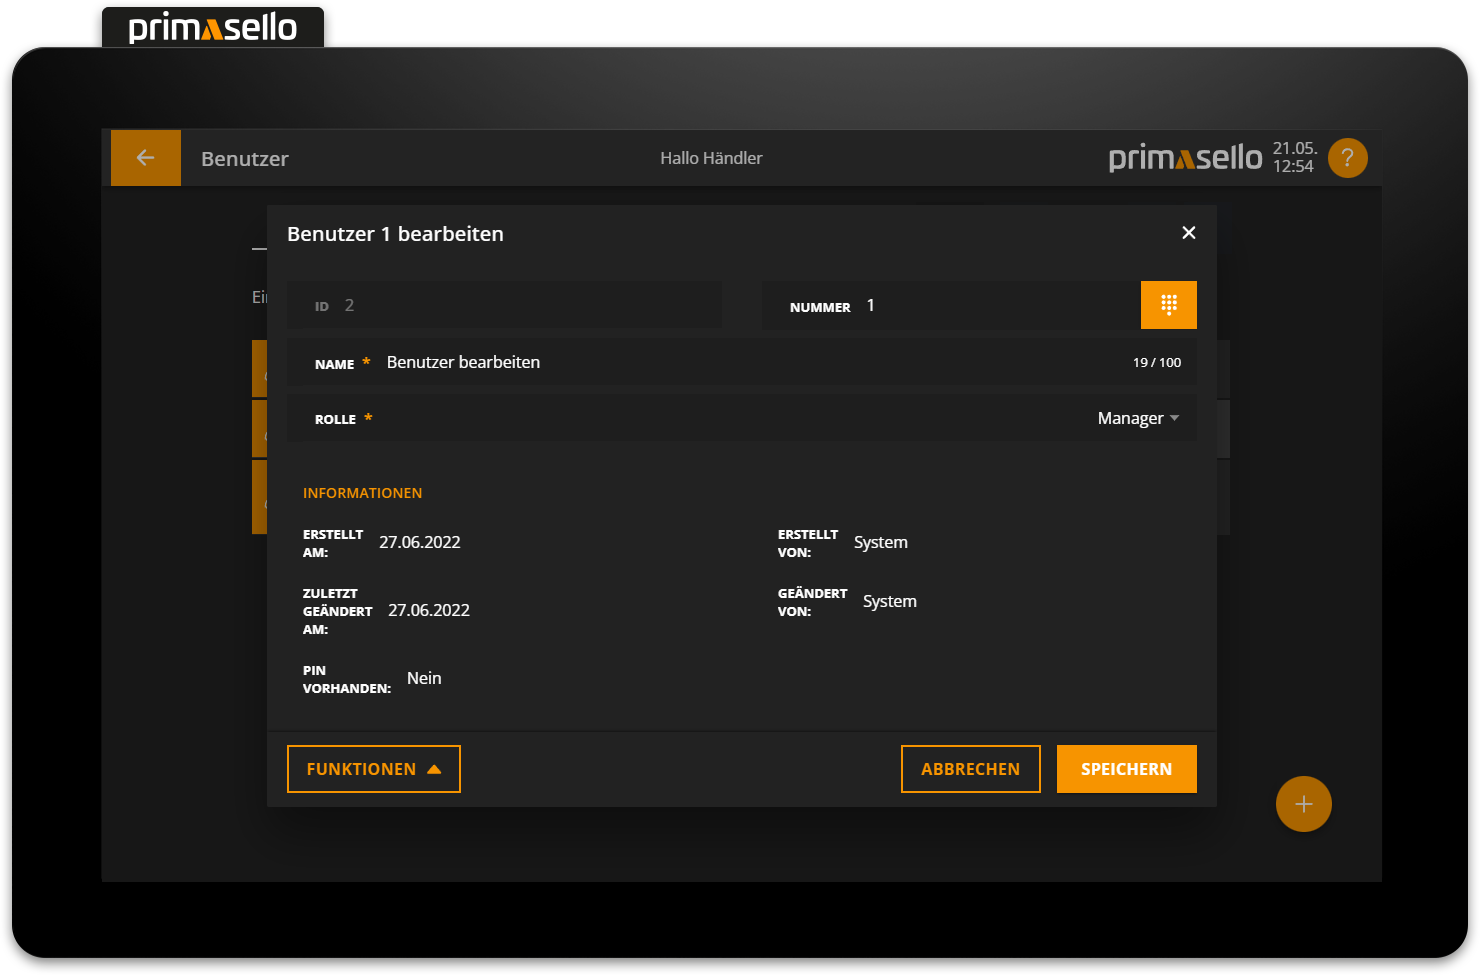
Pressing the orange ‘Save’ button in the lower right corner applies the changes to the user and closes the window. Editing a user can be cancelled by pressing the 'Cancel' button or by pressing the ‘x’ button in the upper right corner - all changes will be lost.
Own user
For security reasons, a logged-in user can never edit themselves.
PIN for user
Each user can be assigned a PIN that the user has to enter when logging in. The PIN can be changed at any time, even by the user themselves. ('Change PIN' button)
PINs can only be added to users who are already saved and cannot be configured when creating a new user.
Create PIN
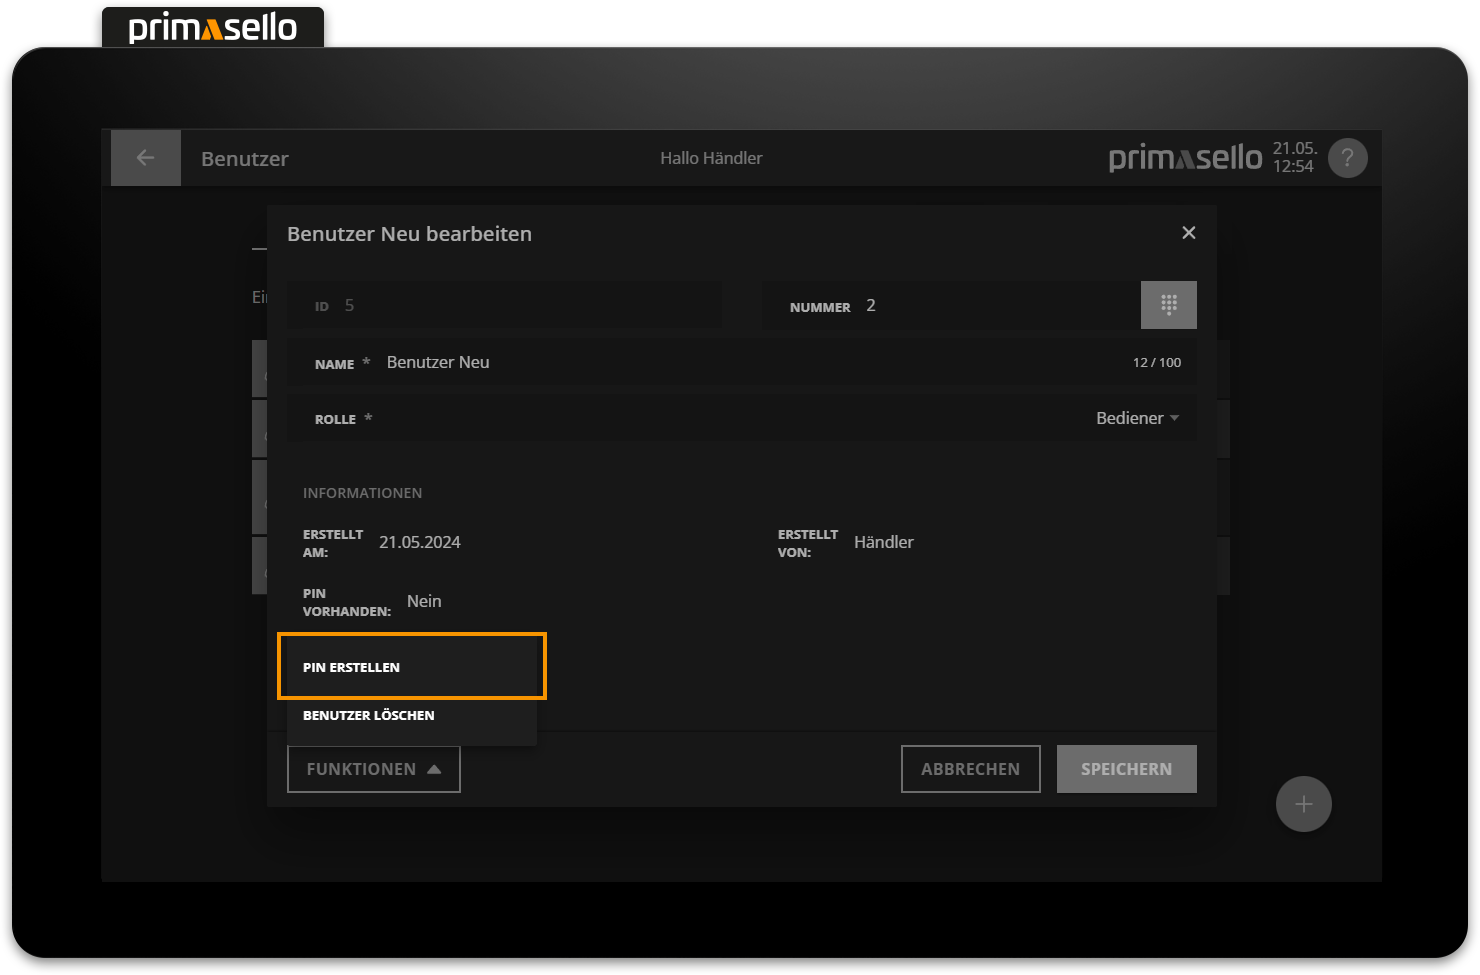
When a user is selected from the list, a new window opens with details about the user. The ‘Functions’ button is located in the lower left corner. Pressing this button opens a submenu. The ‘Create PIN’ button is located in this submenu. Pressing this button opens a window for adding a PIN for the selected user.
The desired PIN can be entered using the numeric keyboard and saved by pressing the ‘Save’ button.
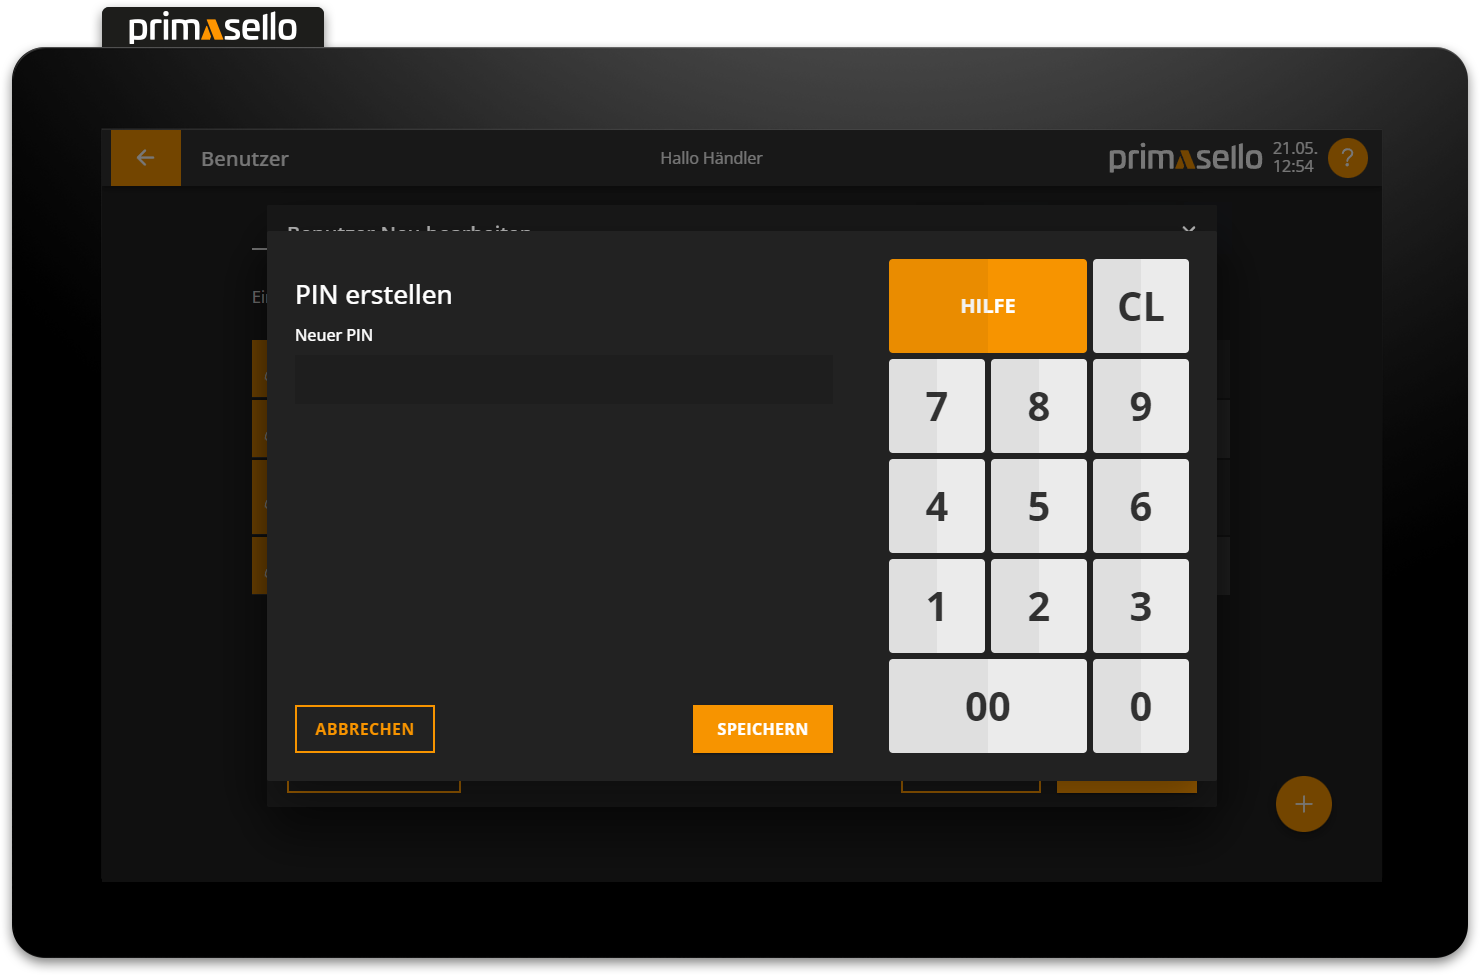
Quick login
For a quick login, you can choose a PIN consisting of four digits. Longer PINs are also possible.
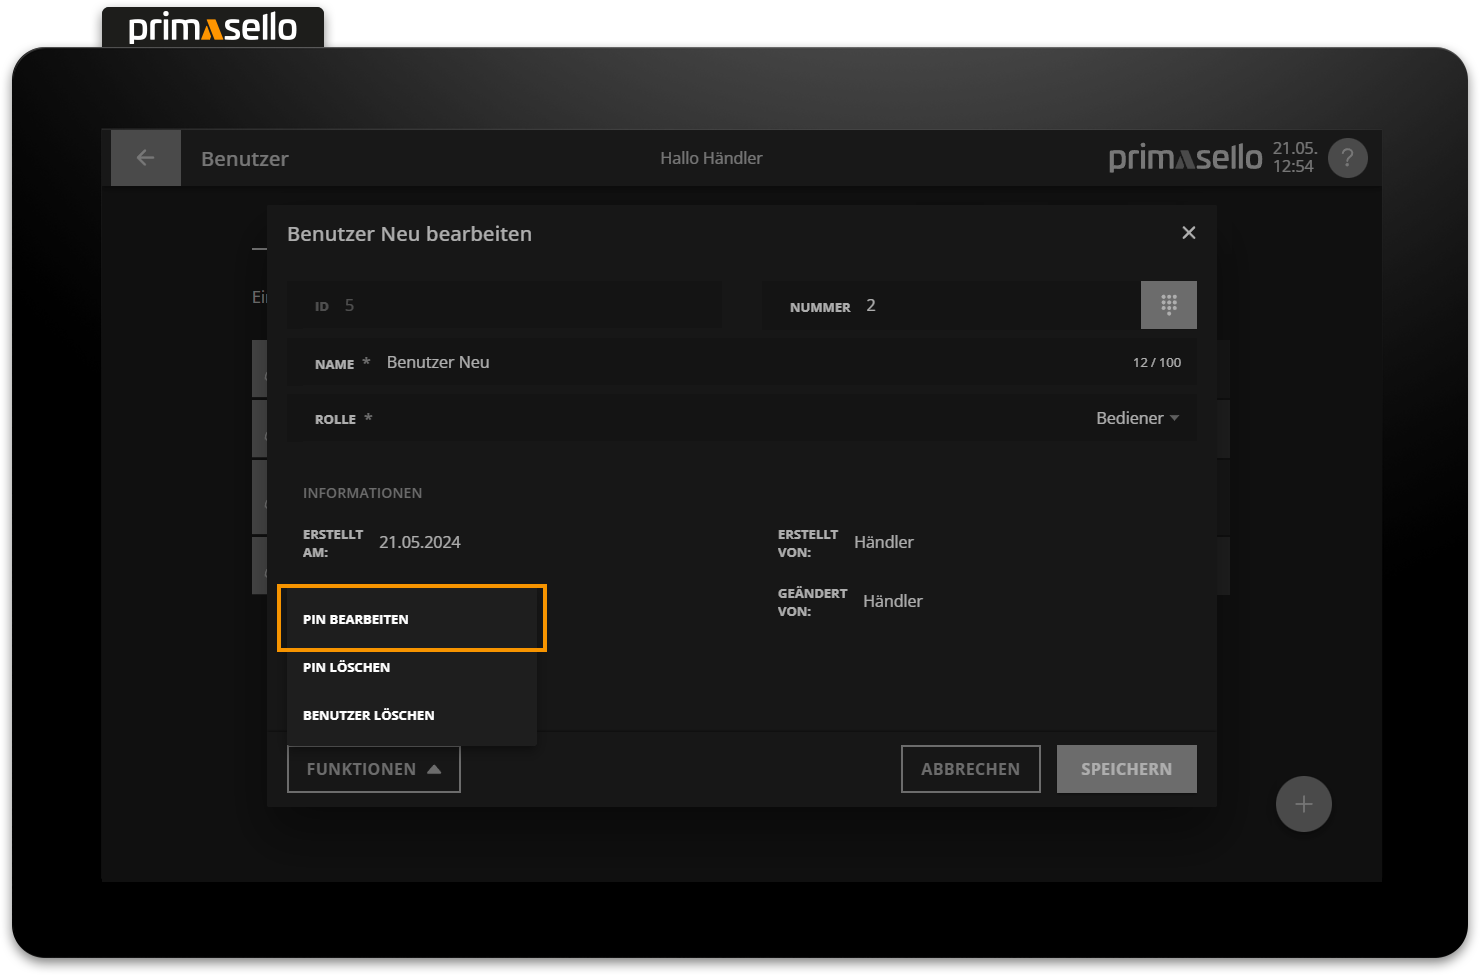
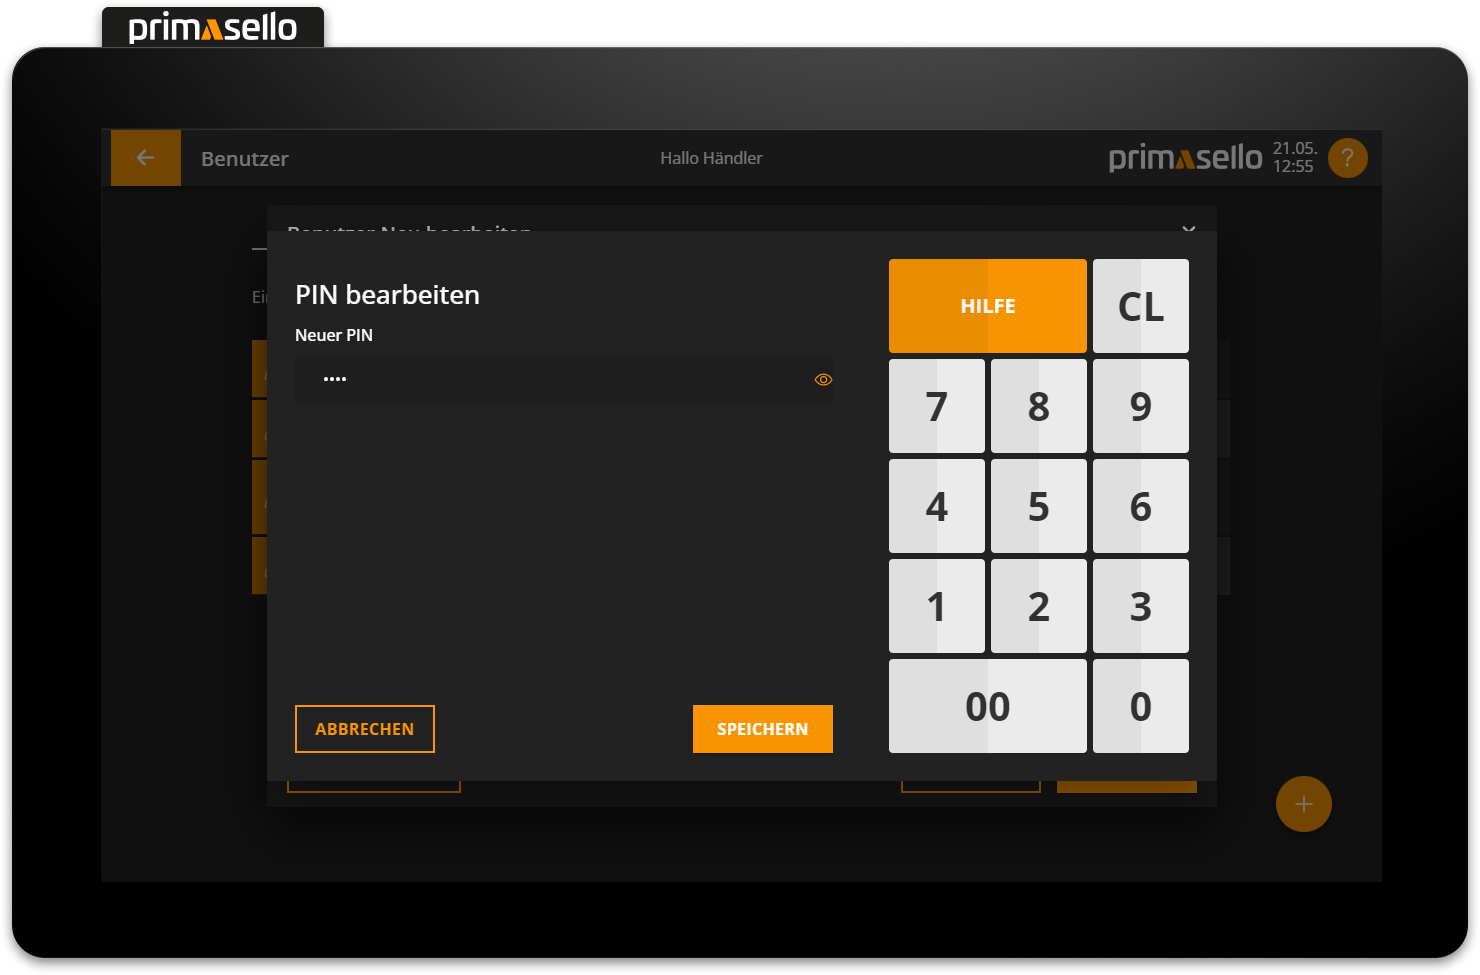
Edit PIN
To change a user's PIN, you have to use the ‘Edit PIN’ button in the function menu. When this button is pressed, a new window opens asking you to enter the new PIN and apply the changes with the ‘Save’ button.
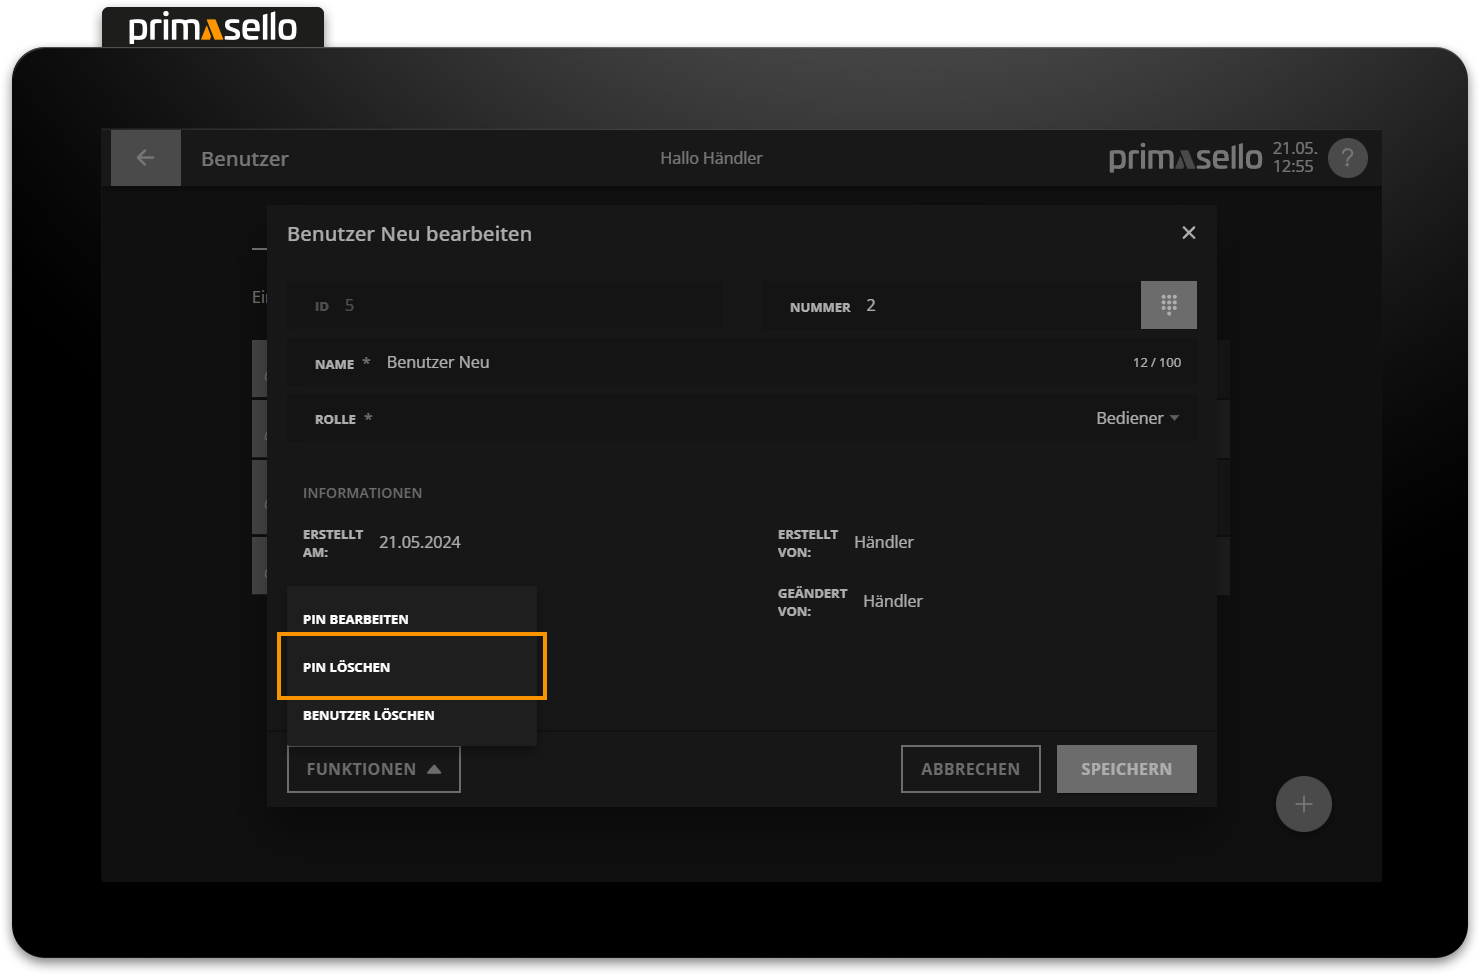
Delete PIN
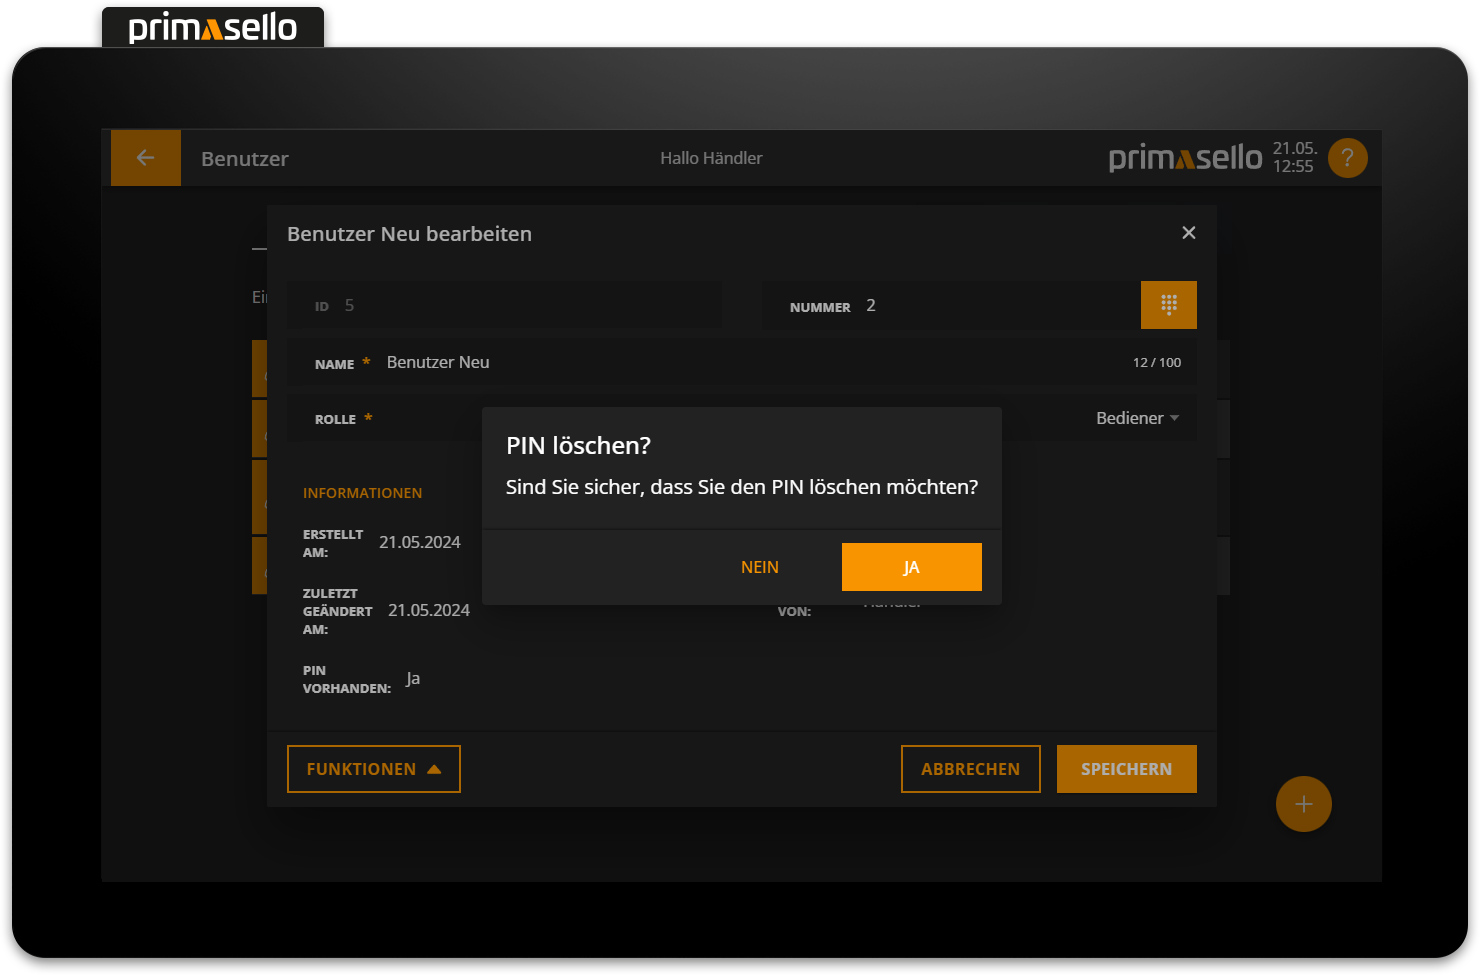
To delete a user's PIN, select the corresponding entry from the list. A window with the user's details will open. The ‘Functions’ button is located in the lower left corner. Pressing this button opens a submenu. The ‘Delete PIN’ button is located in this submenu. Pressing this button will bring up a security prompt, which can be confirmed by pressing the ‘Yes’ button. The PIN will be removed and the user will now be able to log in to the primasello cash register without a PIN. Deleting the PIN can be cancelled by pressing the ‘No’ button in the security prompt.
Delete user
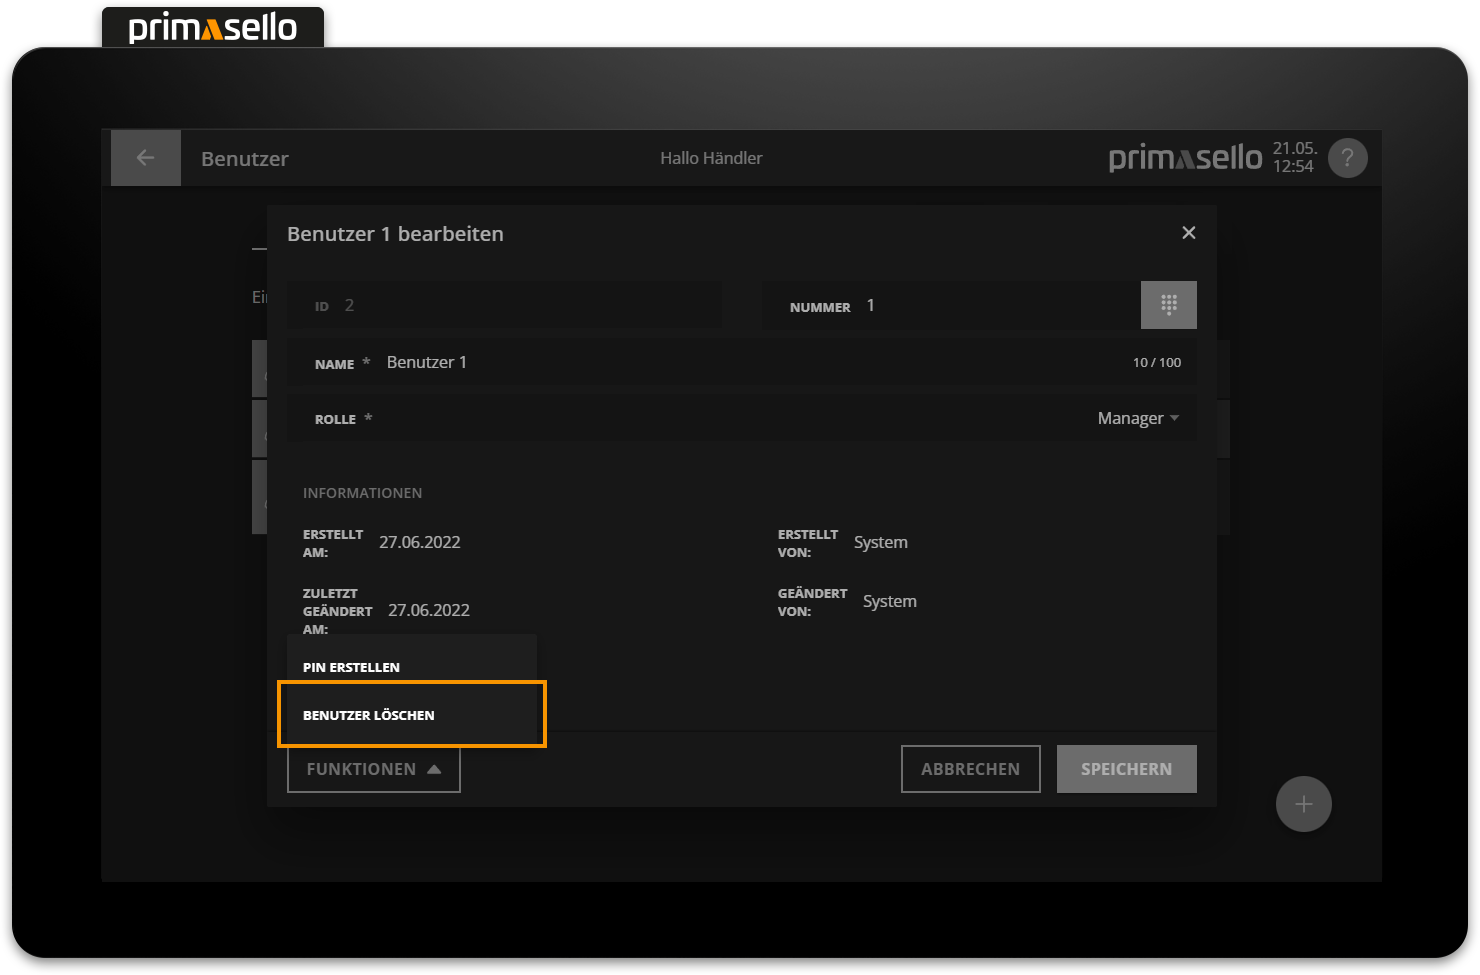
To delete a user, select them from the list to open the detail window for the relevant user.
The ‘Functions’ button is located in the lower left corner. Pressing this button opens a submenu with the menu item ‘Delete user’.
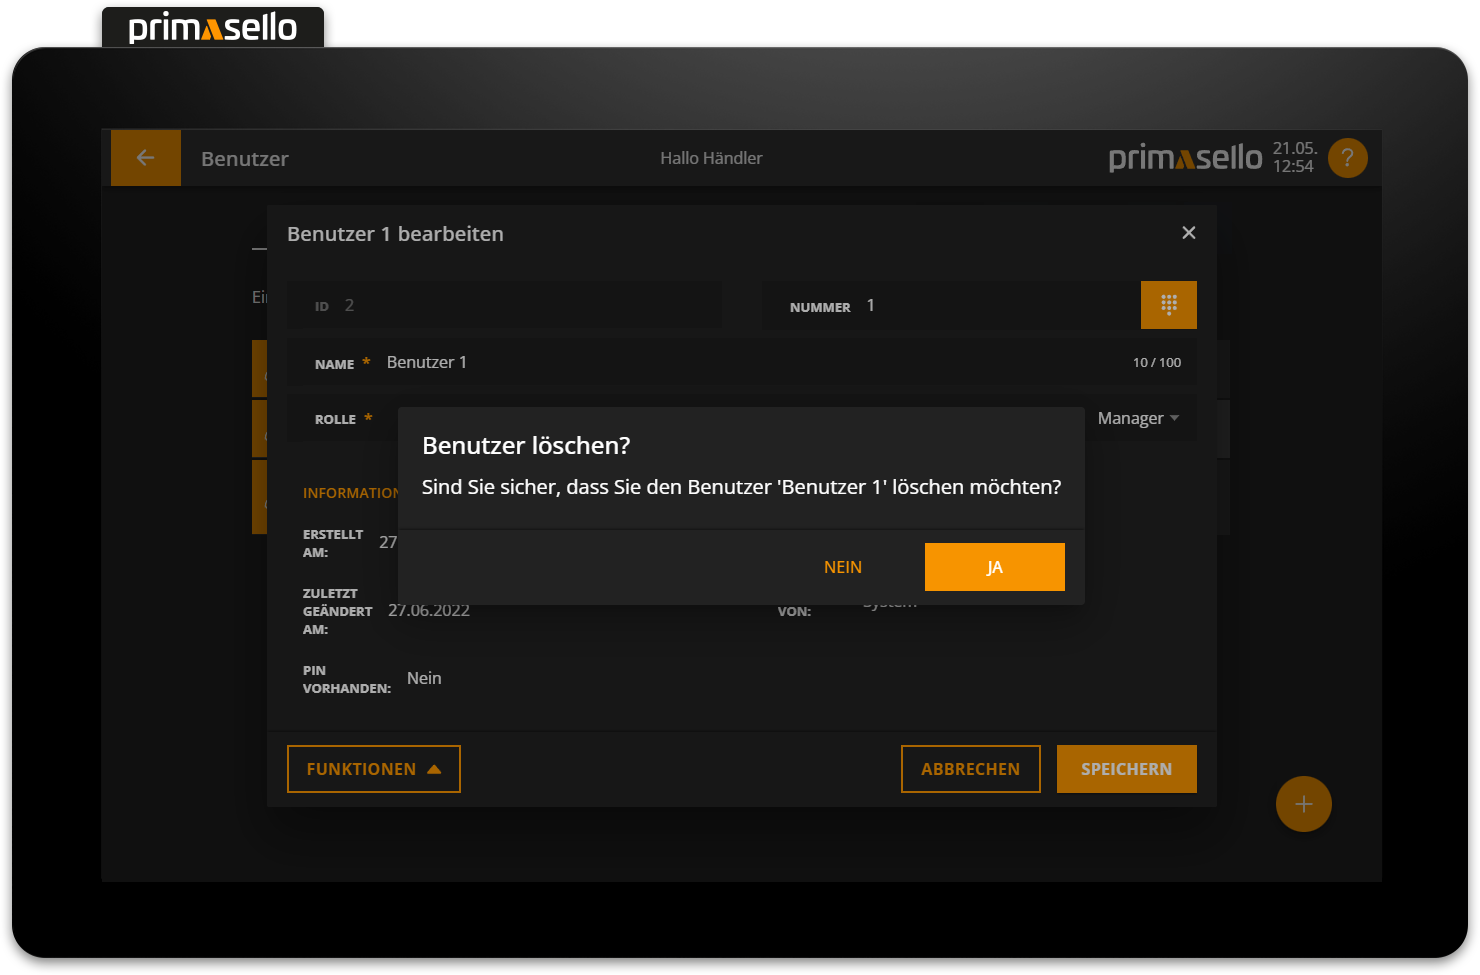
When this button is pressed, a security prompt appears, which has to be confirmed with the ‘Yes’ button. The user is then deleted and the window closed. To cancel the deletion process, press the ‘No’ button. The logged-in user cannot be deleted!
Fast user change
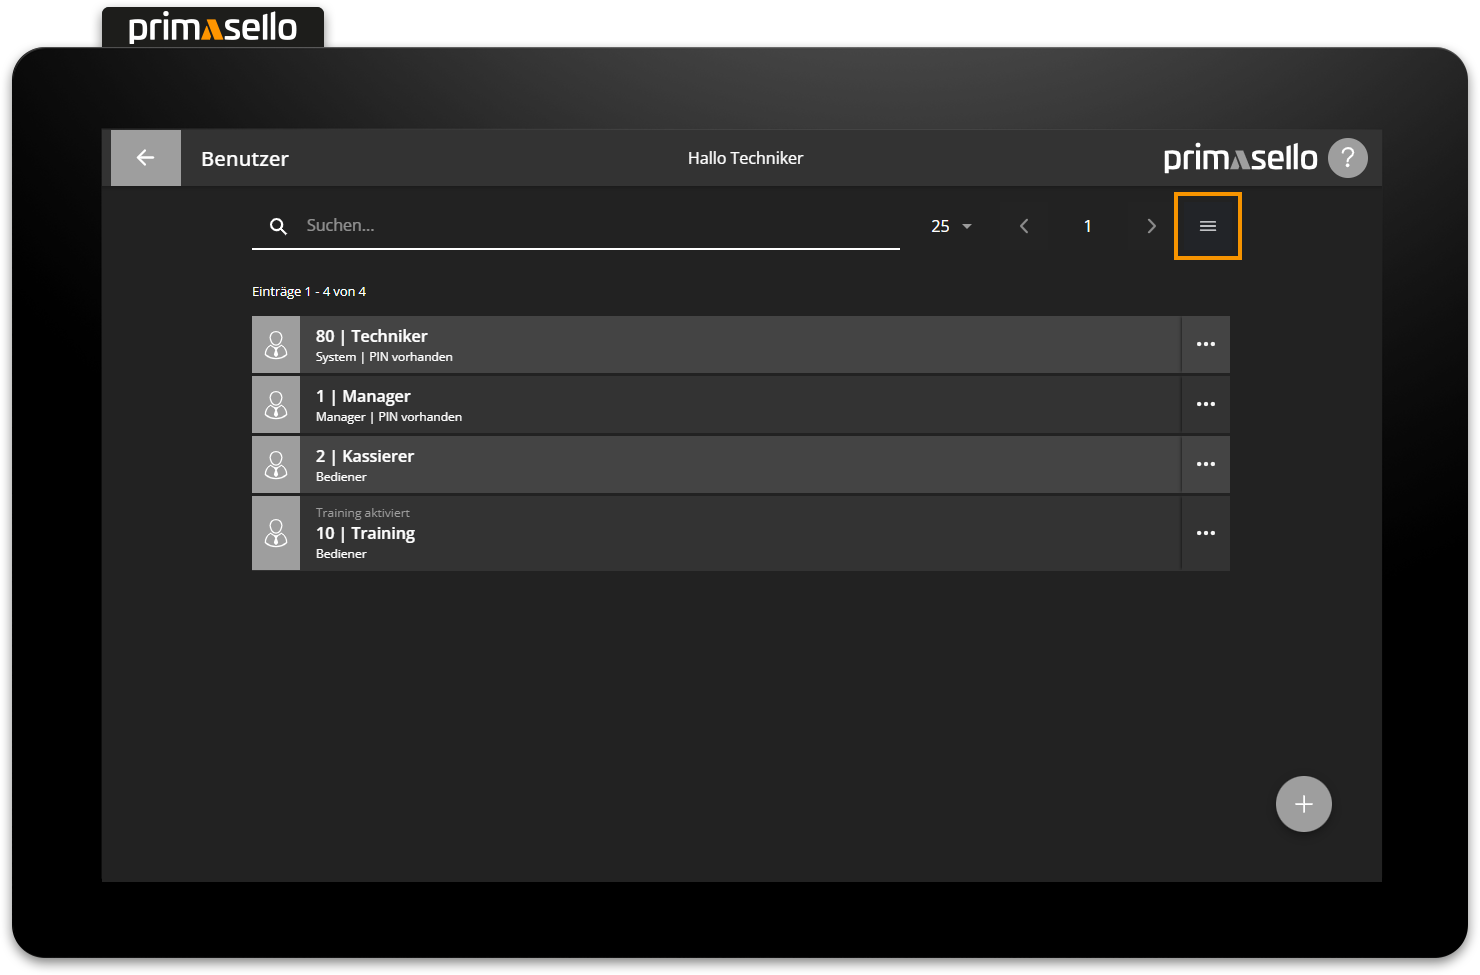
To enable positions to be parked not only on tables but also on users, the fast user change can be activated. In the list view of users, the symbol with the three lines can be pressed in the upper right corner.
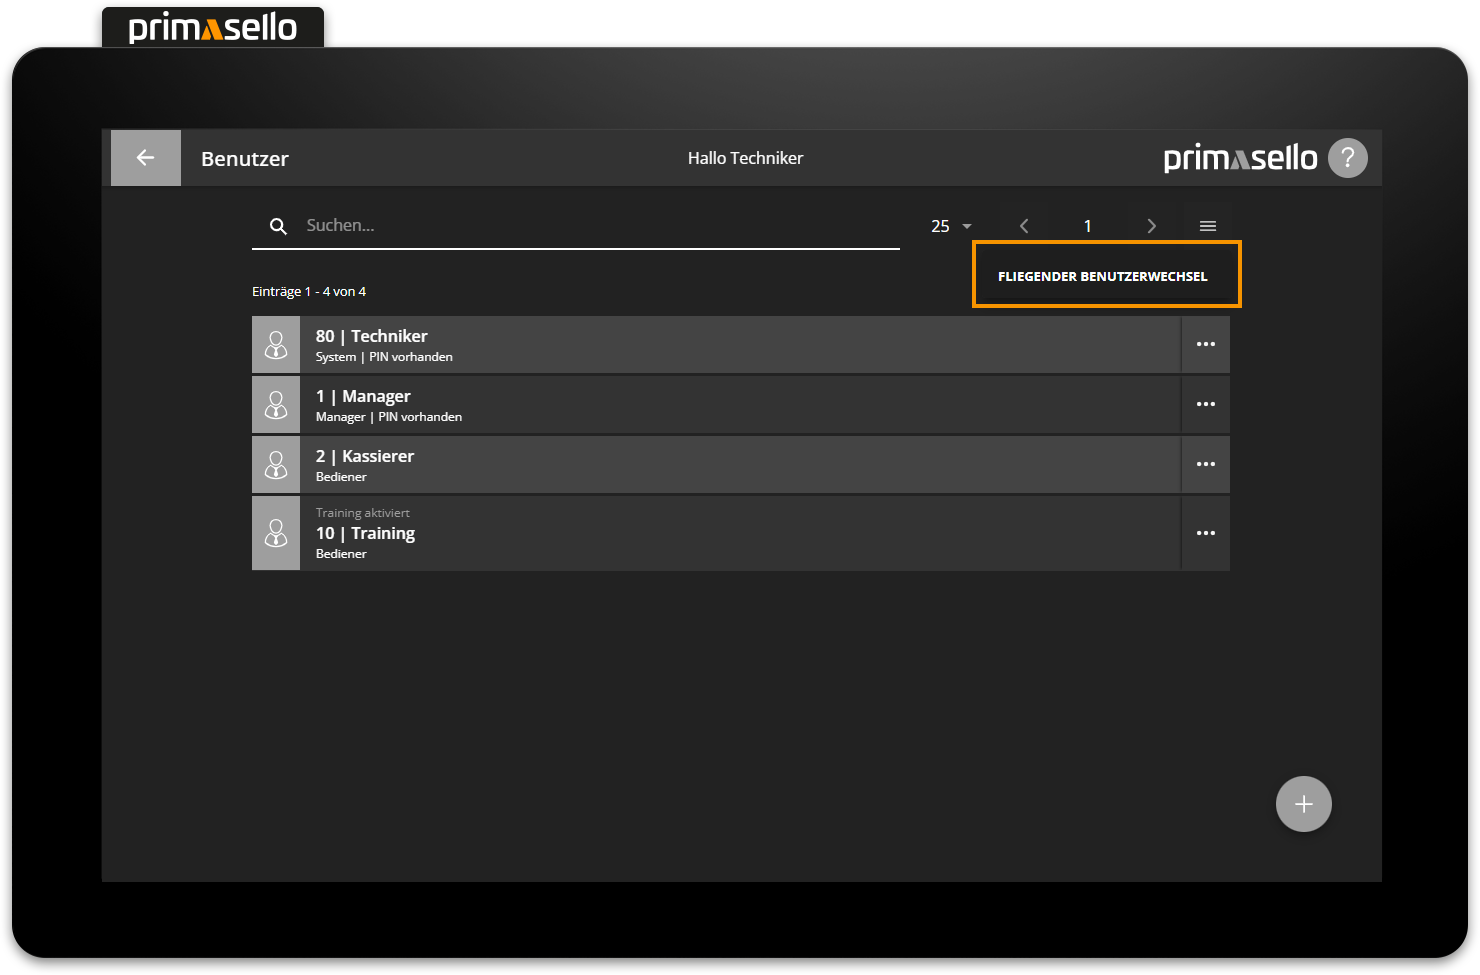
A submenu opens with the menu item ‘fast user change’.
Pressing this opens a new window where you can activate or deactivate the fast user change.
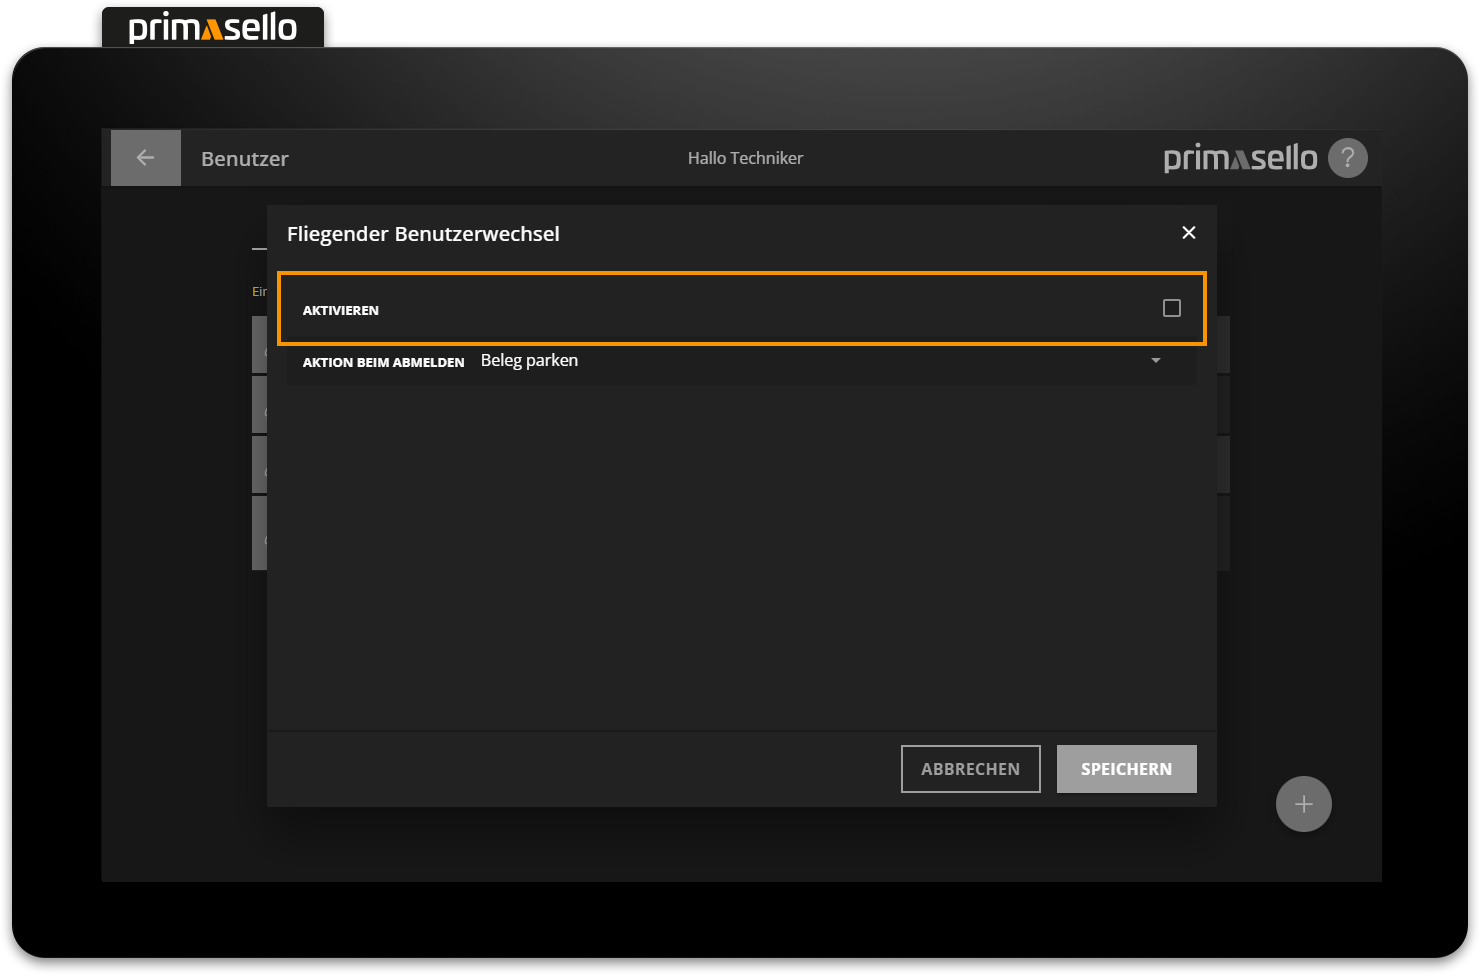
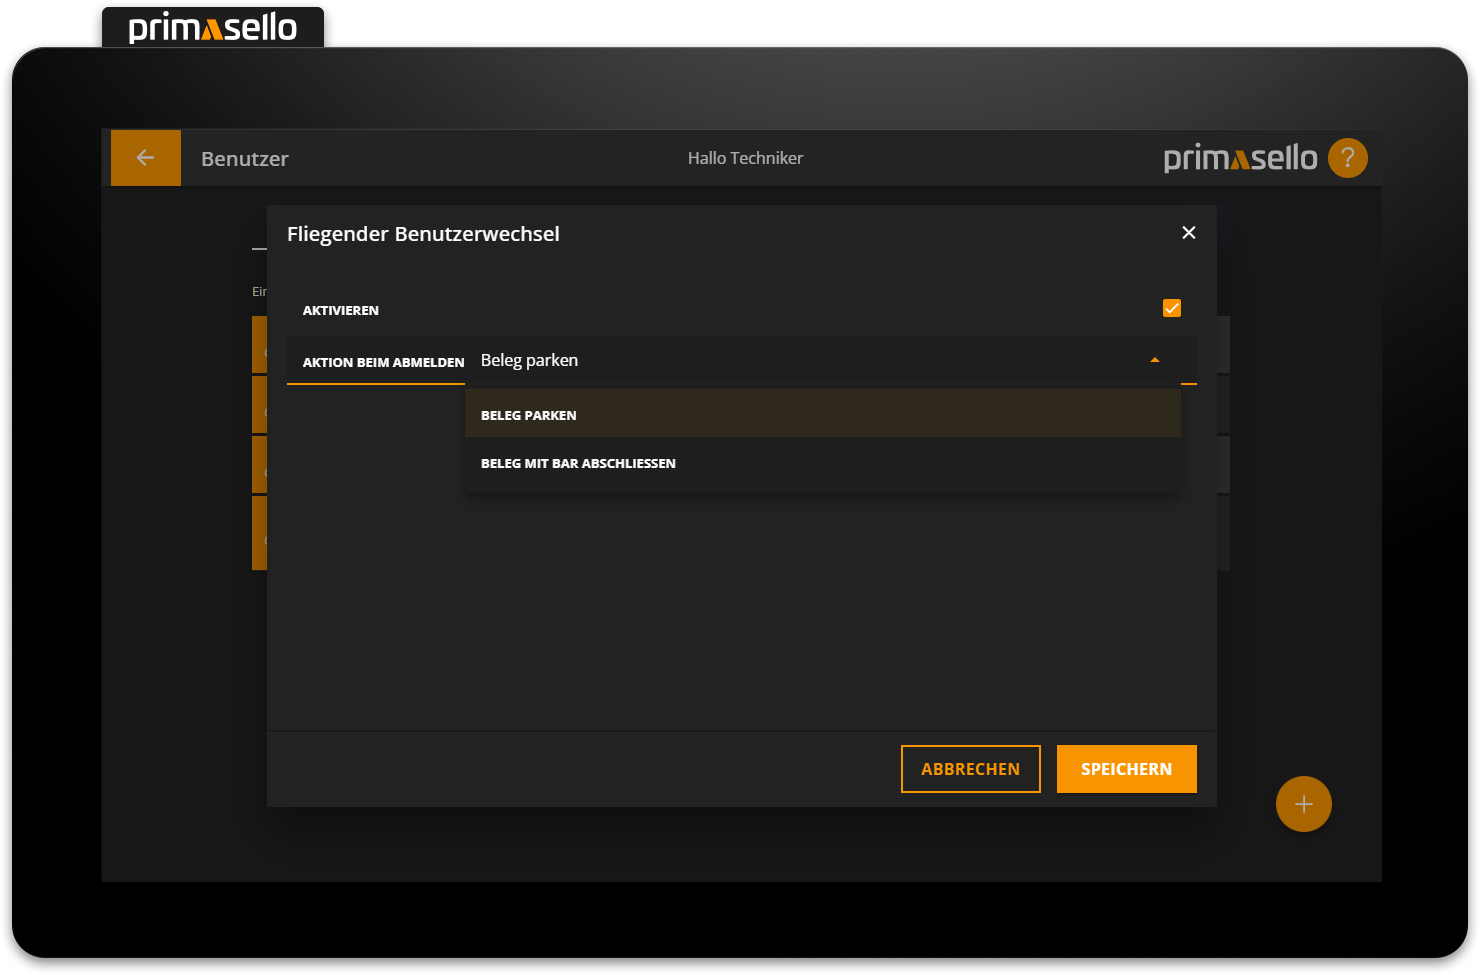
Additionally, you can choose whether to park the items on the user when they log out, or to automatically close the open receipt as a cash invoice. Press the orange ‘Save’ button in the lower right corner to save the settings.
An overview of all open receipts parked on users is displayed in the table list. It is therefore advisable to place this button on the register interface as well. A cash up can only be created once all parked receipts (table and user) have been closed.
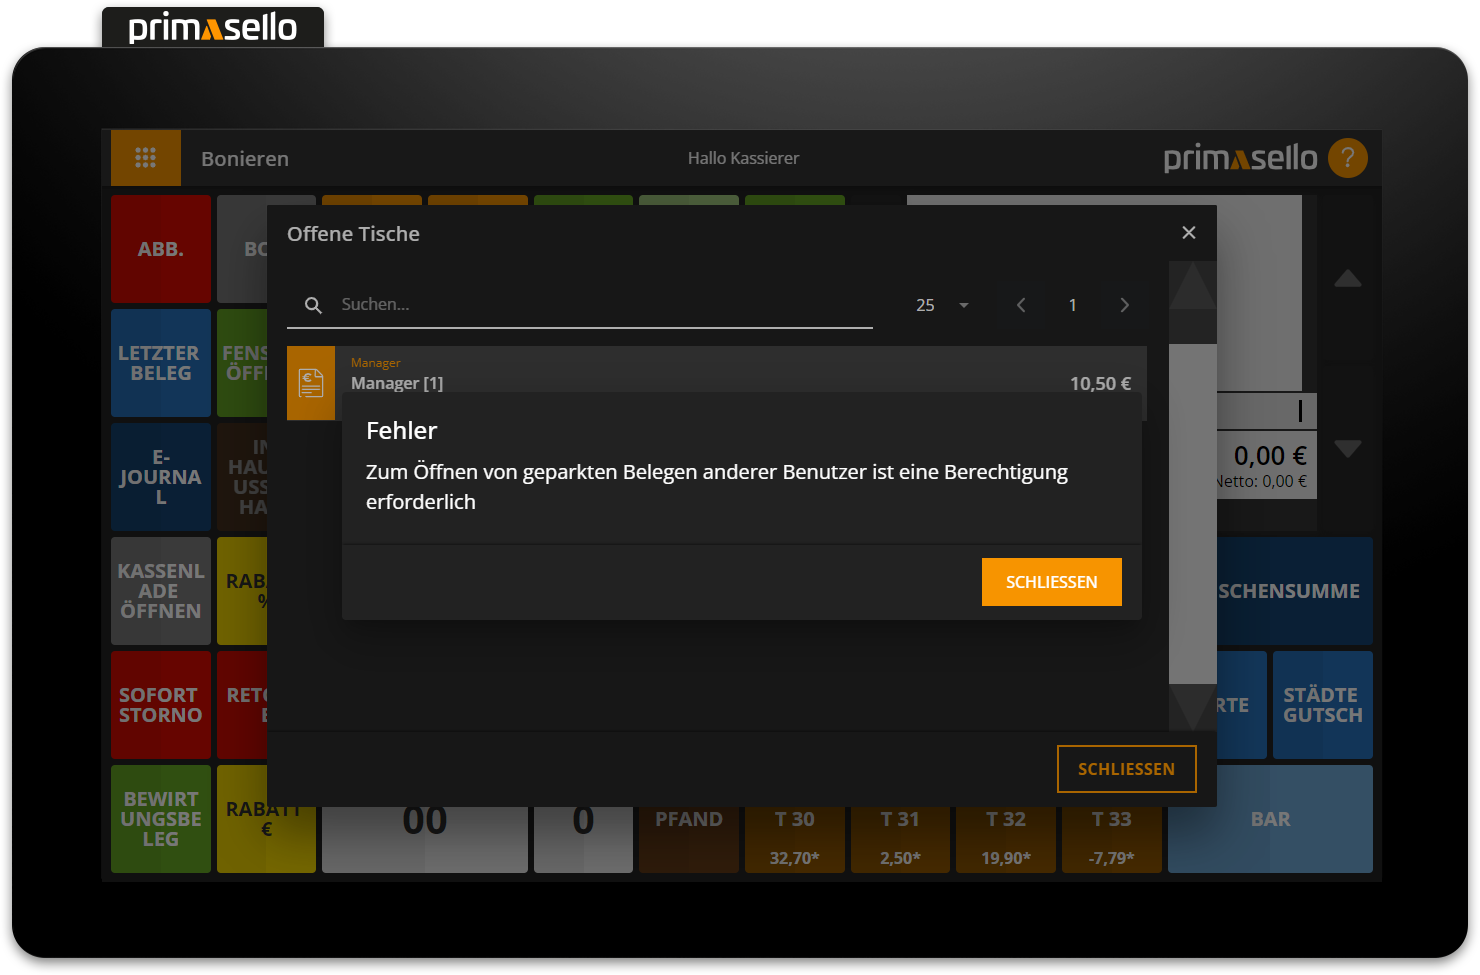
Open another parked user
Permission is required to open and close another user's parked positions. How permissions are assigned to users is described in the chapter User Roles.
Error messages
The following error messages may occur. The error messages are always displayed next to the affected input field. The field and the message are highlighted in red.
Error message | Meaning | Solution |
|---|---|---|
This number already exists. | The number is already stored with another user. | Check the number and assign another number. |
Maximum input exceeded. | The input may only have a certain character length. The maximum length is displayed at the end of the line (e.g. 13 / 100). | Shorten the input to the maximum value. |
The PIN has to be at least 4 characters long. | A user's PIN has to consist of at least 4 characters. For quick login, a combination of 4 digits should be selected as the PIN. | Extend PIN to minimum value. |
The PINs do not match. | For security reasons, the same PIN has to be entered again. | Check PINs and repeat entry. |