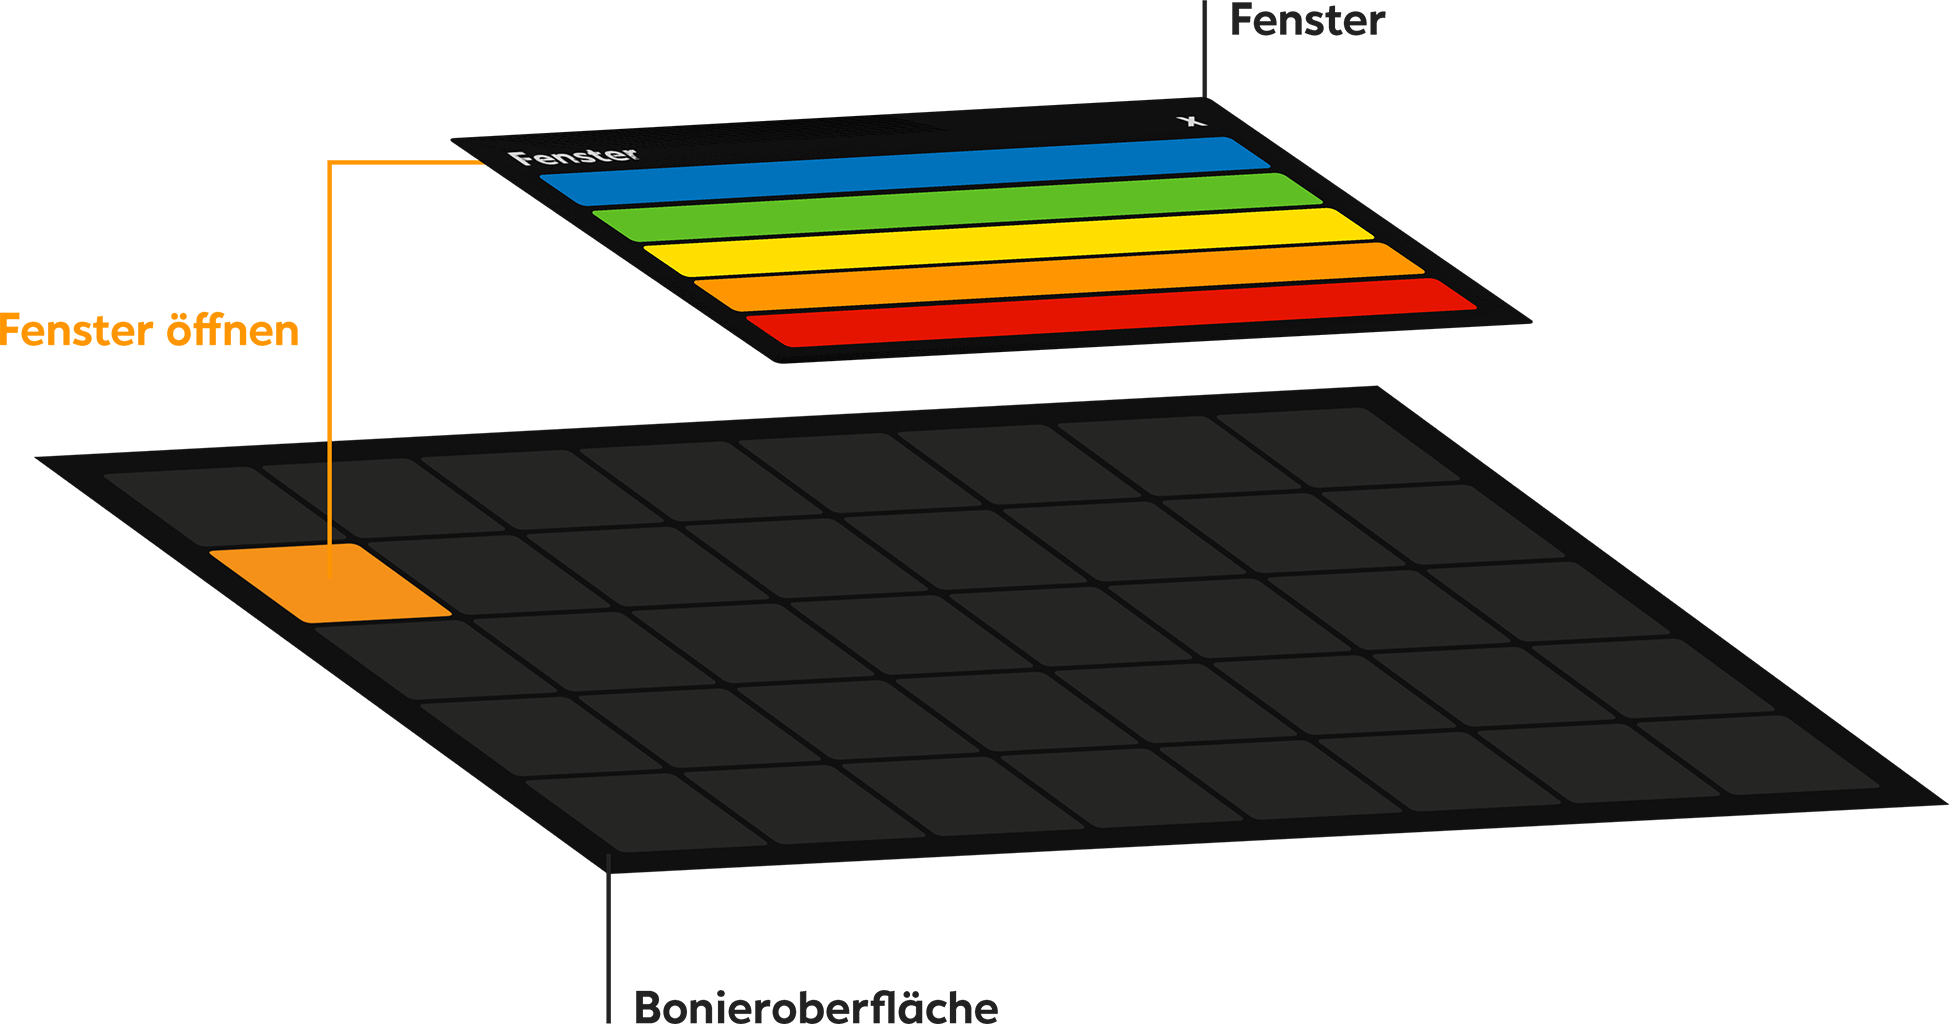
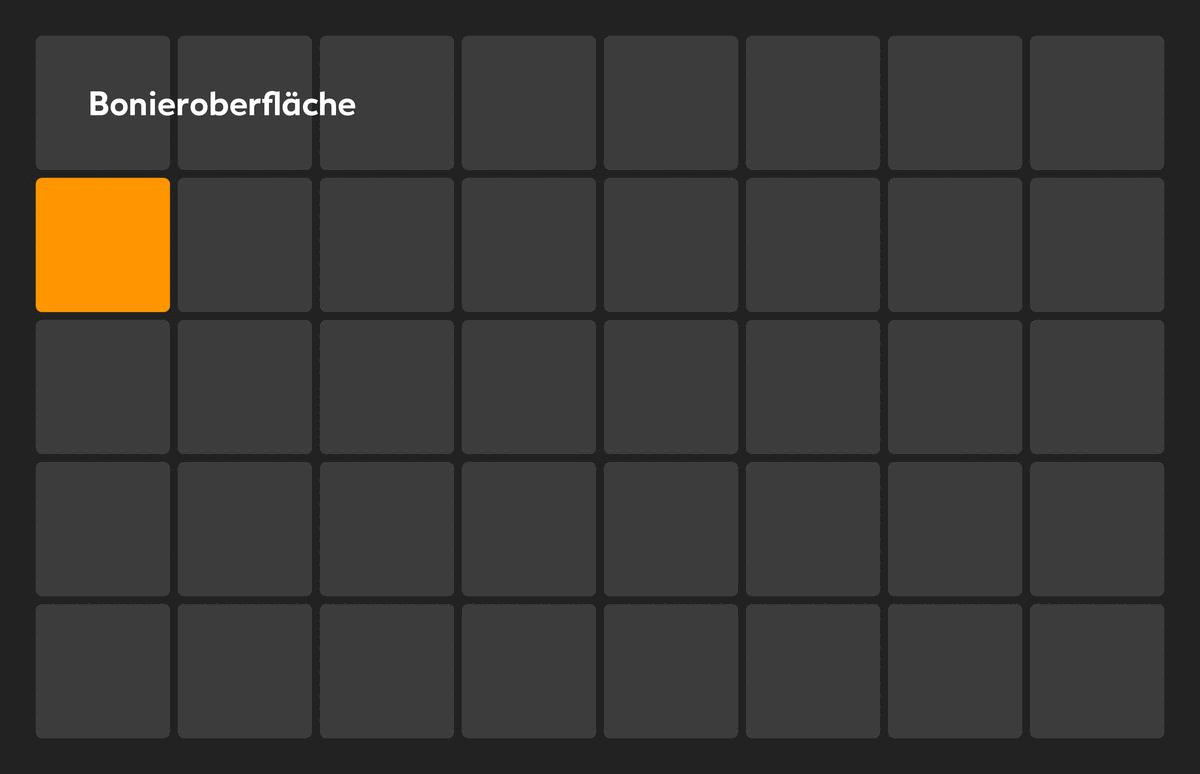
When the ‘Open window’ button is pressed, a new window is opened via the register interface. This window displays additional functions in a list. The same functions and products that are available on the grid can be added to the window. The functions in the list can be sorted, renamed and moved. Any number of ‘Open window’ functions can be placed on the programming interface.
The purpose of the function
-
To place more functions on the interface than there is space for on the grid
-
To group functions that have to be performed for a specific process (e.g. cash up preview, create cash up, cash deposit)
-
To place functions that are not used frequently on the register interface (e.g. change PIN, fiscal status, cash withdrawal)
Add ‘Open Window’ function
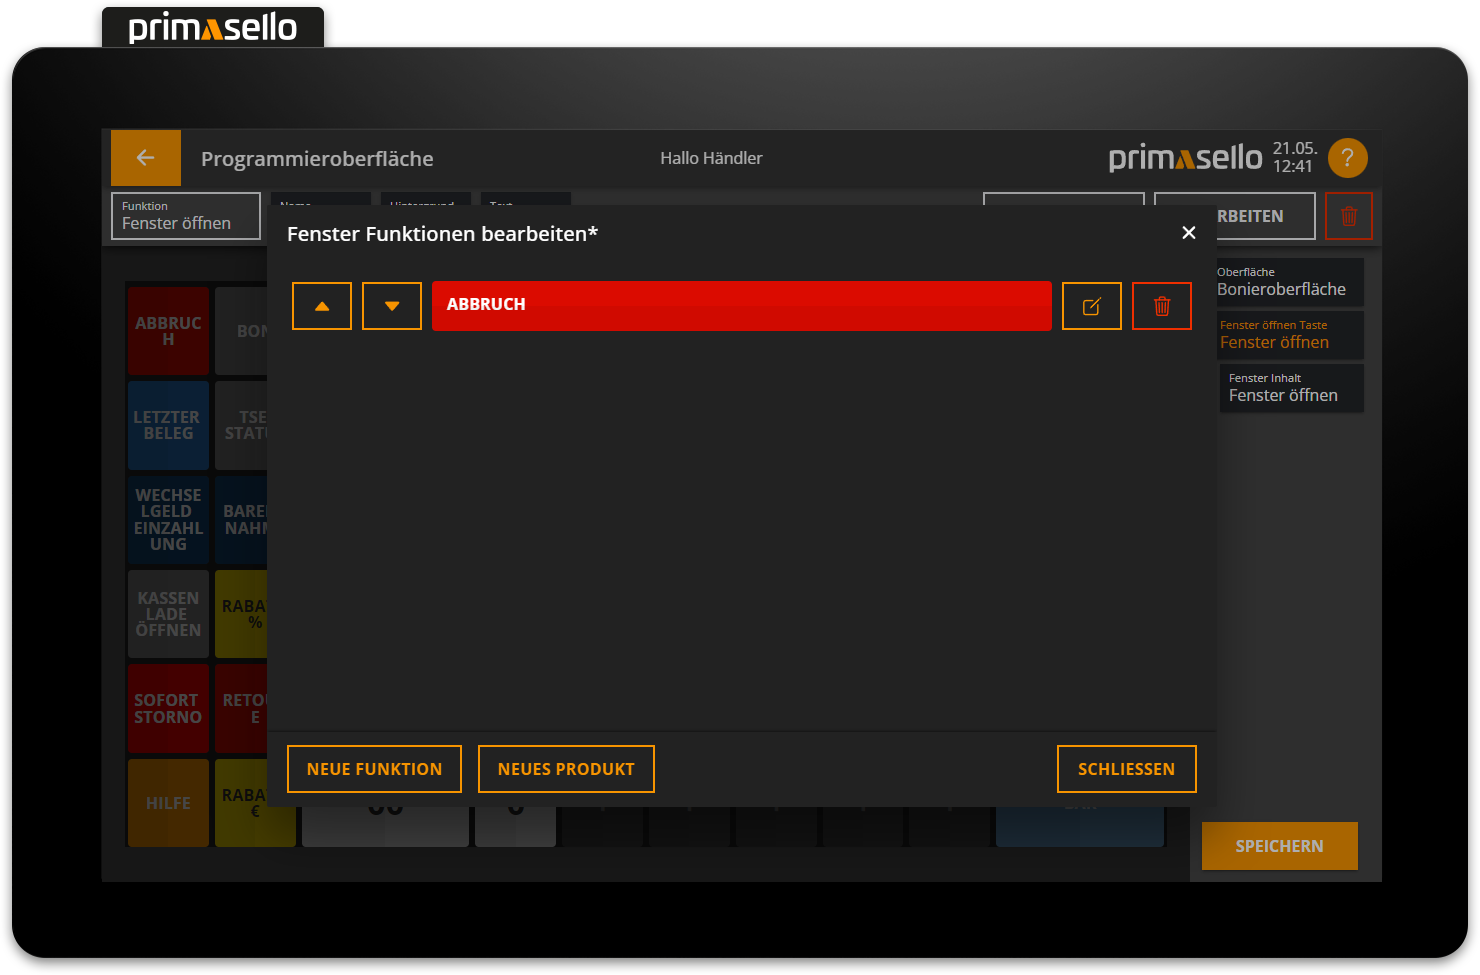
The ‘Open window’ function allows you to create your own function menu, in which additional functions are displayed in a list.
If the ‘Open window’ function is placed on the grid, a new window opens in which the window functions can be edited.
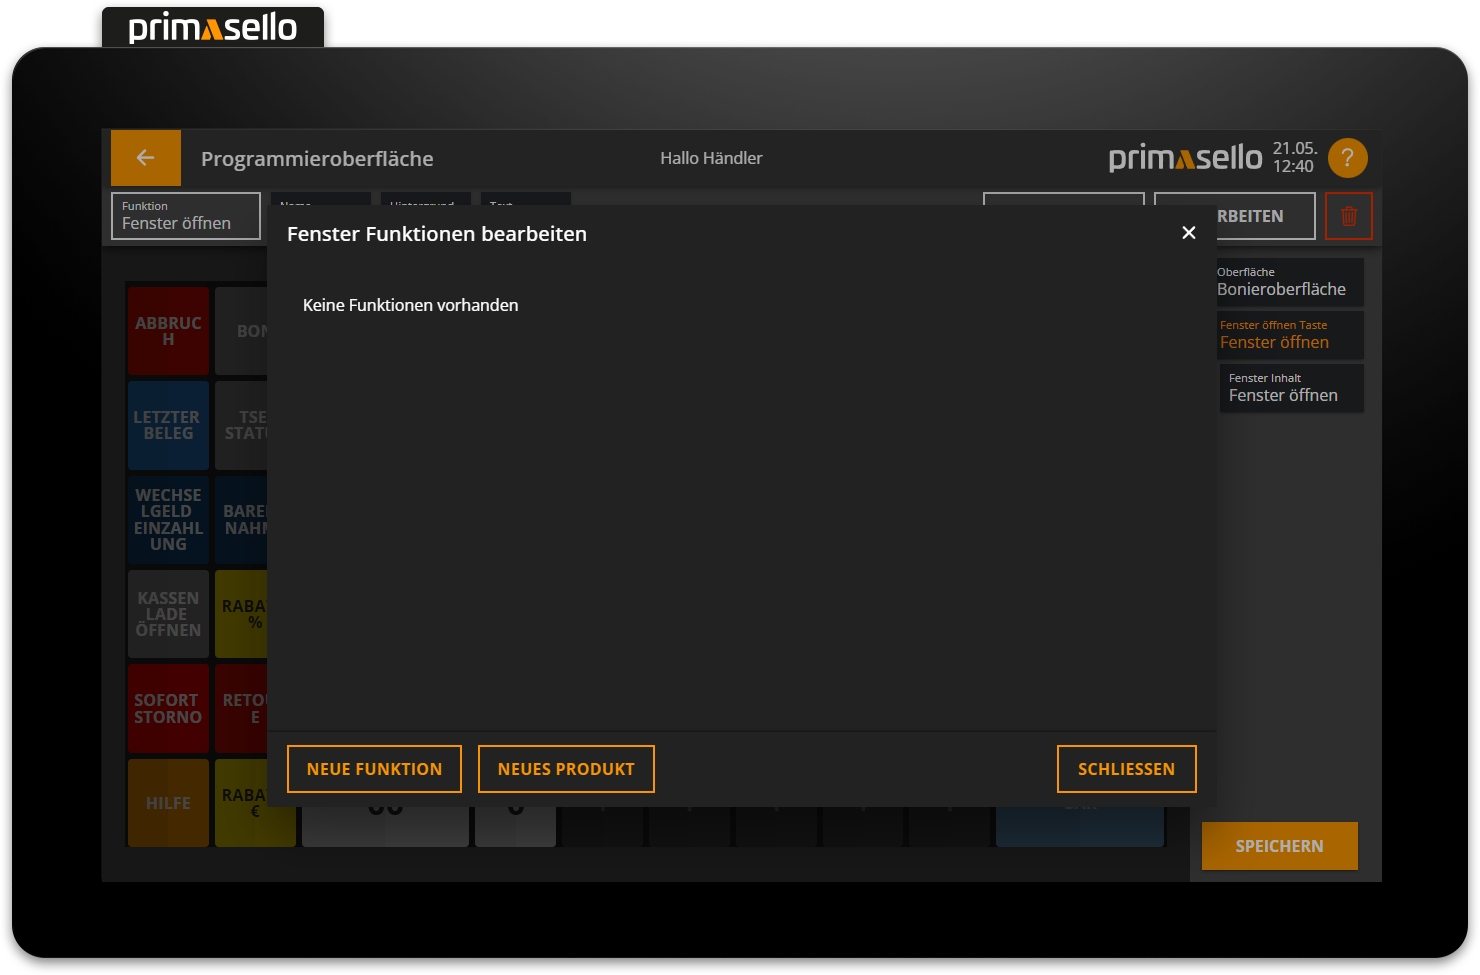
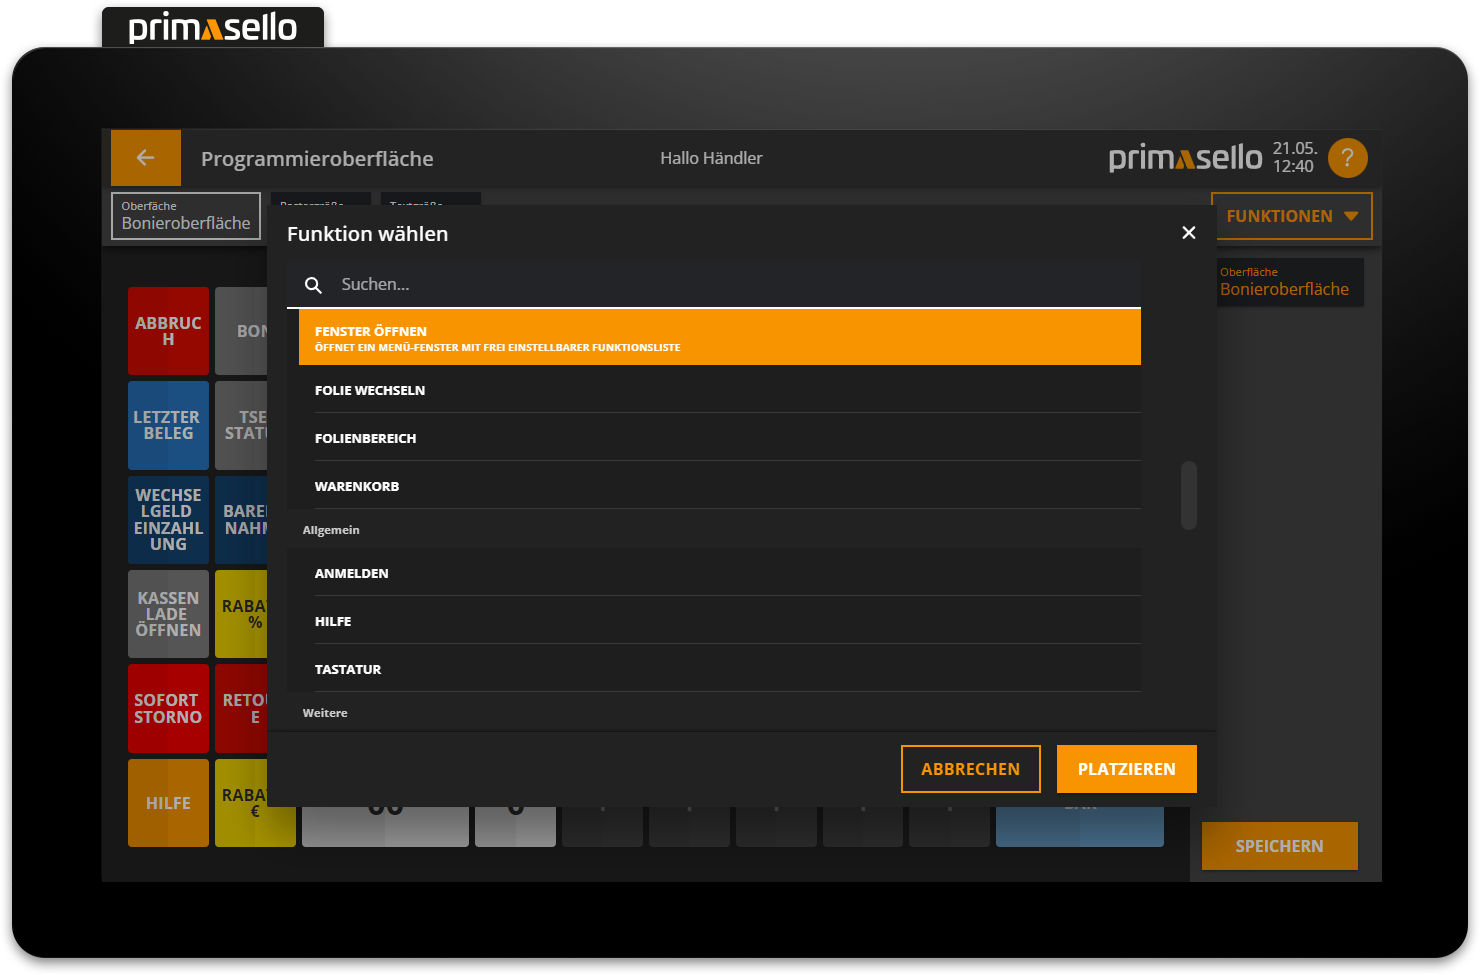
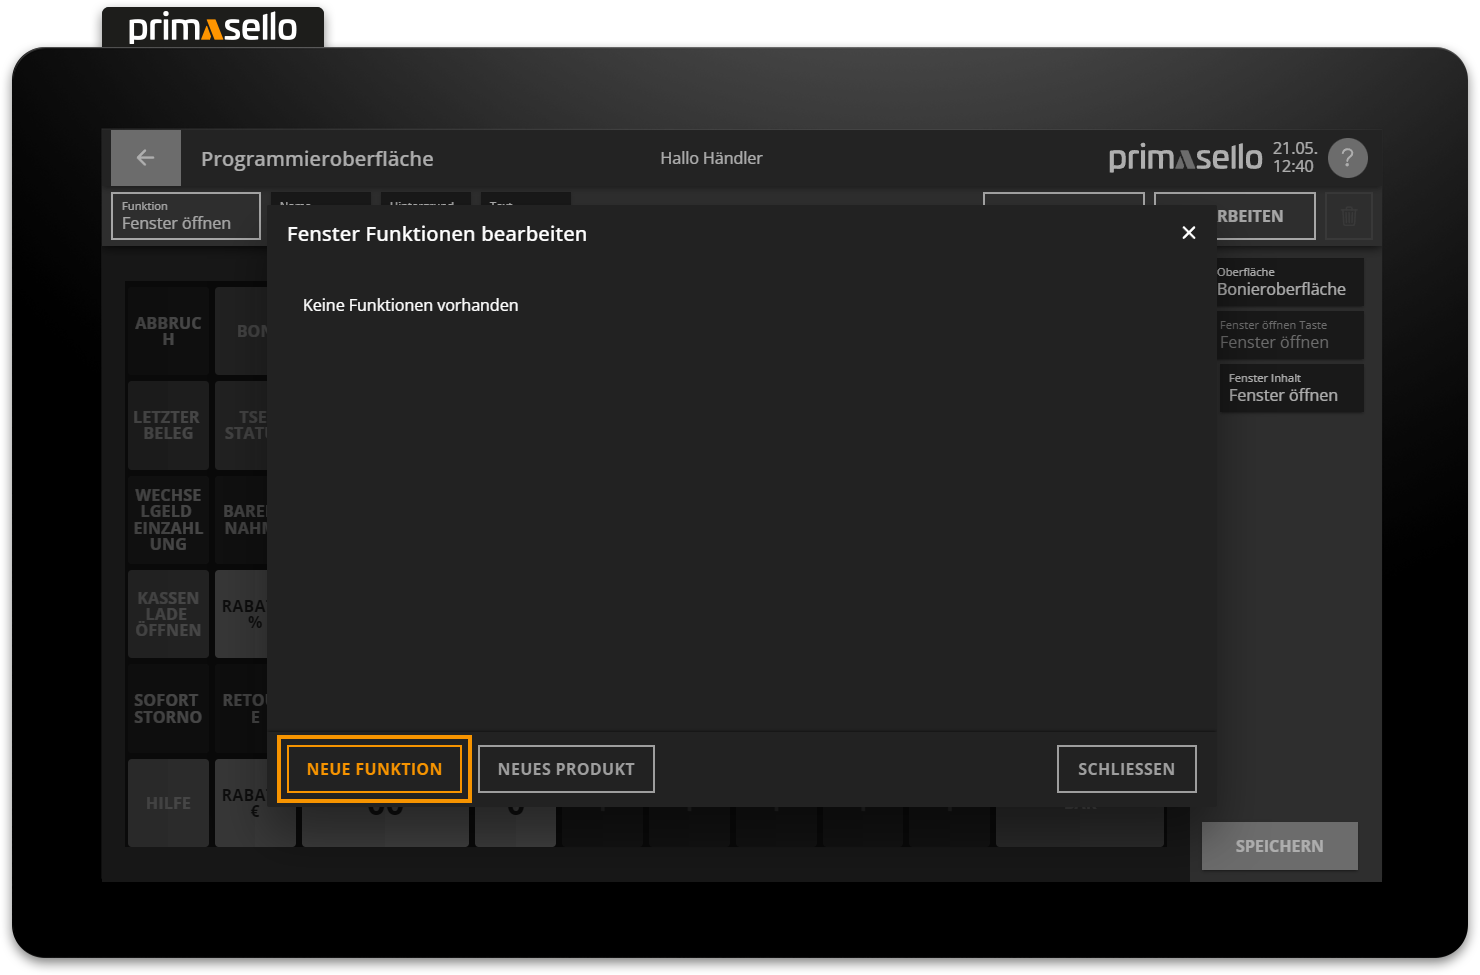
To add a new function to the window, press the orange ‘New Function’ button in the lower left corner. Next to it is the ‘New Product’ button, which adds a product from the master data to the window. Pressing the ‘New Function’ button opens the window with the function list, from which the desired function can be selected.
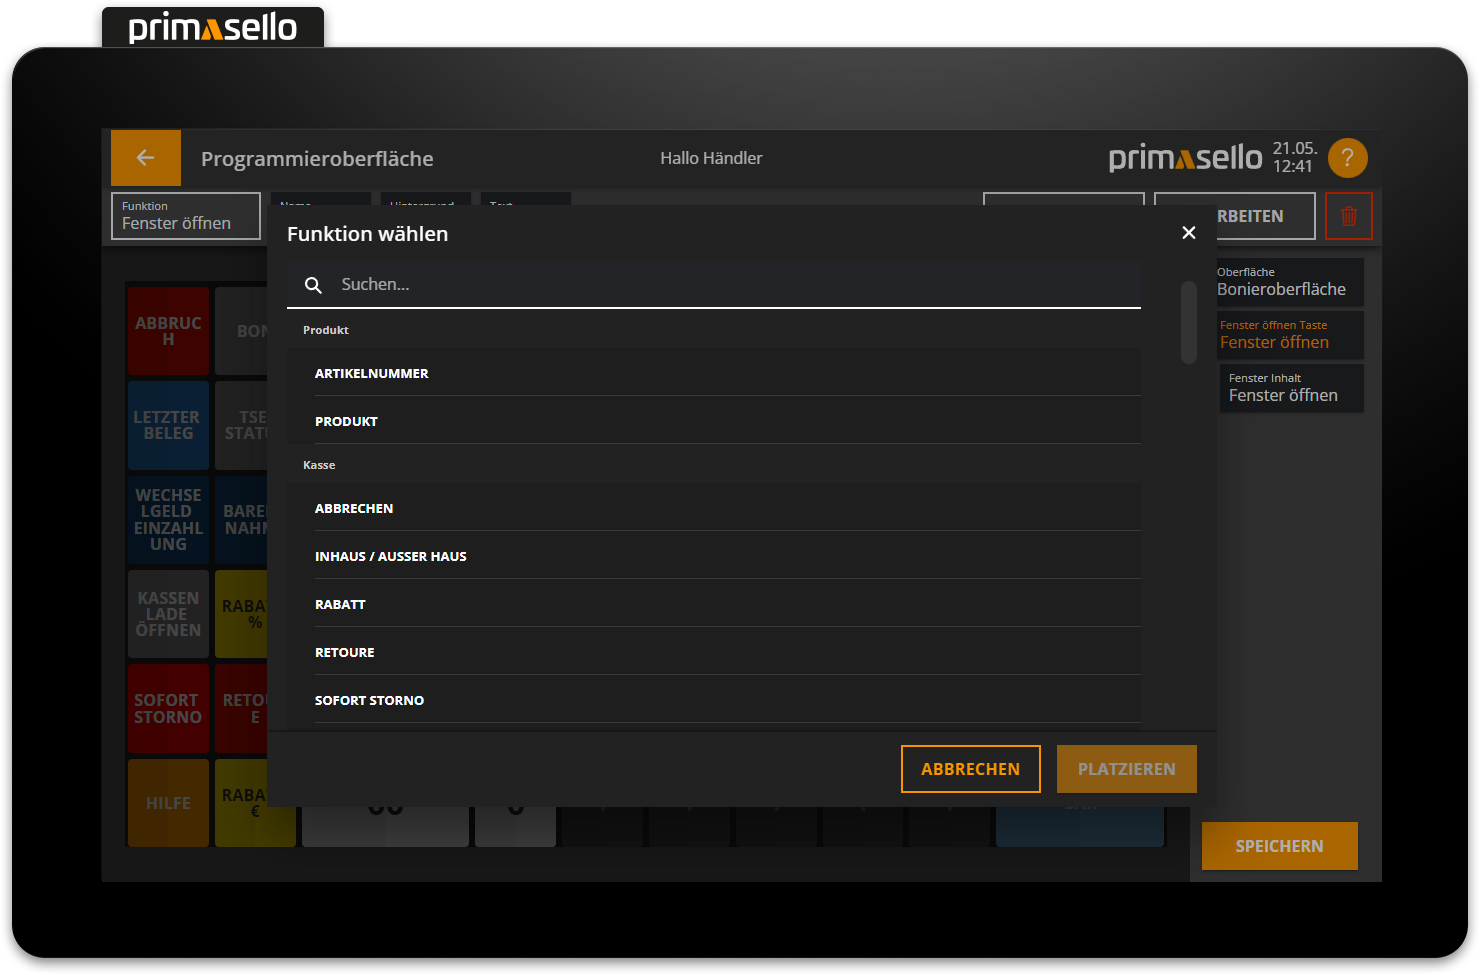
Almost all functions that can be placed on the grid can be added to a window (with the exception of the shopping cart, for example).
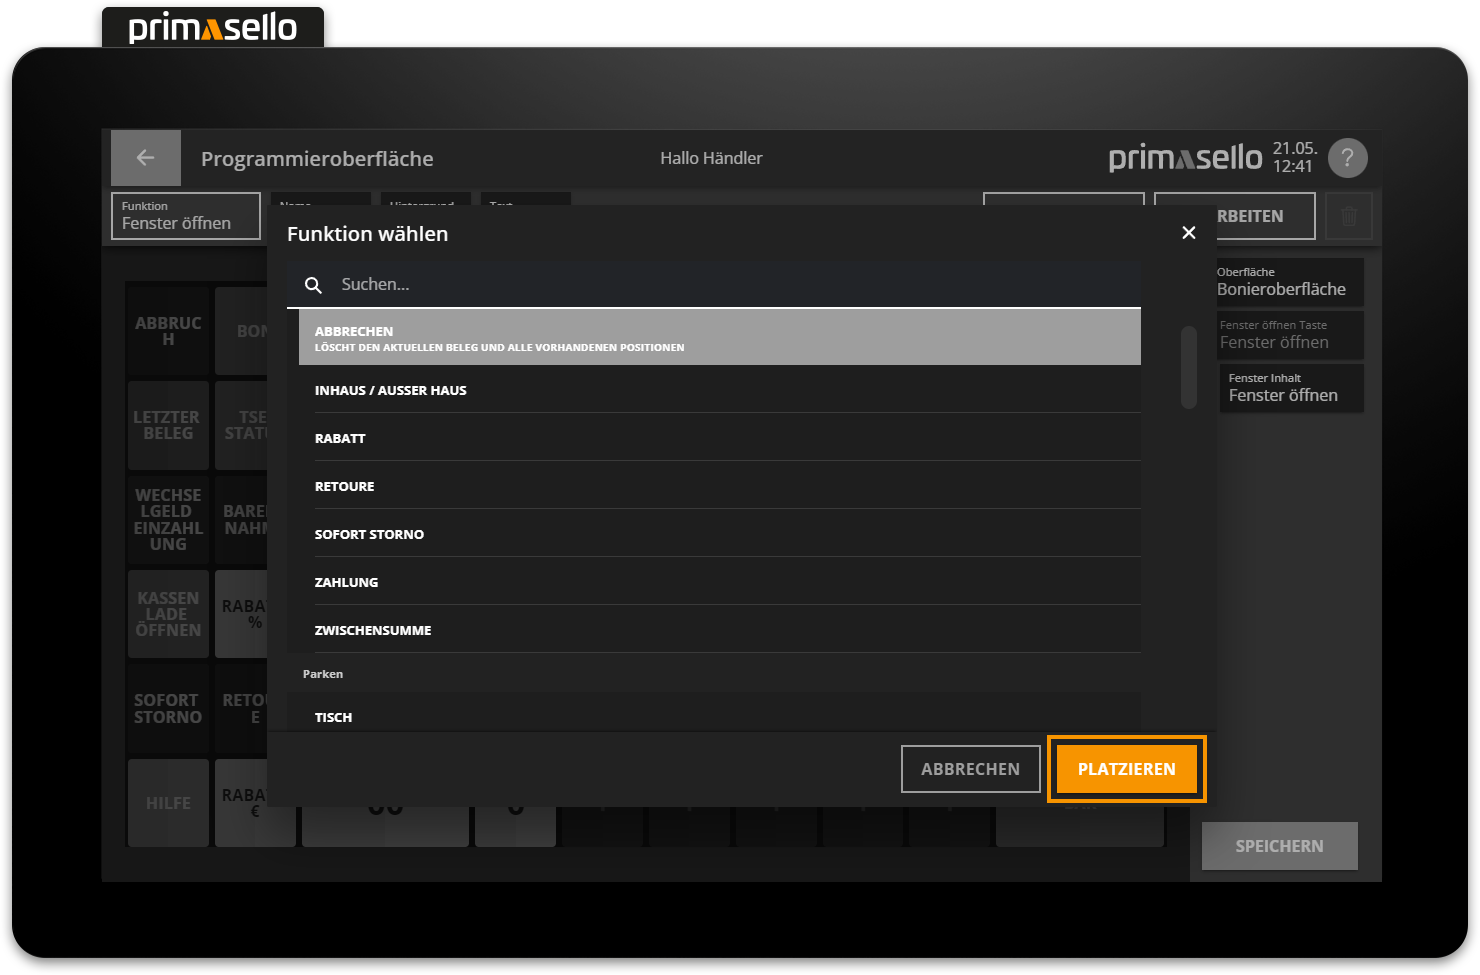
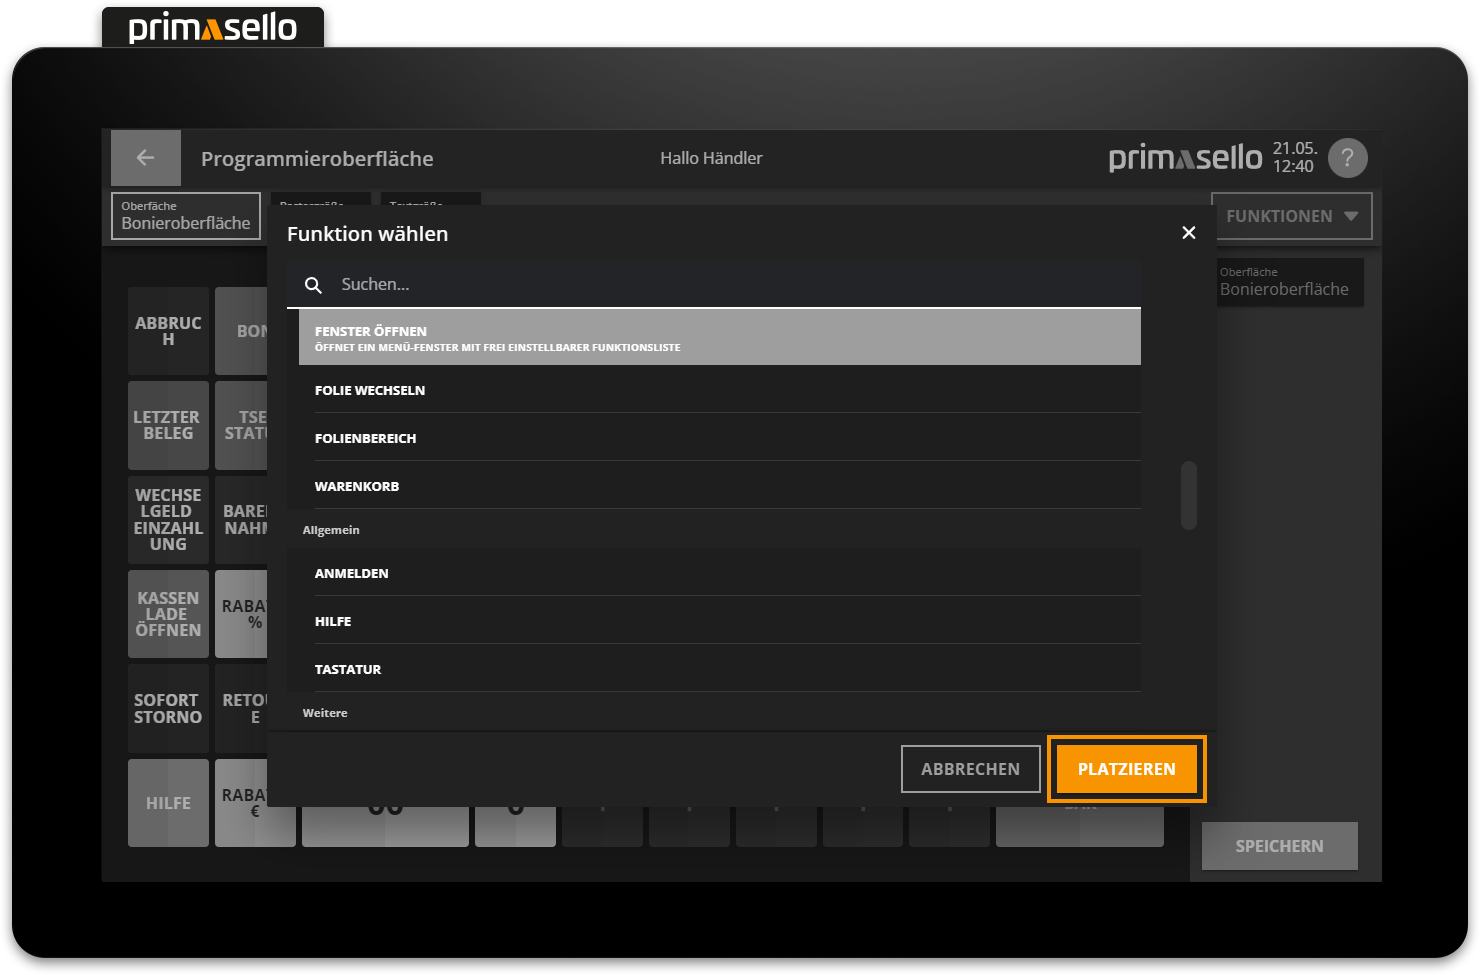
By pressing the ‘Place’ button, the function is transferred to the window and displayed as an entry in a list.
Sort functions
If several functions have been added to the window, the entries in the list can be sorted.
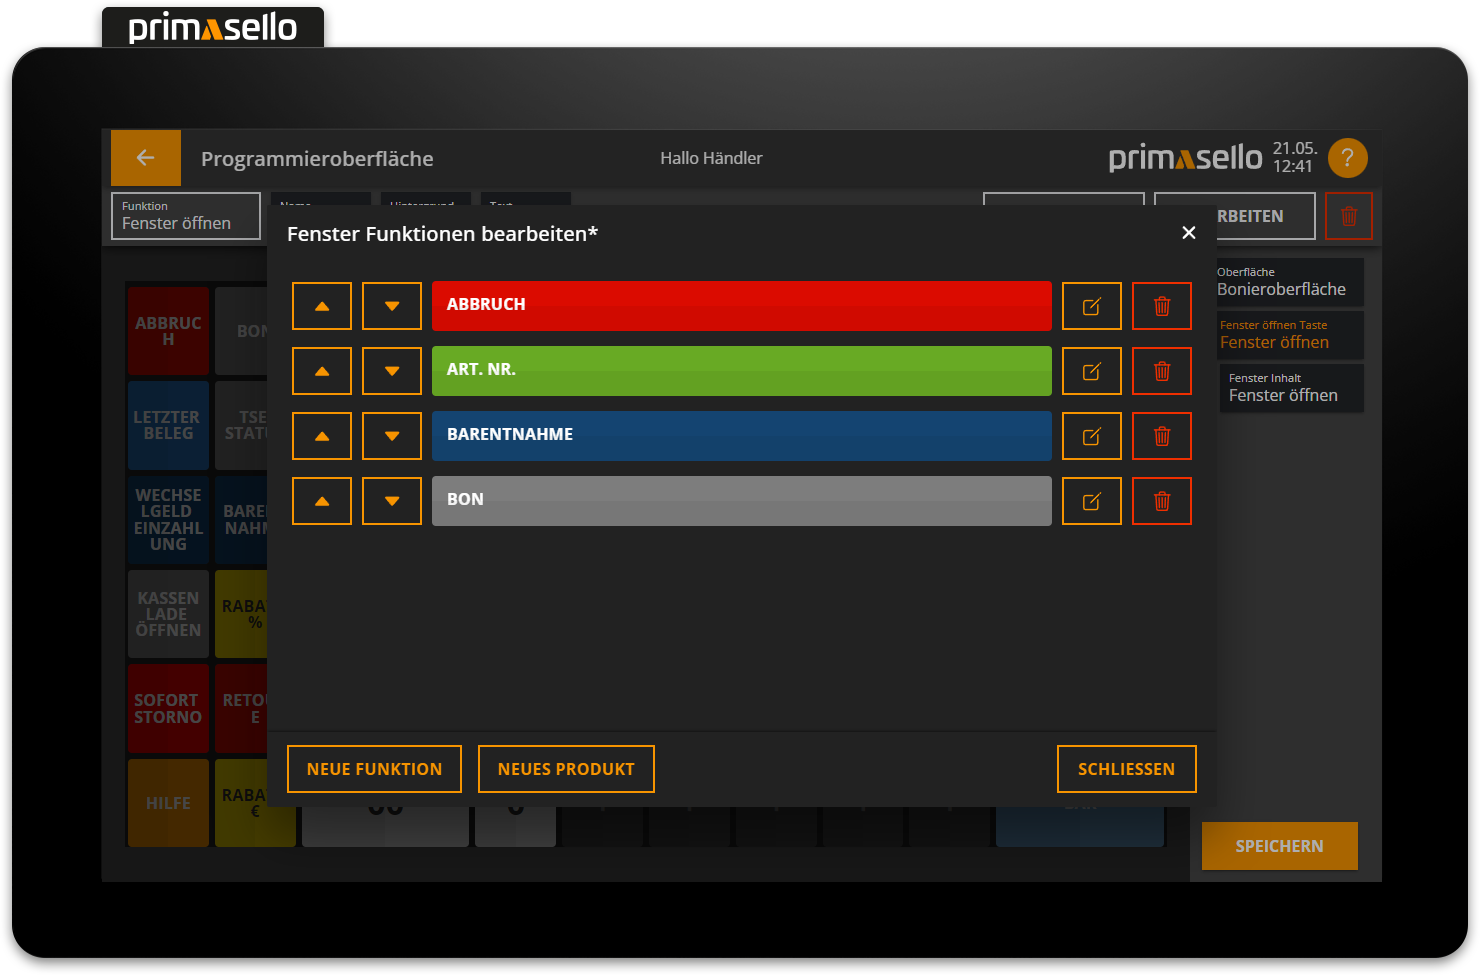
To do this, press the two arrow keys at the beginning of the line to move the entry up or down. This allows you to move it to the desired position within the list.
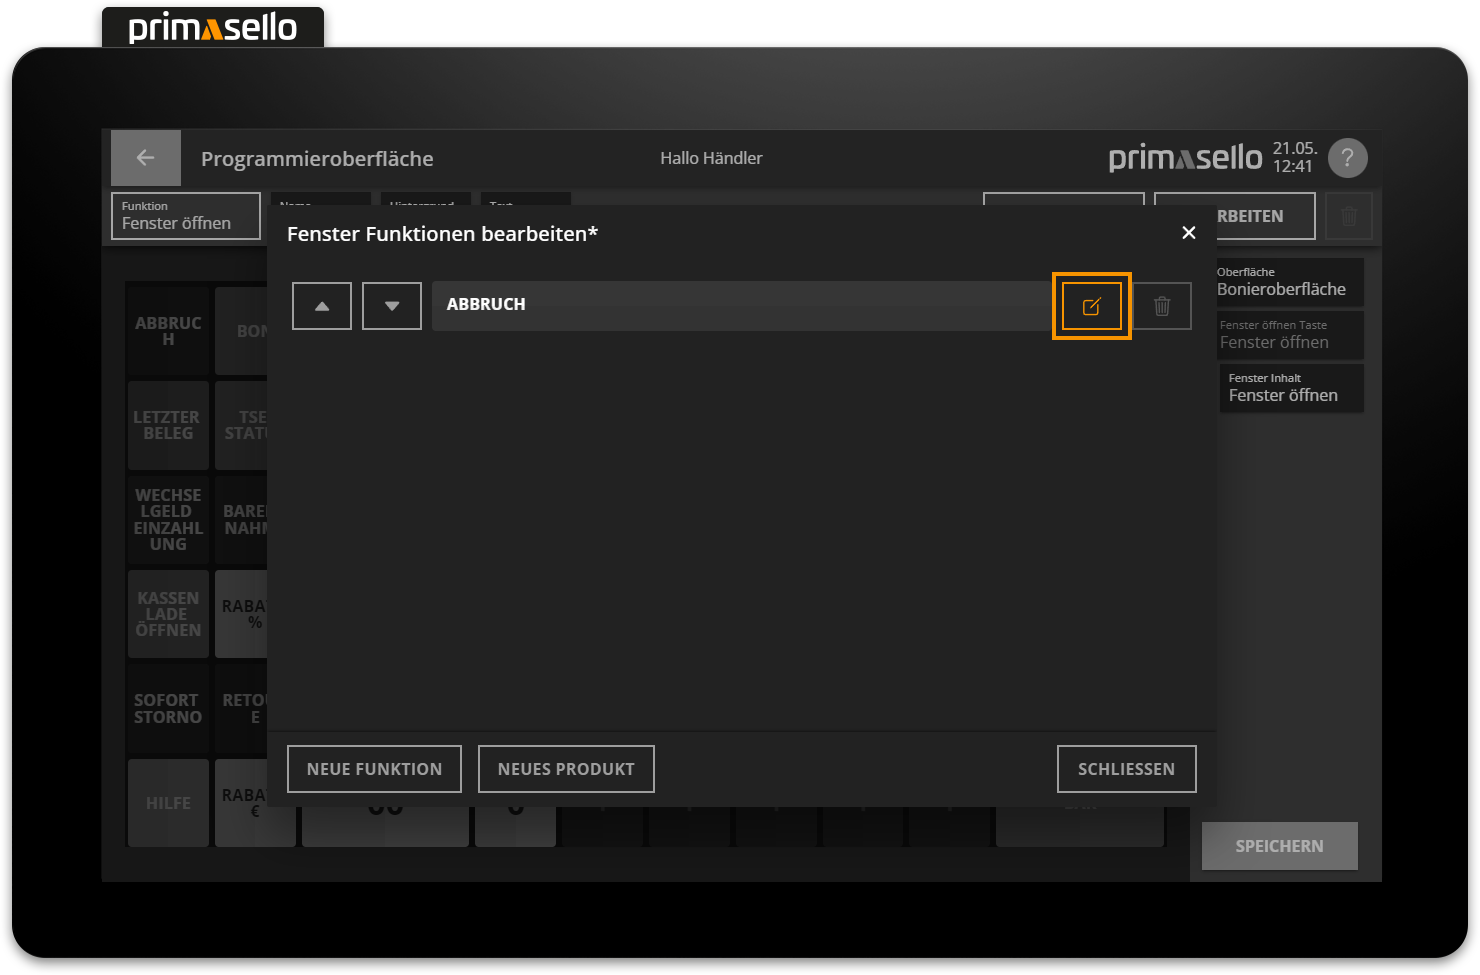
Edit functions
The function entry in a window can be edited in a similar way to a function button on the grid. To do this, press the orange ‘Edit’ icon at the end of the line.
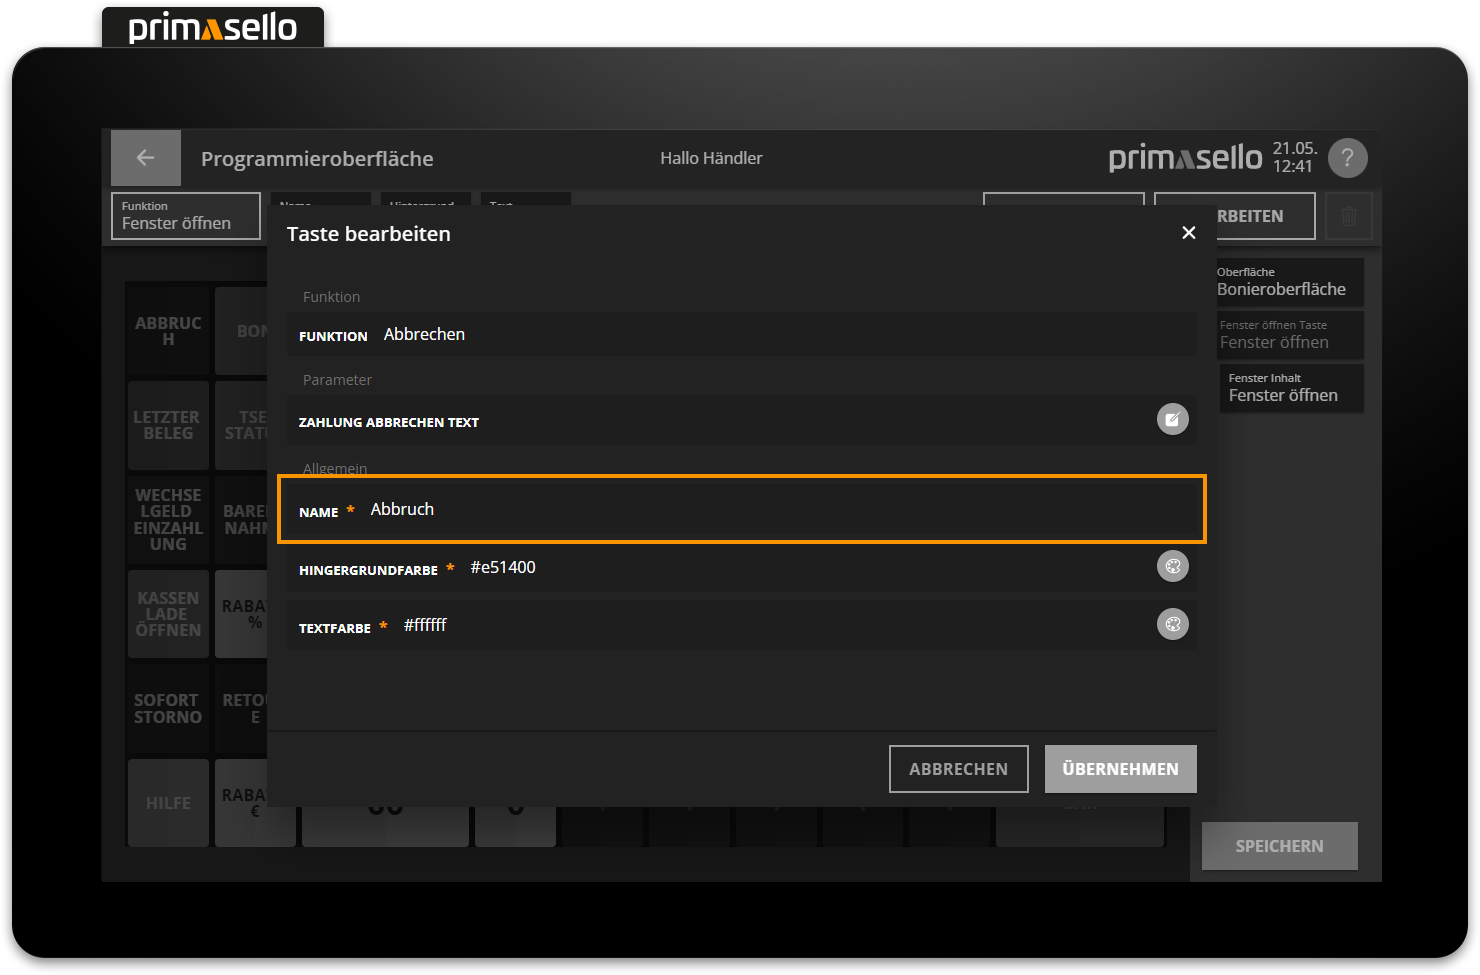
The editing window opens, where you can change the name, colours and, if necessary, the type of function.

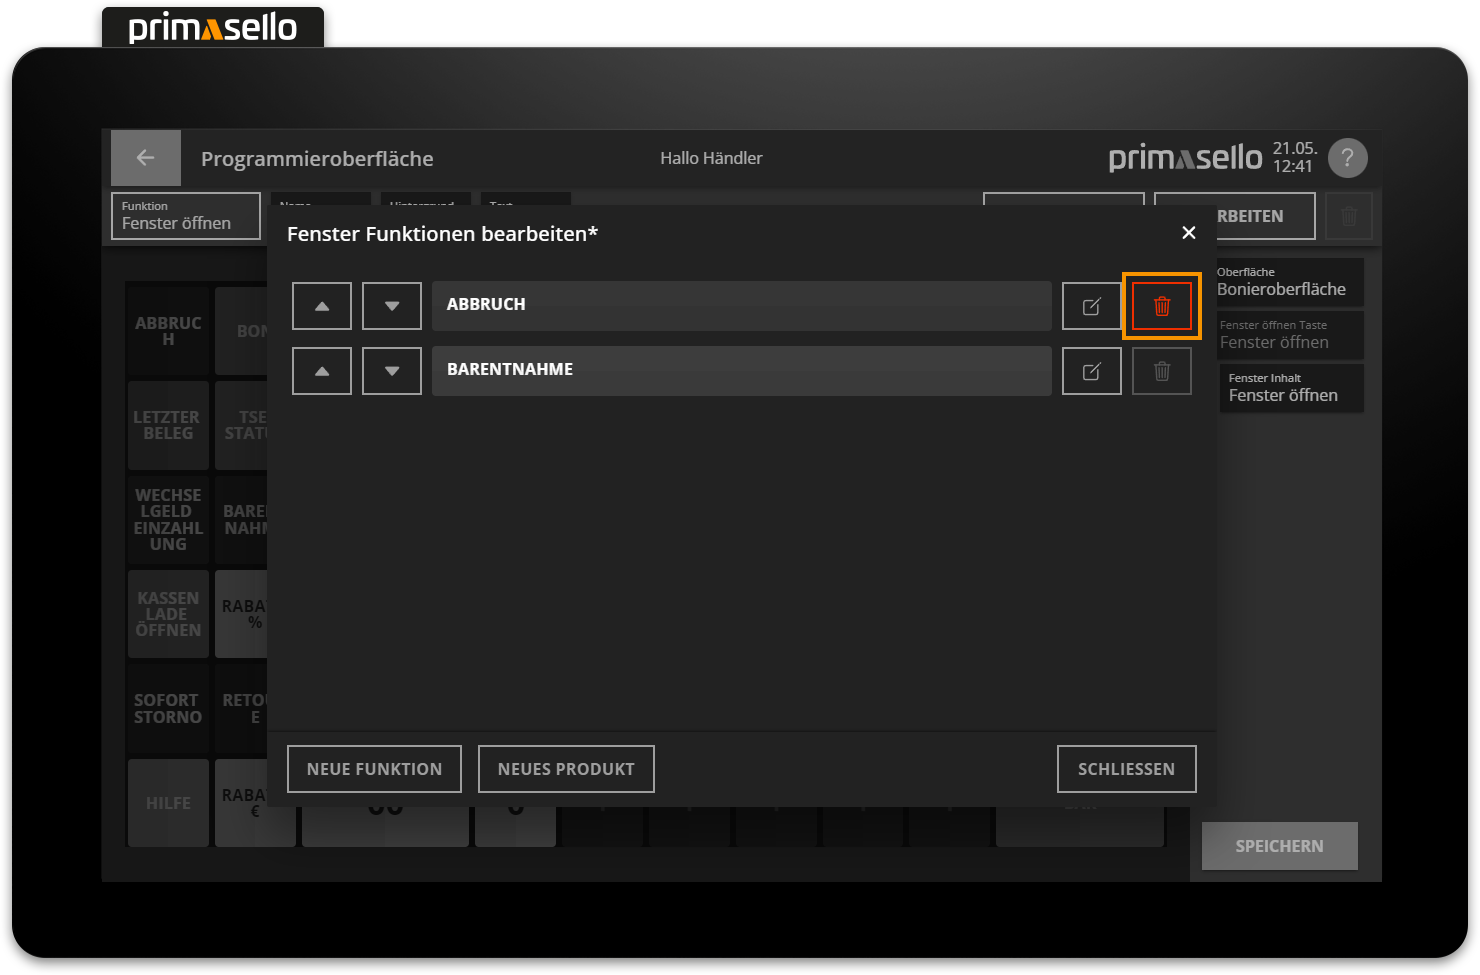
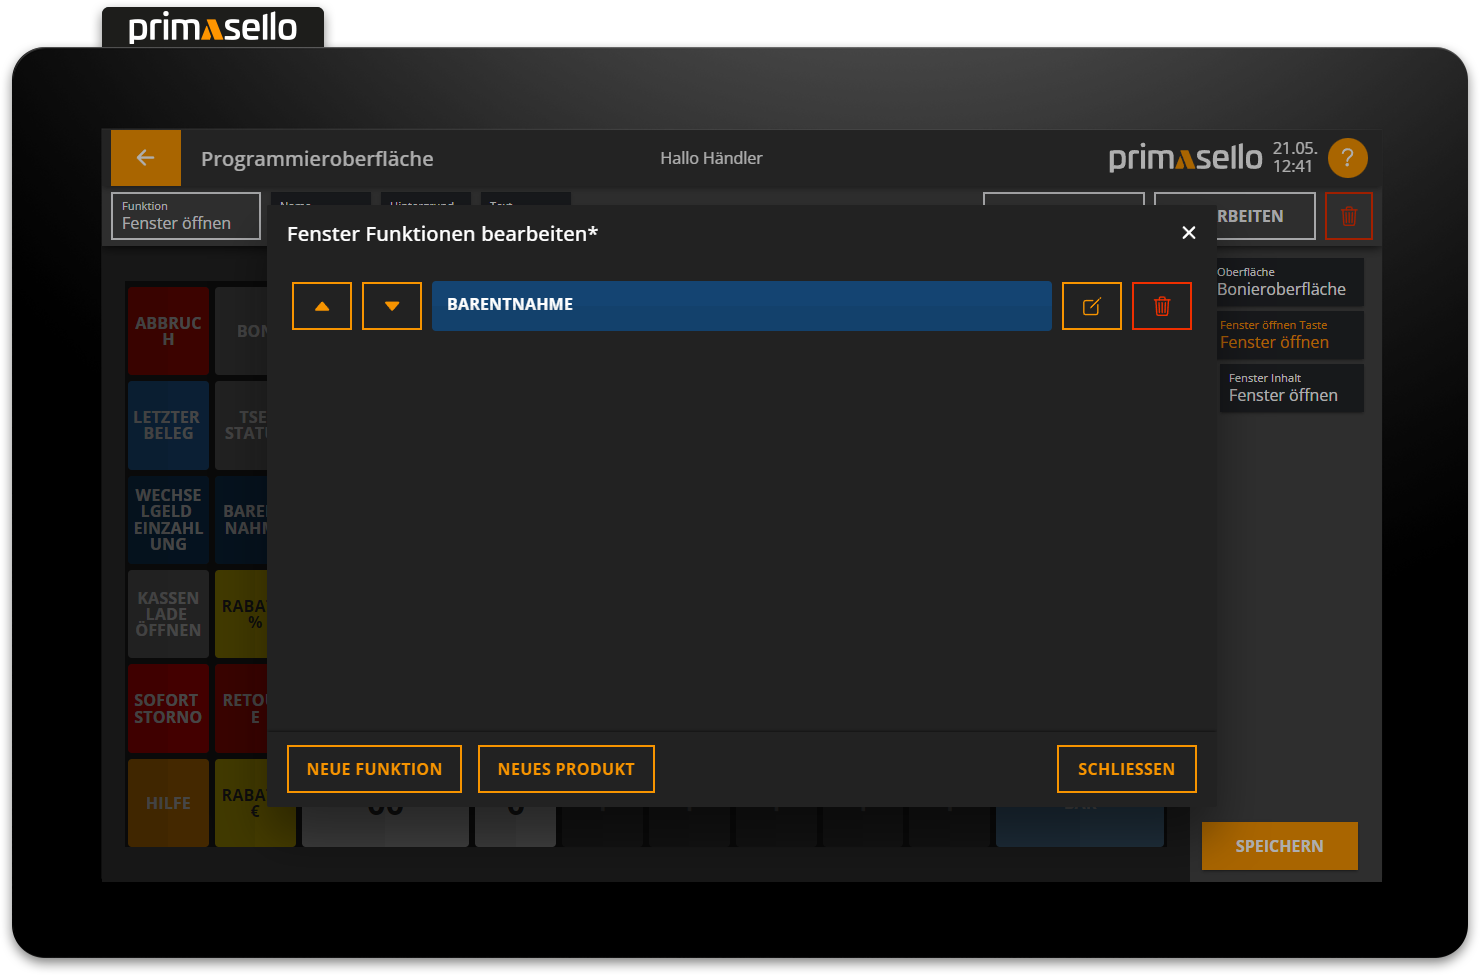
Delete functions
A function entry can be deleted from the list within the window by clicking on the red ‘trash can’ icon at the end of the line.
Save settings
Pressing the orange ‘Apply’ button in the lower right corner saves the functions in the window. Editing a window can be terminated by pressing the ‘Cancel’ button or by pressing the ‘x’ button in the upper right corner - all settings will be lost.
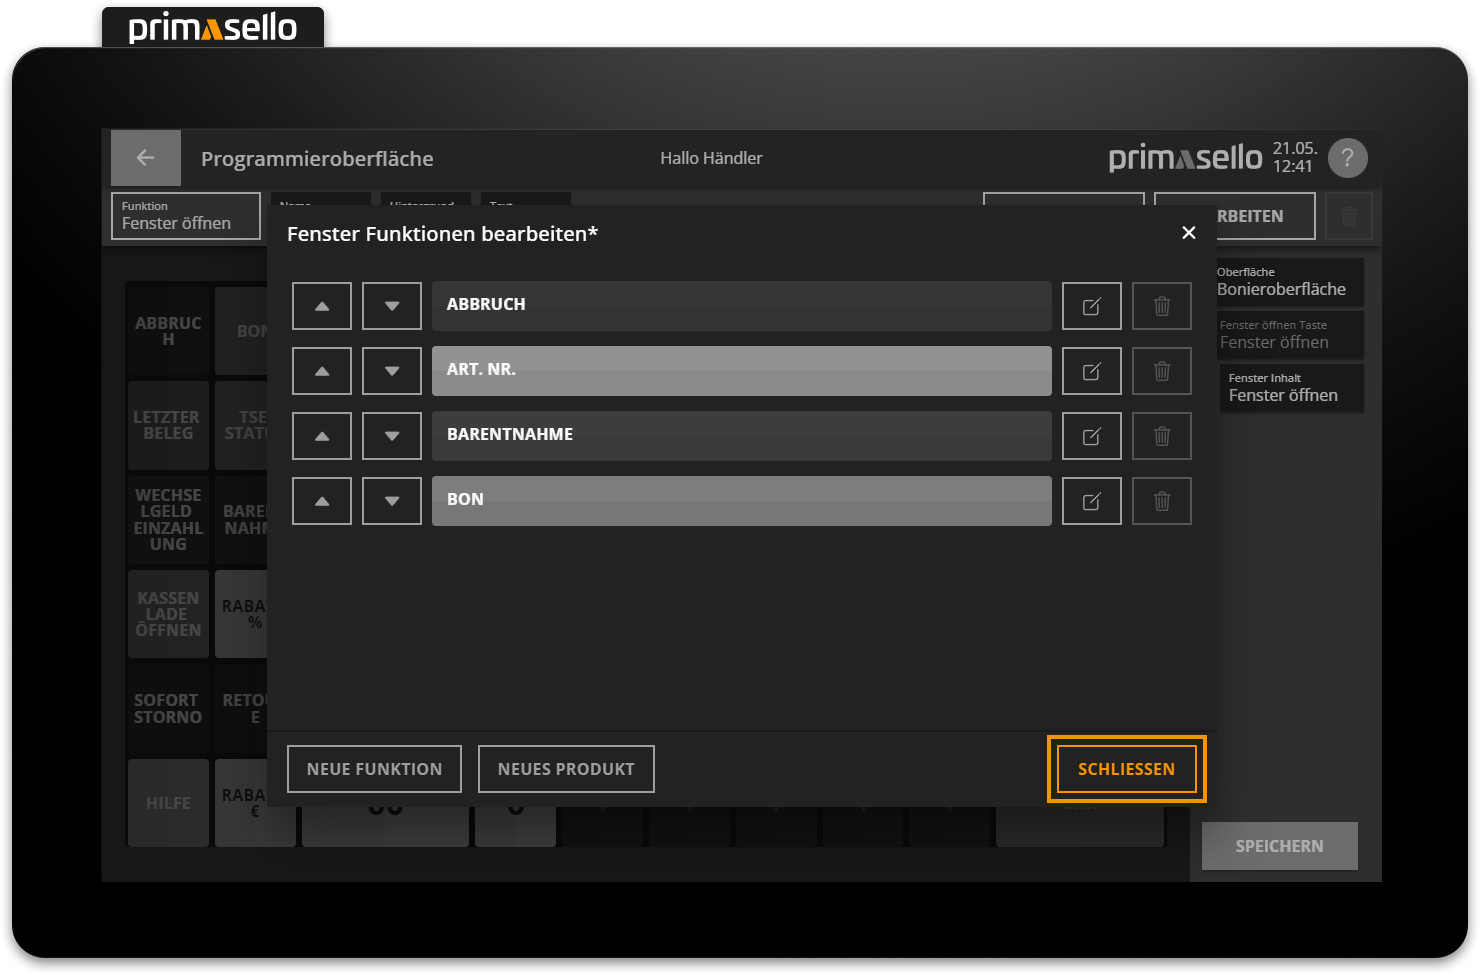
When the ‘Apply’ button is pressed, the window closes and the ‘Open window’ button appears on the programming interface.
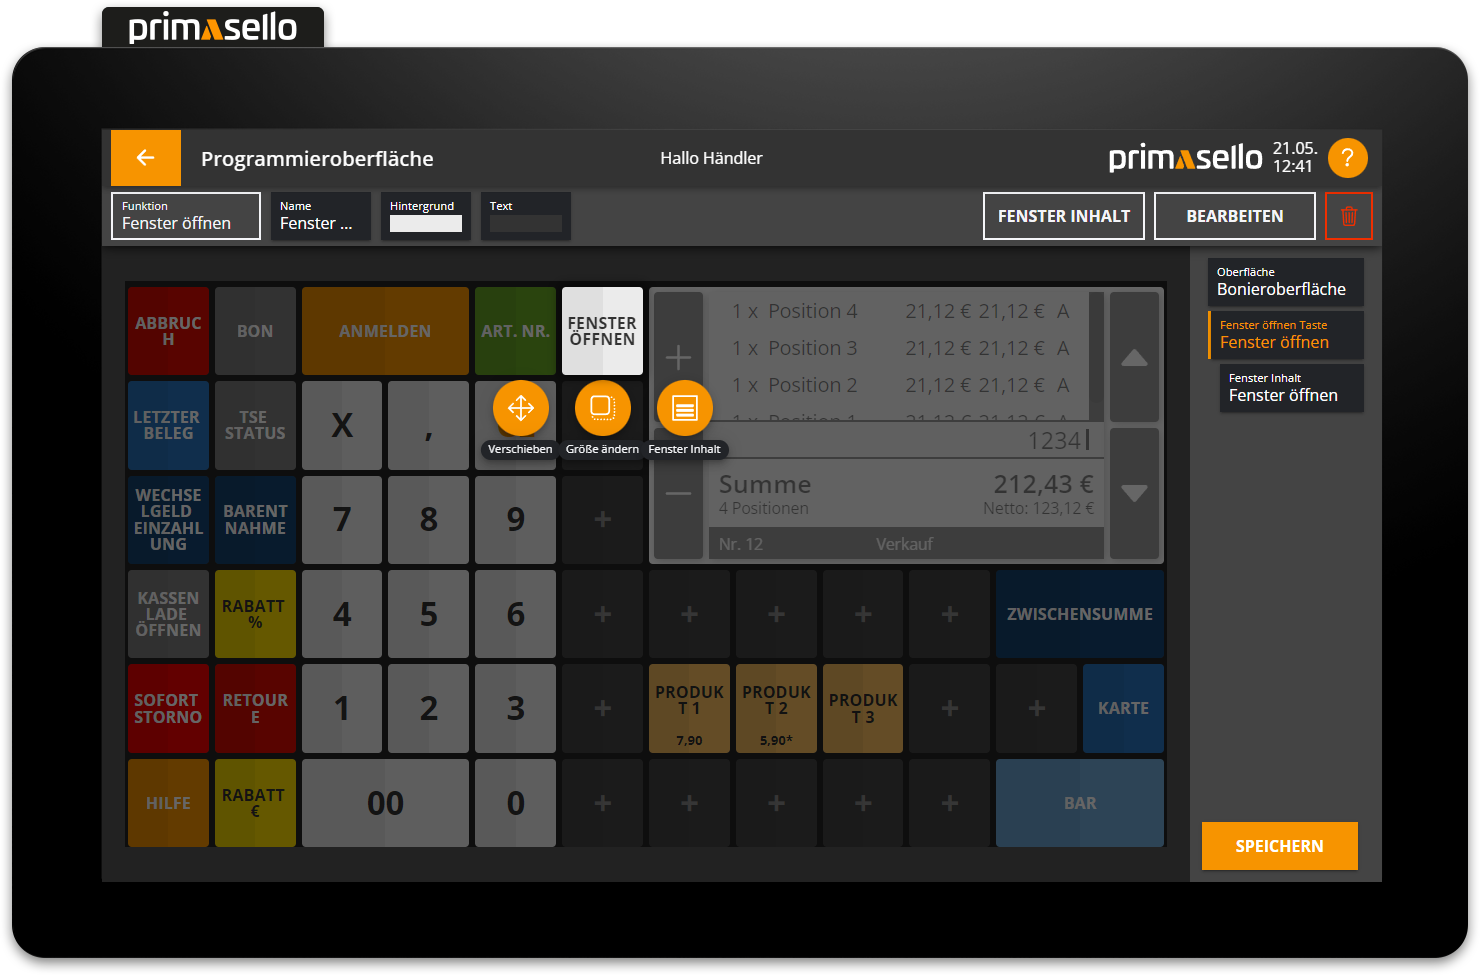
Edit function button / Edit function entries
Pressing the ‘Open Window’ button on the grid or in the navigation bar opens a button menu for editing the function button. To edit the functions within the window, press the ‘Window Content’ button in the button menu or the ‘Window Content’ area in the navigation bar. The window for editing the function entries in the window opens. To exit the window, press the ‘Cancel’ button in the lower right corner. The ‘Open Window’ button is now selected again and can be edited.