With the external receipt printer, Epson EPOS printers can also be used as receipt printers alongside the integrated printer.
Configuration
To configure an external receipt printer, press the ‘Receipt printer’ button in the main menu.
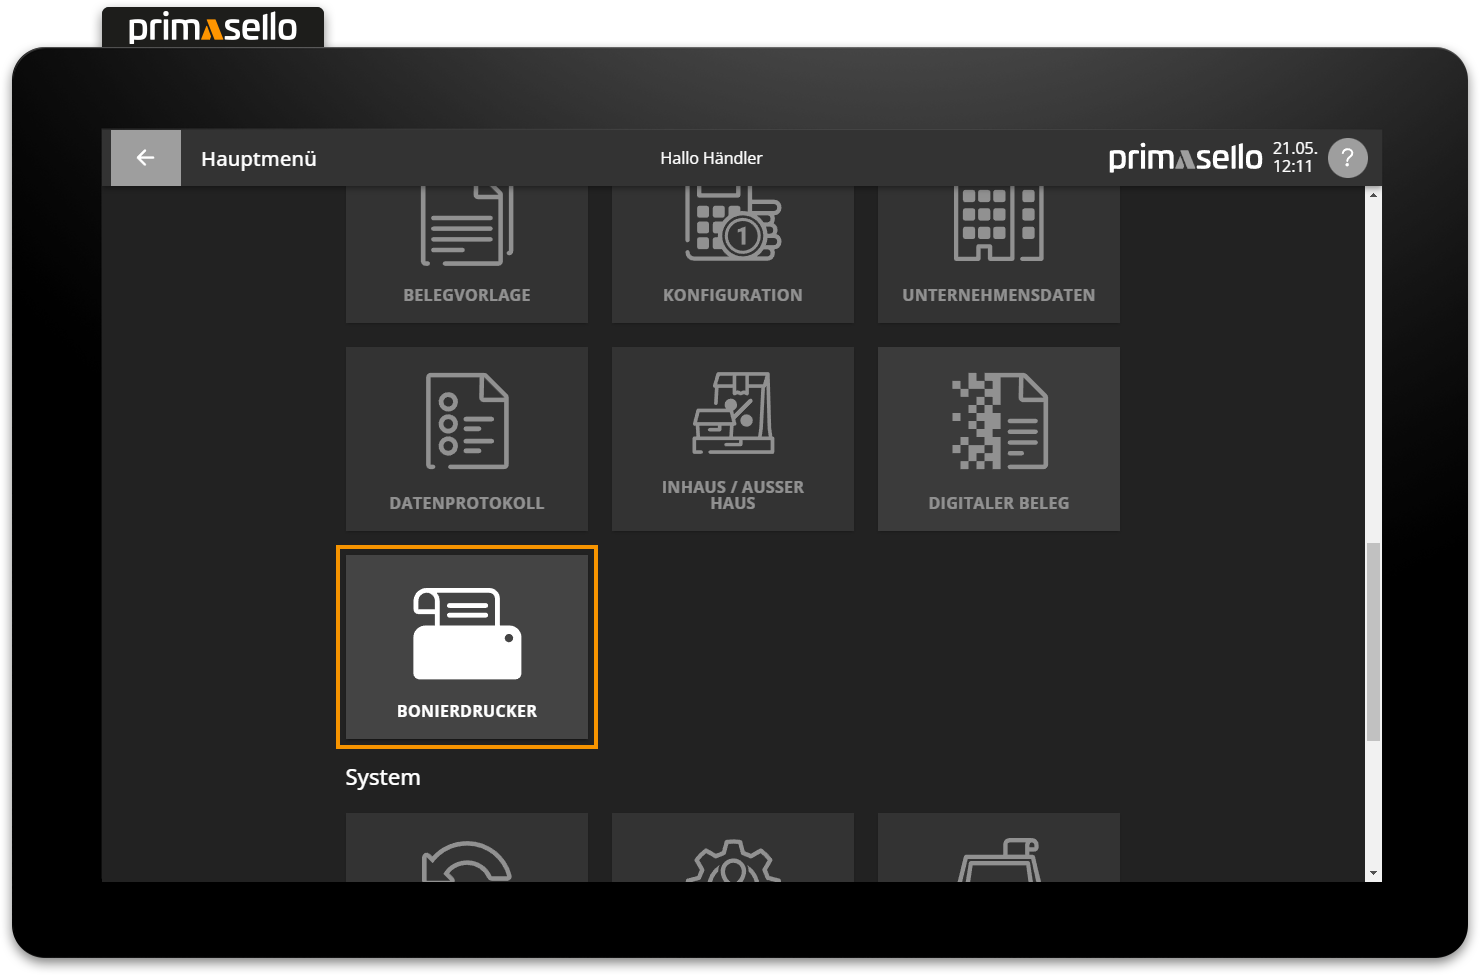
A list of all available receipt printers will open. To add a new external receipt printer, press the orange ‘Plus’ button in the lower right corner. The receipt printer configuration will be displayed in the window that opens, where you can now change the type to ‘external receipt printer’.
Tip
A detailed description of how to configure the receipt printer can be found under Programming > Receipt Printer.
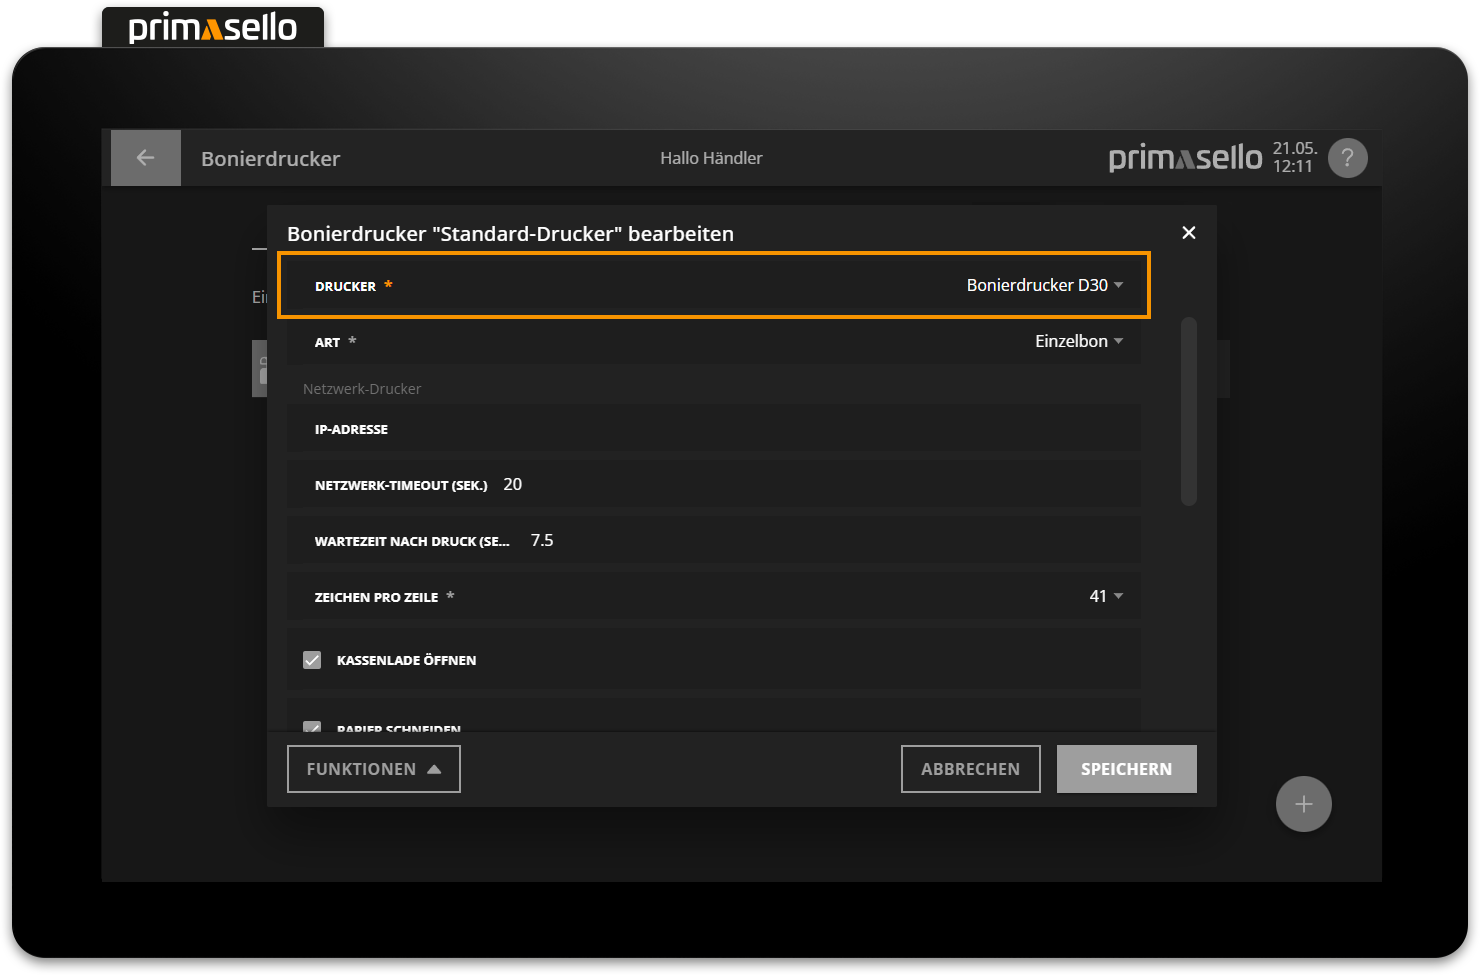
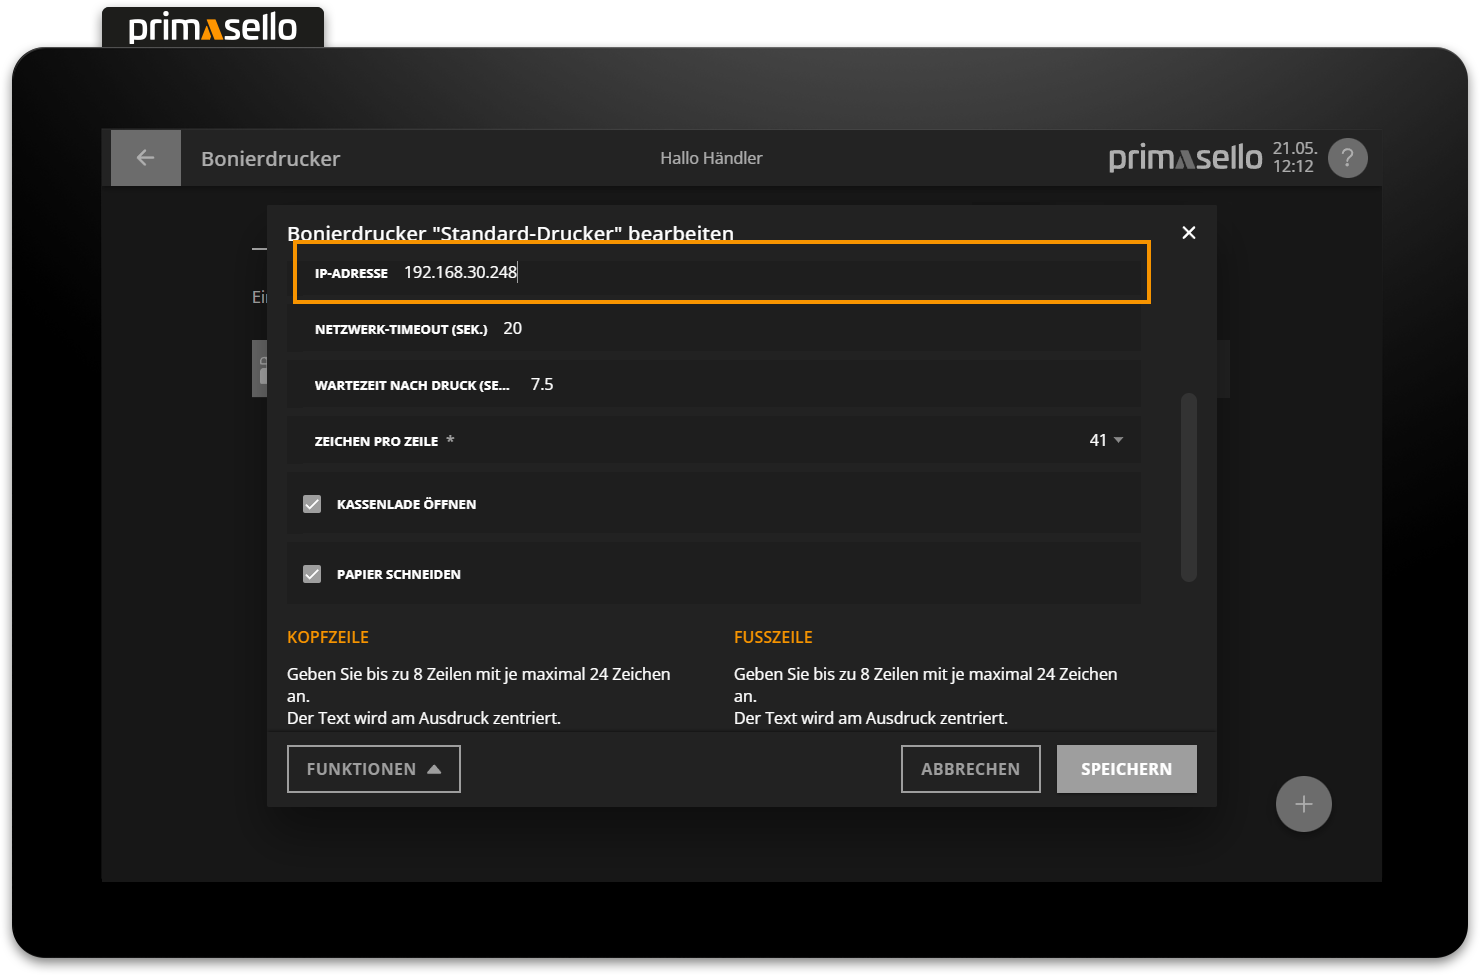
The printer's IP address is then specified and, optionally, the default values for the timeouts can be changed.
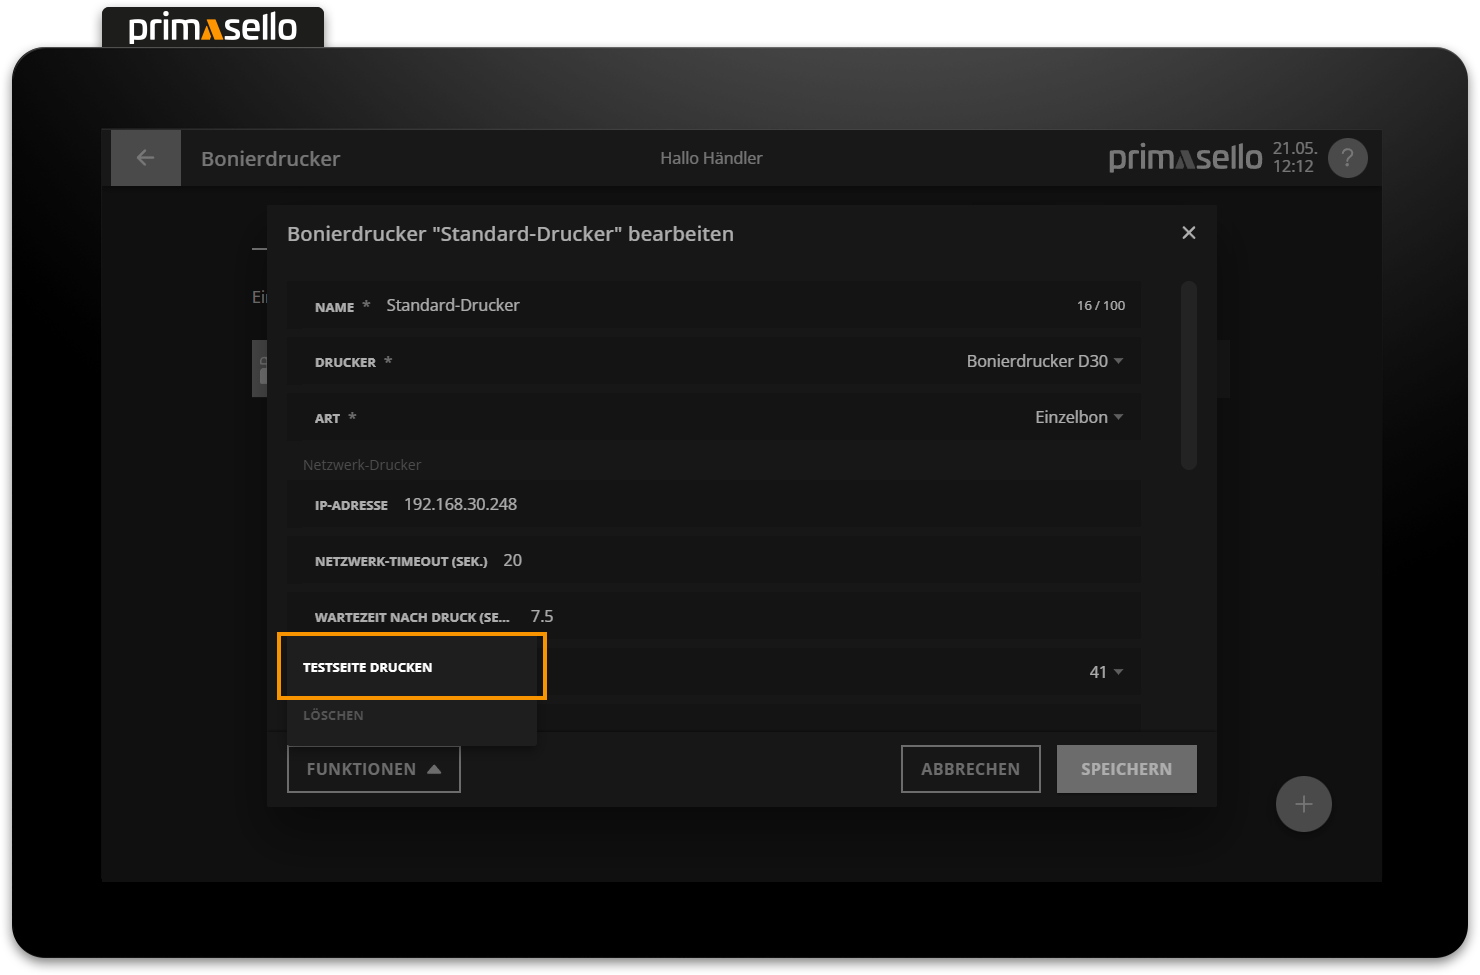
The connection to the printer can be tested using the ‘Test Print’ button in the ‘Functions’ submenu. If the connection is successful, a test printout will be printed on the new receipt printer.
To use the new receipt printer for printing order receipts, it can be stored for the respective product groups or individual products.
The assignment of a receipt printer to products is described in the chapter Receipt printer.