Loading Data from a USB Stick
An external USB stick can be connected to the primasello cash register for backing up databases, exporting cash register data or importing databases. In order to save data to or load data from this device, certain requirements have to be met:
USB stick formatted with FAT-32 file system
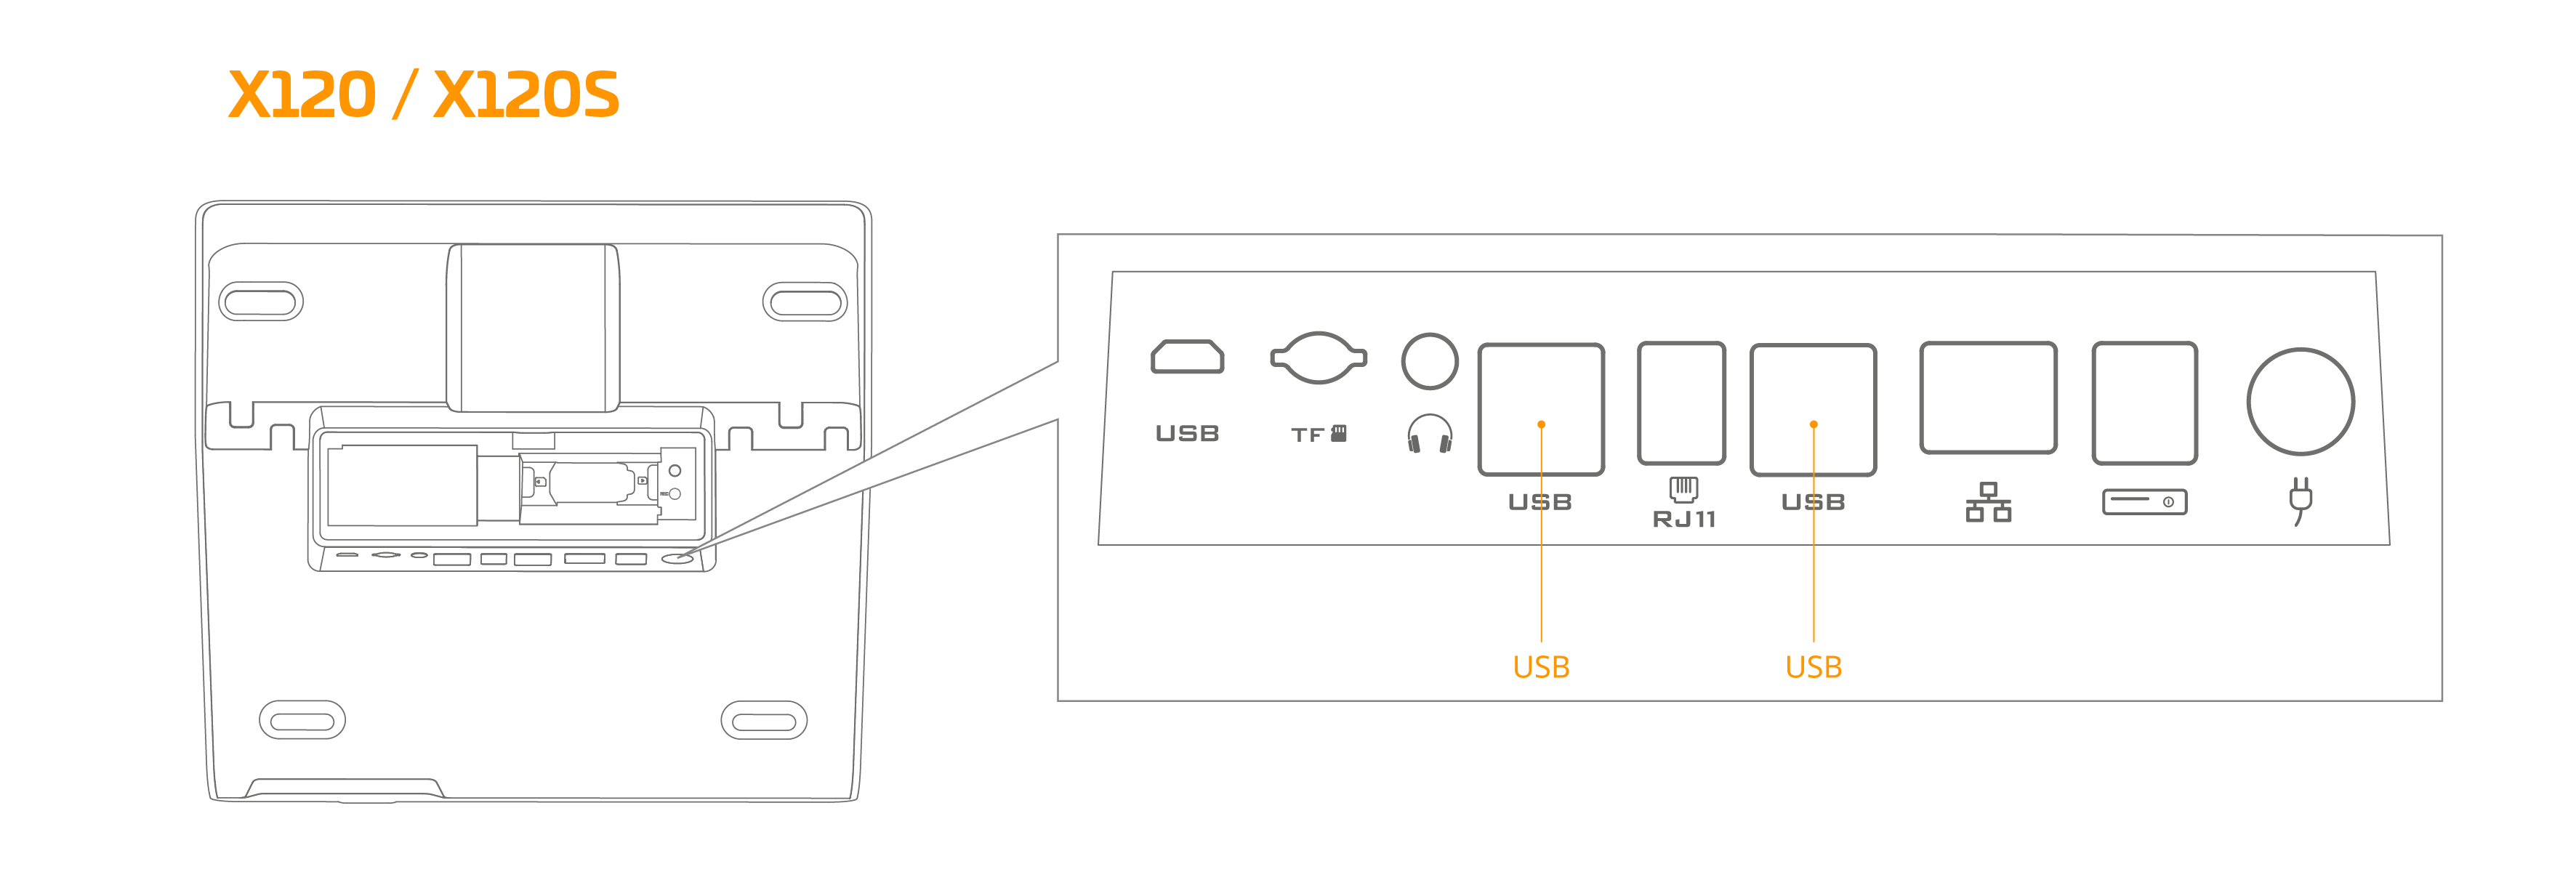
USB stick is connected to one of the USB connectors
Permissions in the operating system are enabled

Save data to USB stick
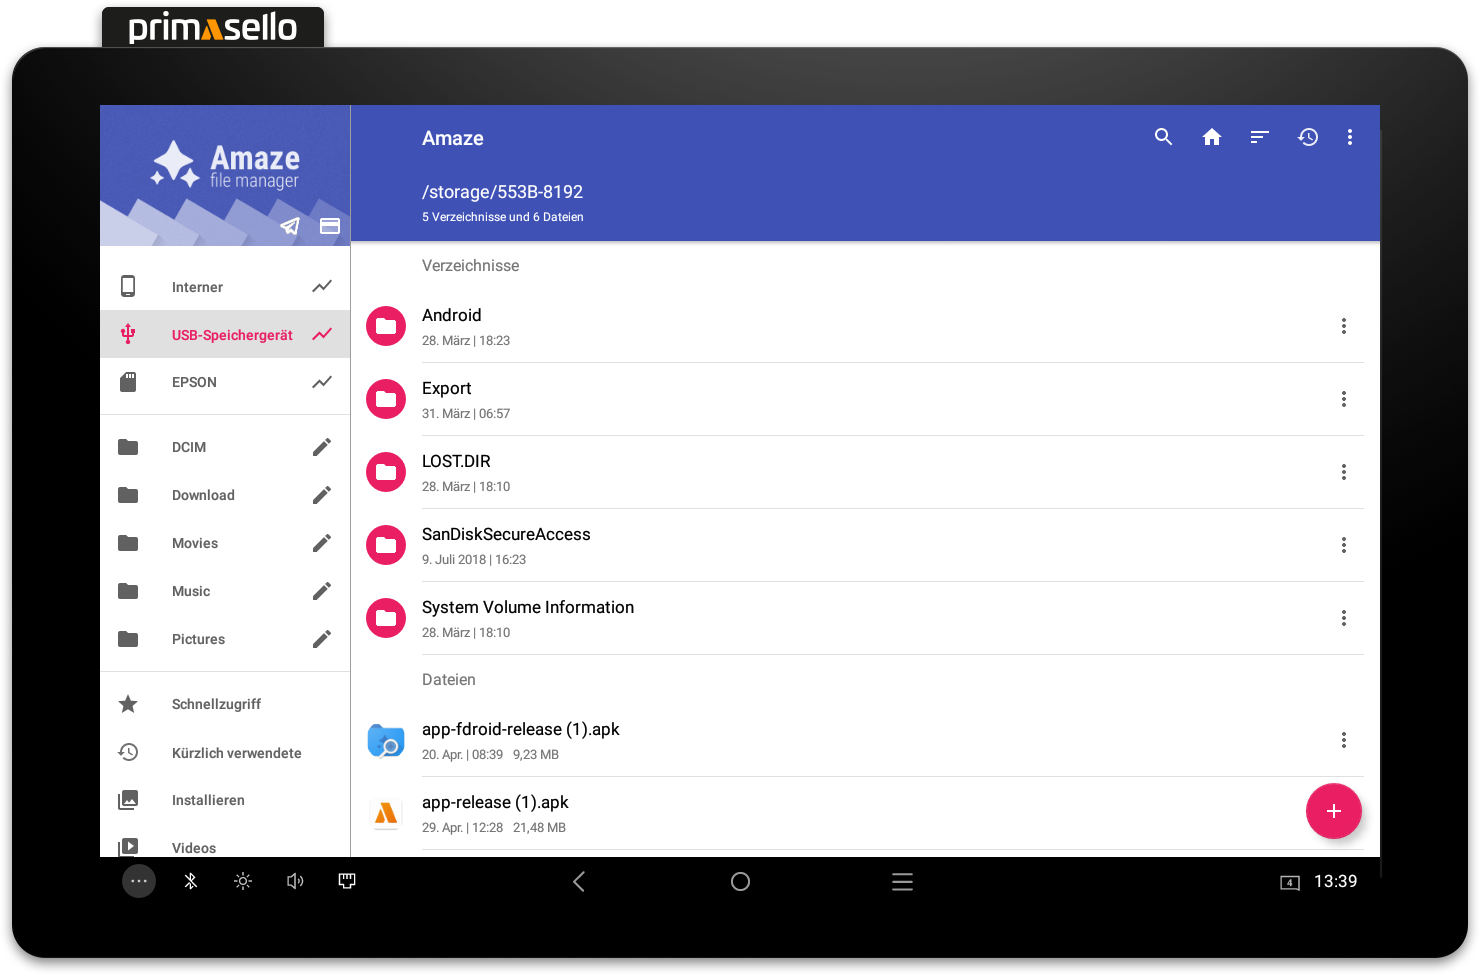
As soon as it is necessary to select a storage location for executing a function in the primasello cash register, a window appears at the bottom of the screen with a selection of available storage locations. Here, select ‘Save as...’ to save the data to the connected USB stick using ‘Amaze’.
The ‘Amaze’ app opens, where file management is carried out. On the left-hand side, you can select the desired storage location in the folder directory. Pressing ‘USB storage device’ displays the contents of the USB stick on the right-hand side. Here, you can select a folder as the storage location or create a new folder using the plus button at the bottom right of the screen.
Once the desired storage location has been selected, press the pink ‘Save’ button at the bottom of the window to save the files to the USB stick. The window will close and a message will appear in the primasello cash register indicating that the file has been saved successfully.
Load data from USB stick
If a file, e.g. a database backup, is to be loaded from a USB stick, a window appears at the bottom of the screen when the function is executed, displaying a selection of available storage media. Here, select ‘Amaze’ to access the data on the connected USB stick.
The ‘Amaze’ app opens, where file management is carried out. On the left-hand side, you can select the storage location in the folder directory. Pressing ‘USB storage device’ displays the contents of the USB stick on the right-hand side. Here you can select the file you want to upload. As soon as you press the entry for the desired file, the ‘Amaze’ app closes and the file is uploaded to the primasello cash register.
Grant permissions in the system
To use an external USB stick, you must first enable permission in the operating system. To do this, perform the following steps in sequence.
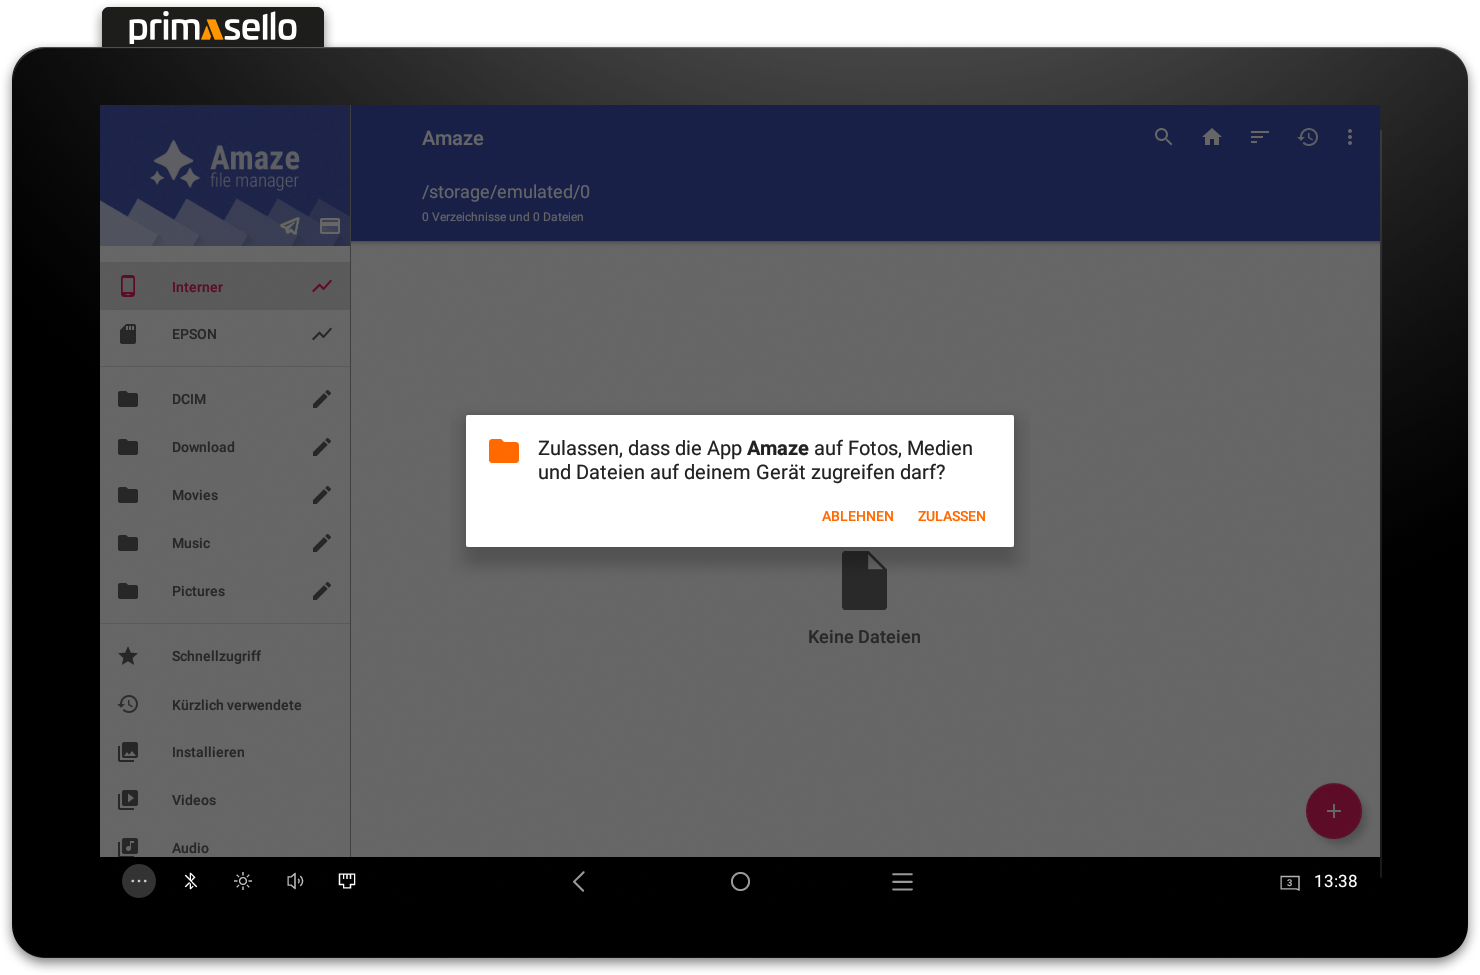
1. Exit kiosk mode and open the Amaze app.
2. Allow access to the device's media data.
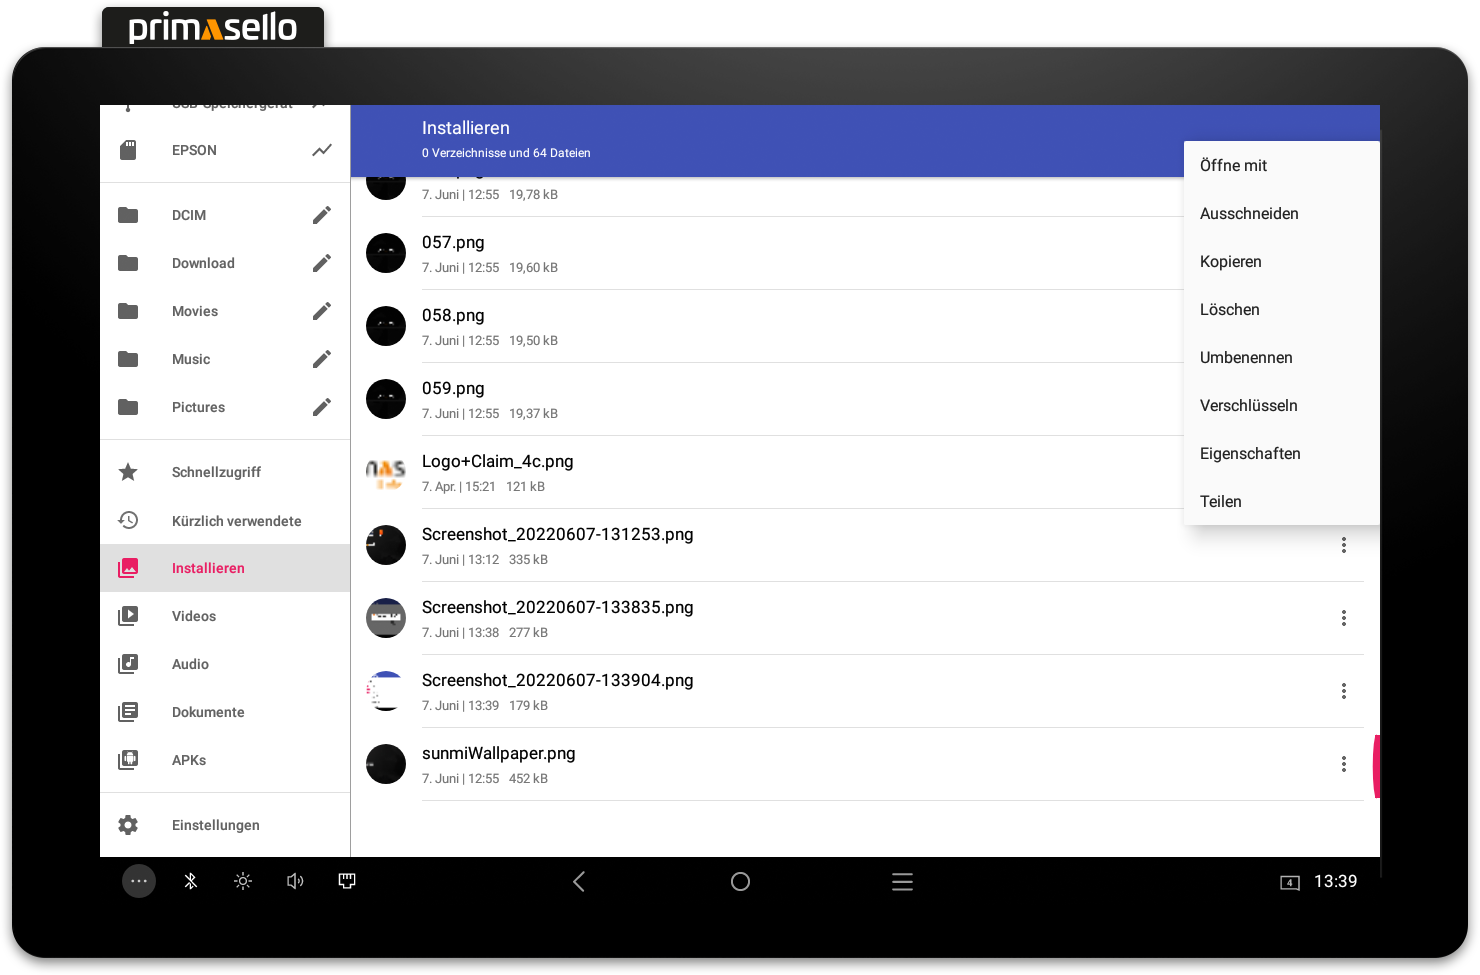
3. Copying a file from the internal memory.
Right-click on the three dots and select ‘Copy’.
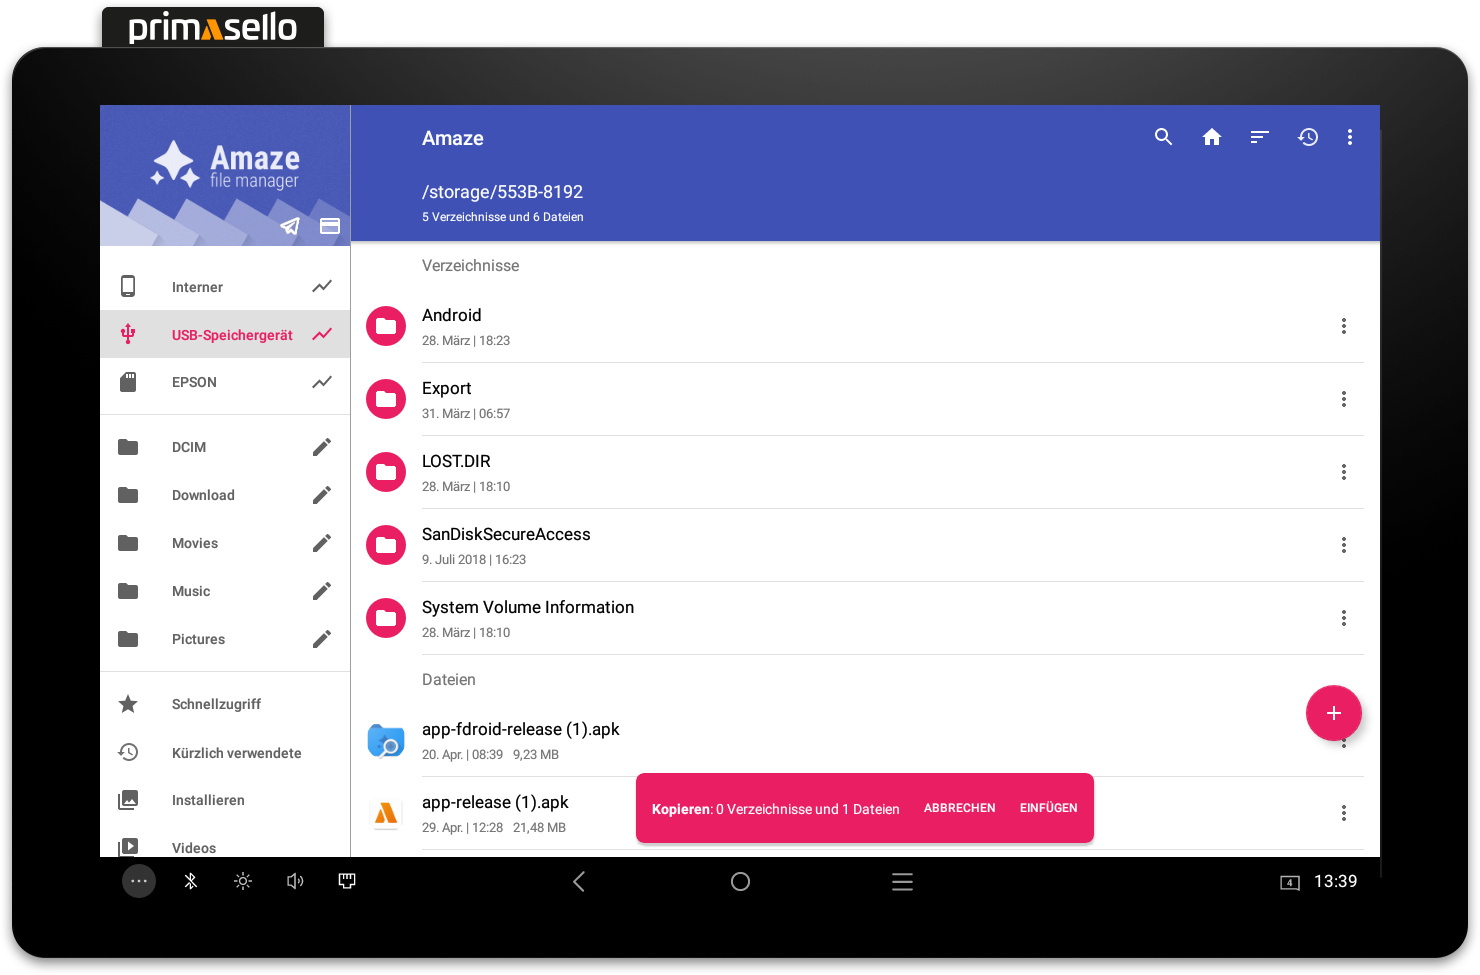
4. Switch to the USB stick and paste the file.
Select your USB stick and click on ‘Insert’ below.
5. Open permissions
Click on "Open".
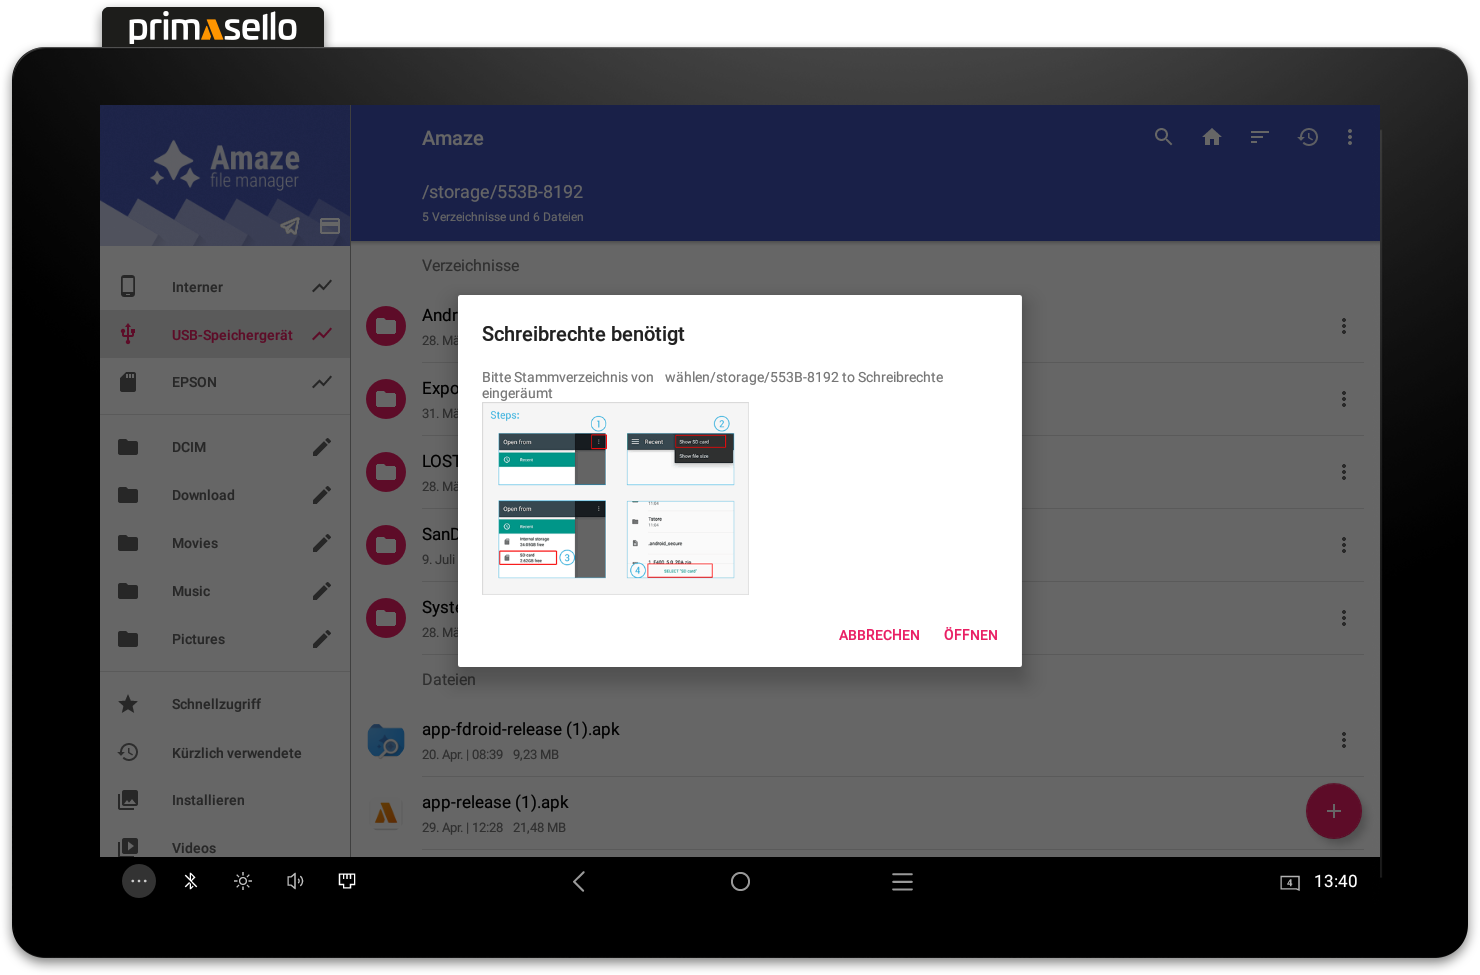
Note
If this window no longer opens automatically, please follow the steps under 'Re-enable permissions' (see below).
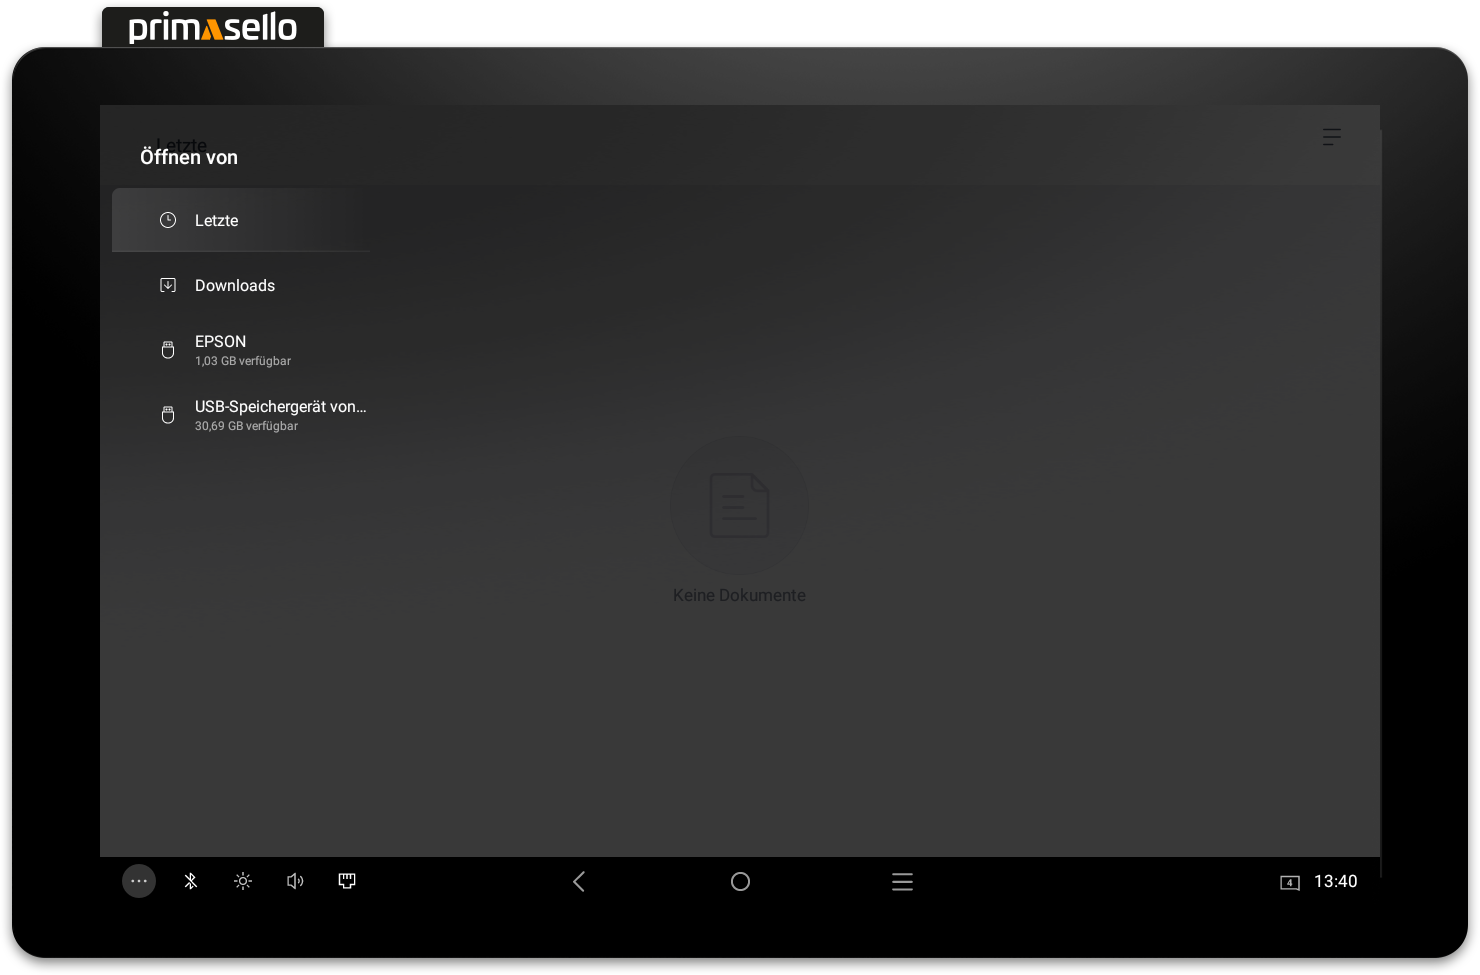
6. Selecting the USB drive
Select your USB stick on the left.
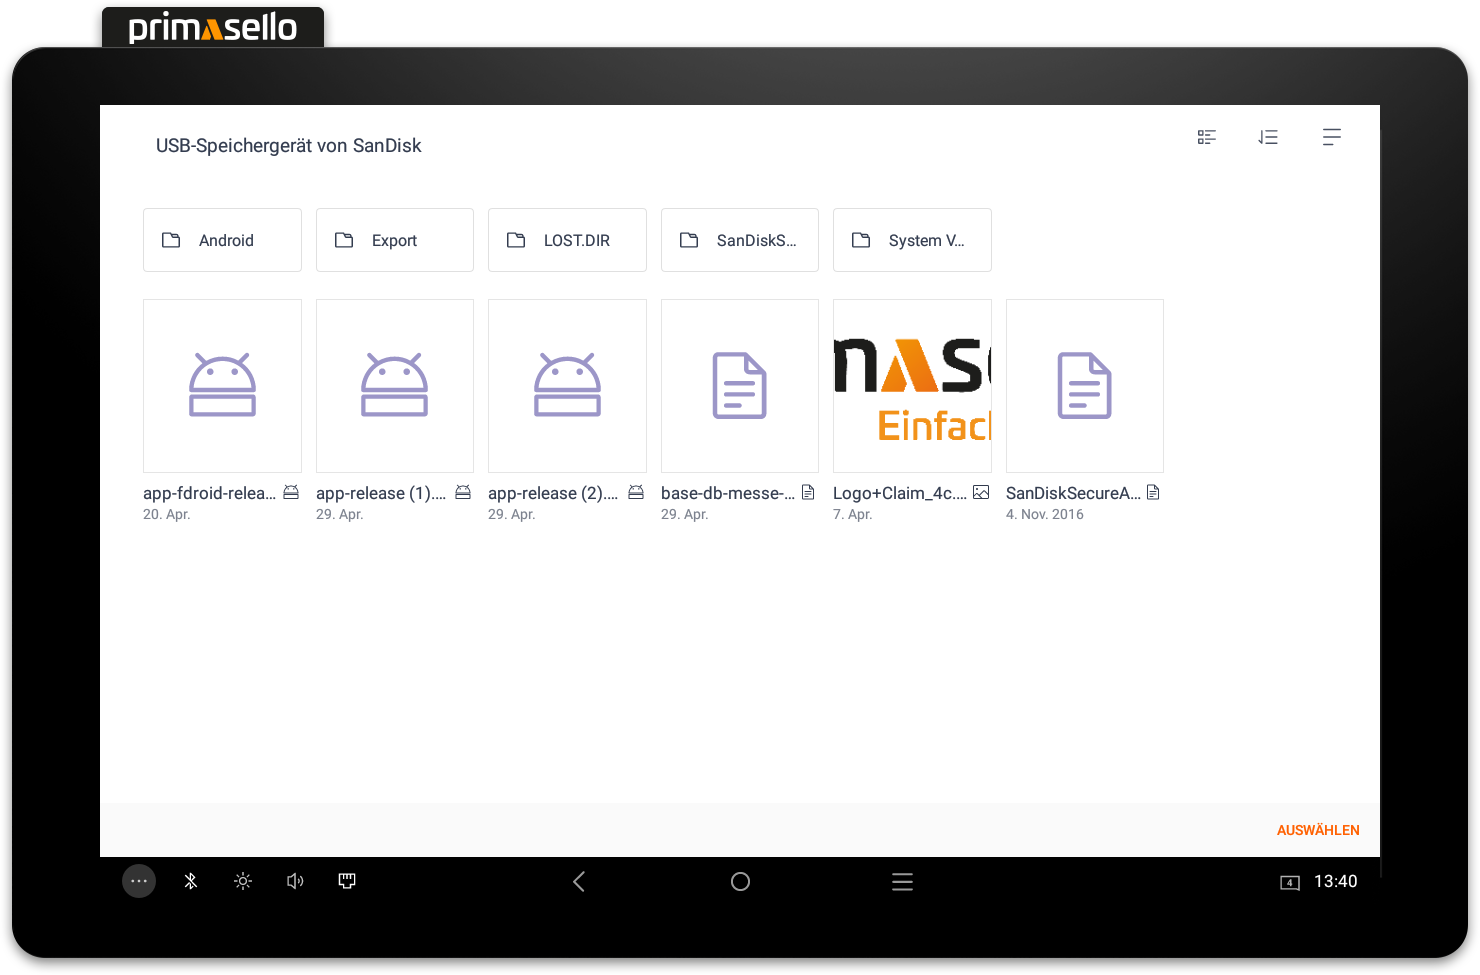
7. Selecting the root directory of the USB stick
Simply click on "Select" at the bottom left.
8. The file is copied. Leave the USB stick inserted for another 5 minutes before removing it so that the file can be written completely.
Re-enable permissions
If the permissions no longer work due to an incorrect selection in the previous step, the following steps are necessary:
To do this, go to Settings under Apps.
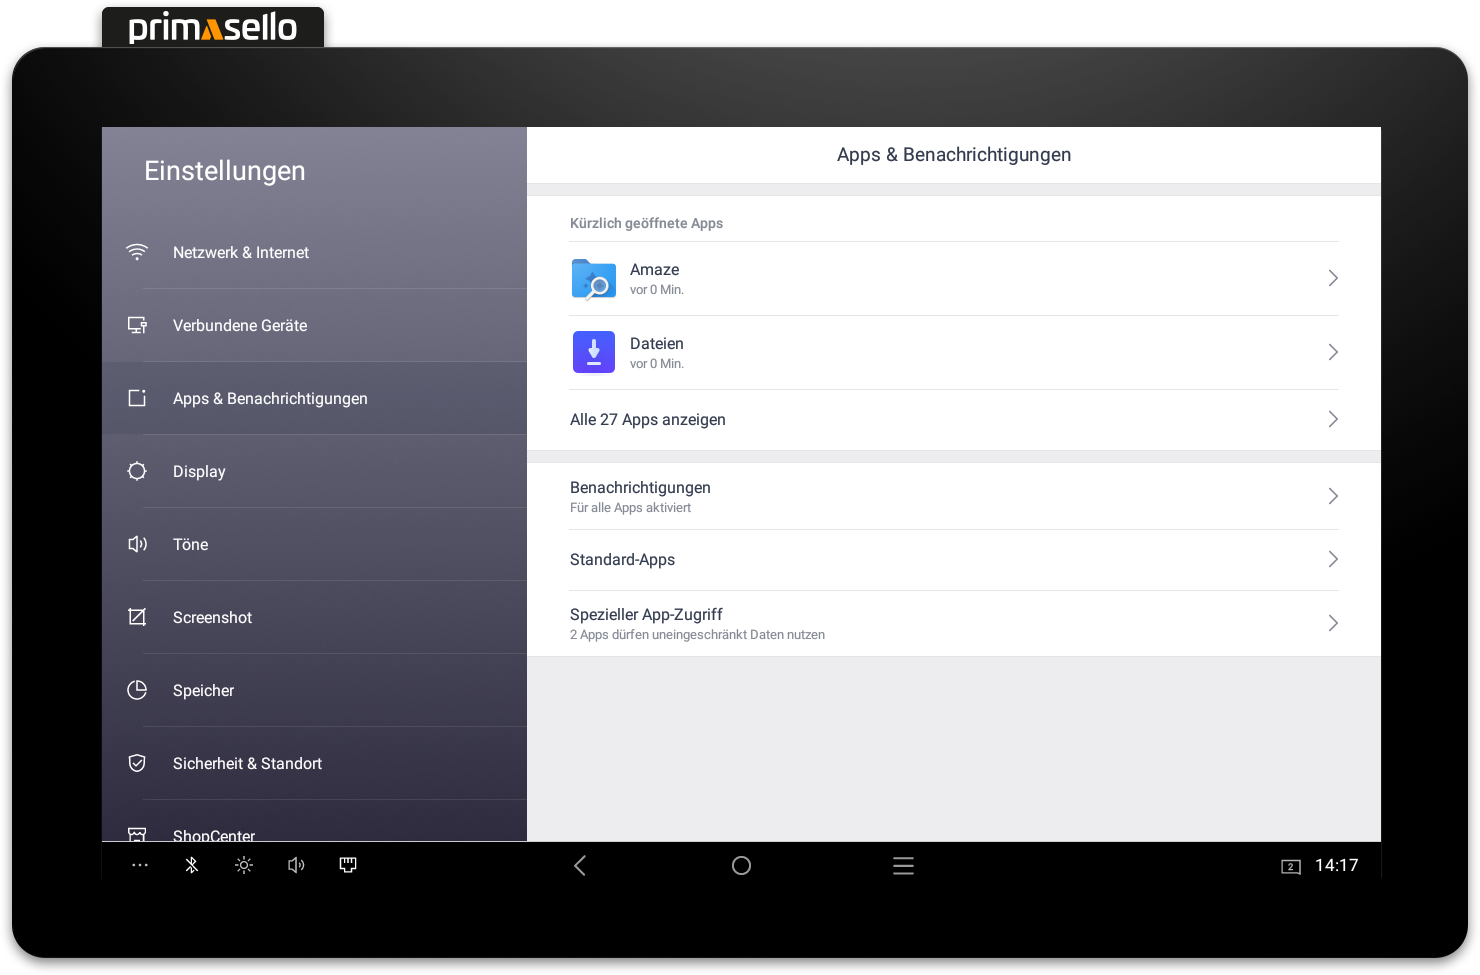
Select the ‘Amaze’ app.

Then select Memory.
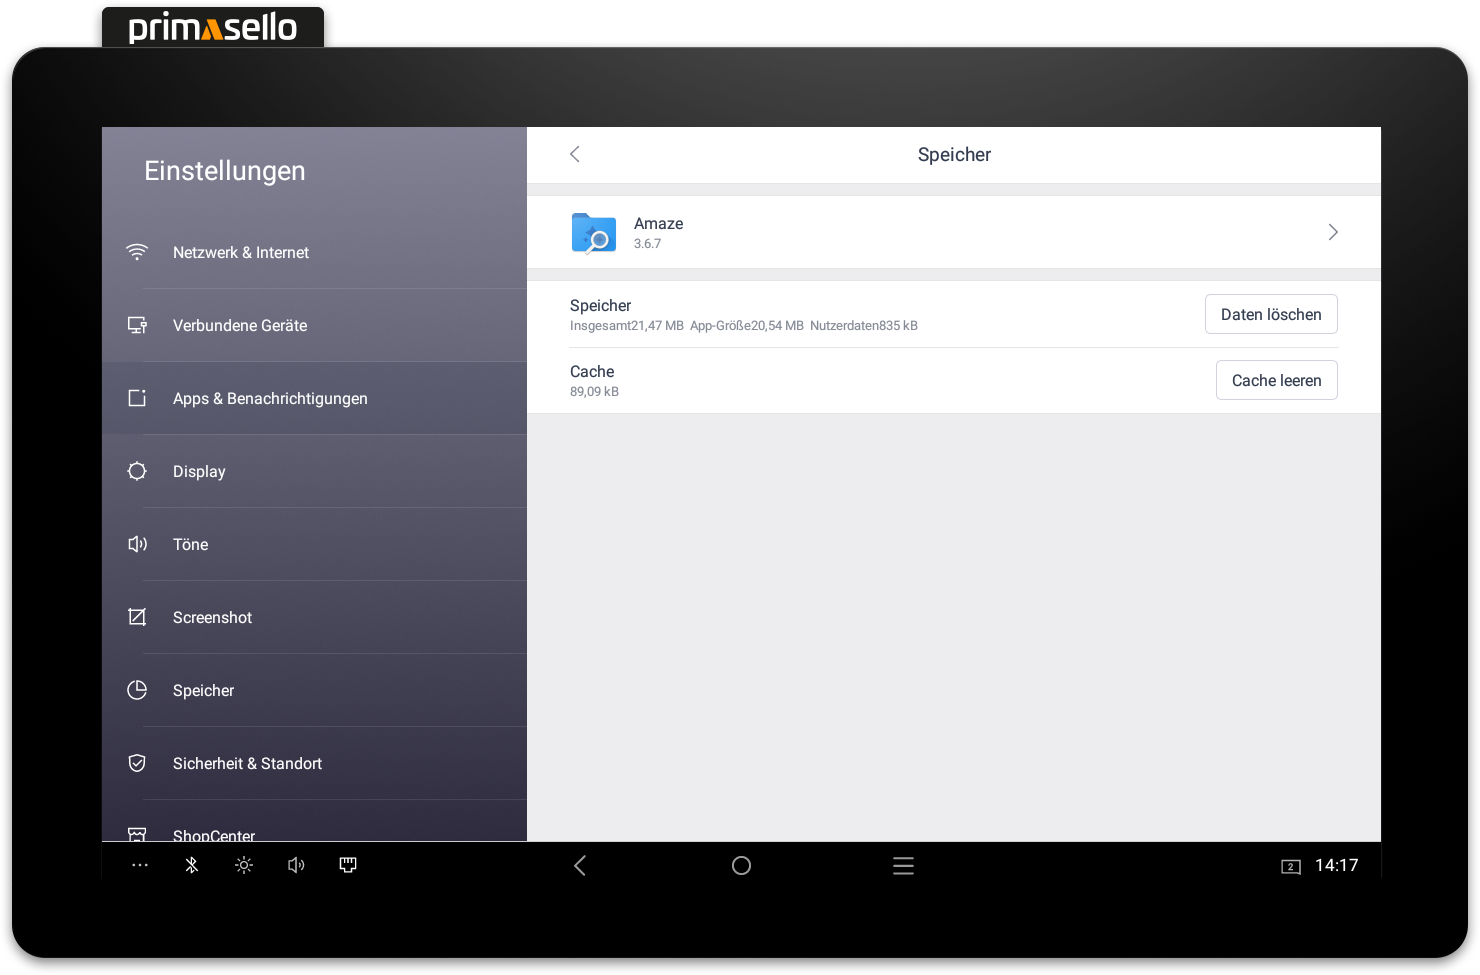
Now delete the data (Delete data / Clear cache).
Now perform this action for the ‘Files’ app in the same way as for Amaze.
Transfer data to an external Windows device via Bluetooth
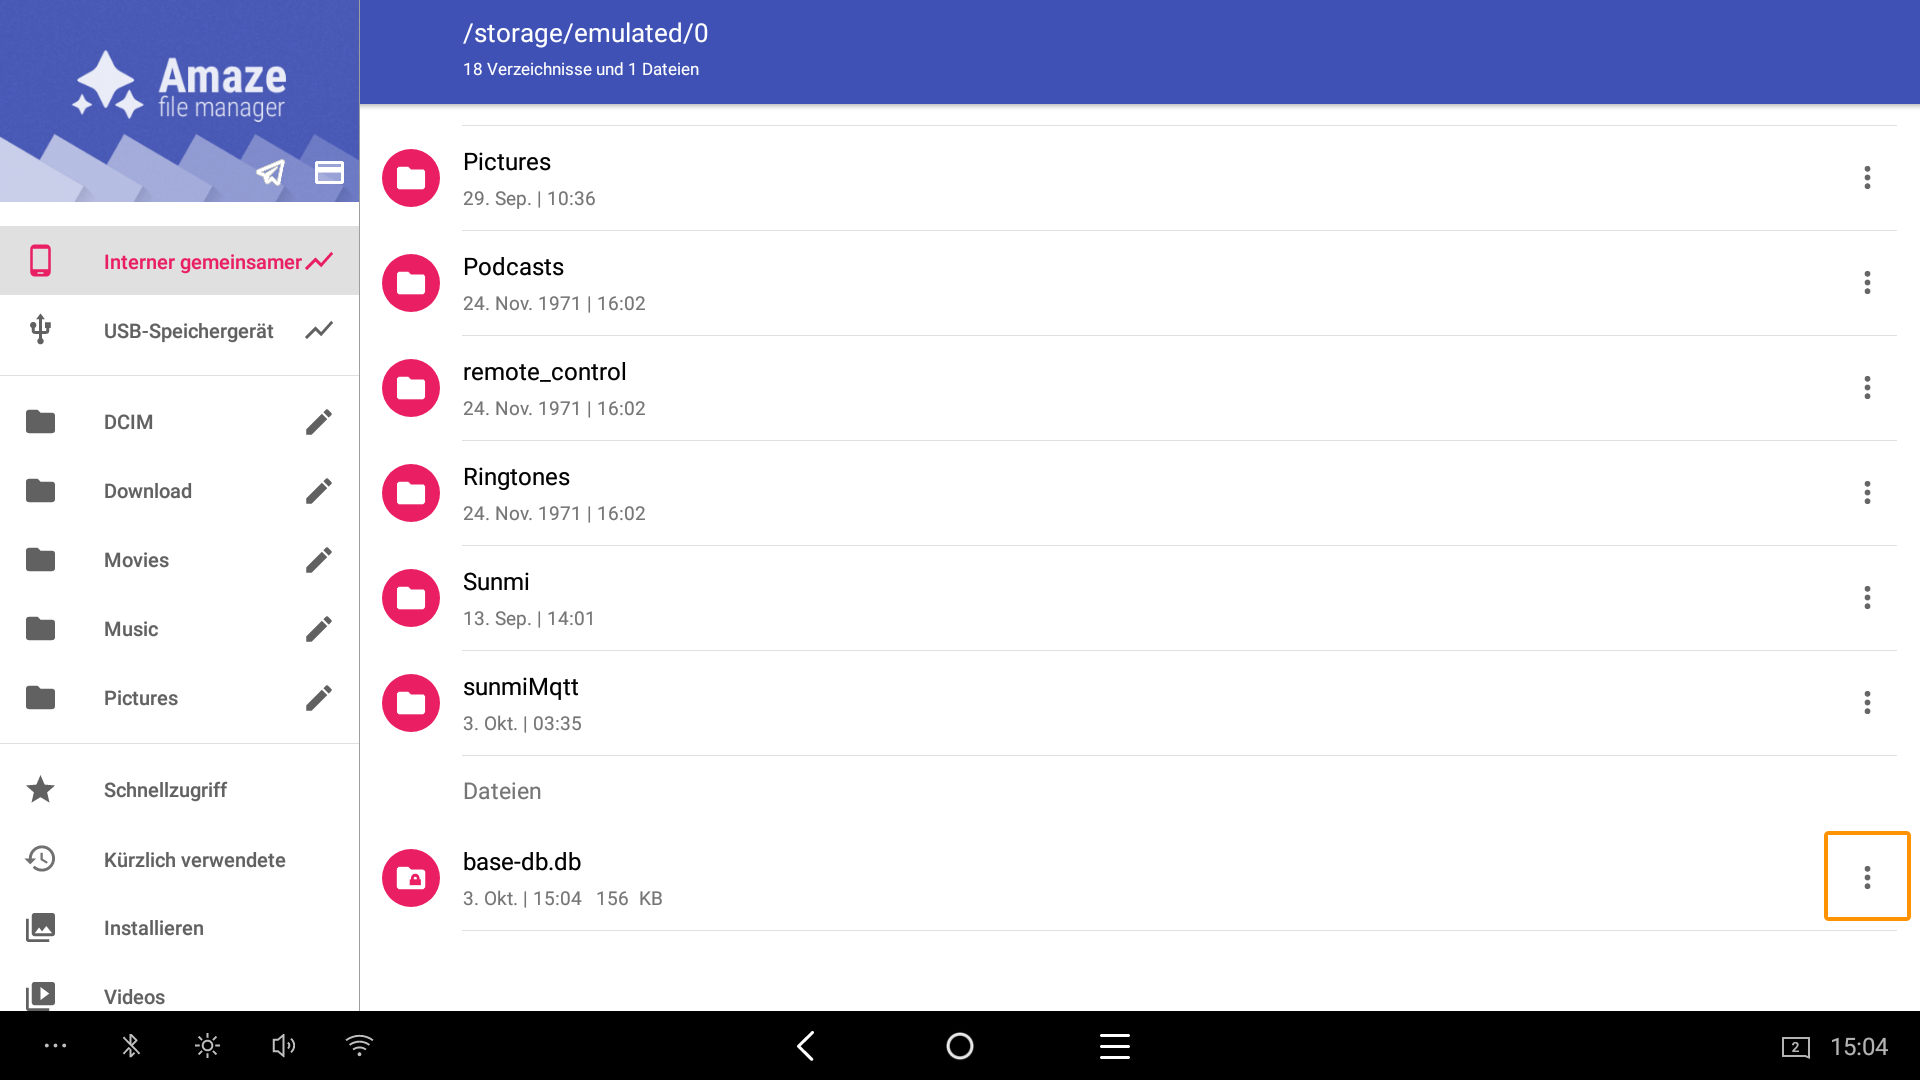
For example, if you want to transfer a database to your PC, export it and save it to the device's internal memory.
Then locate the desired file and click on the three grey dots on the far right.
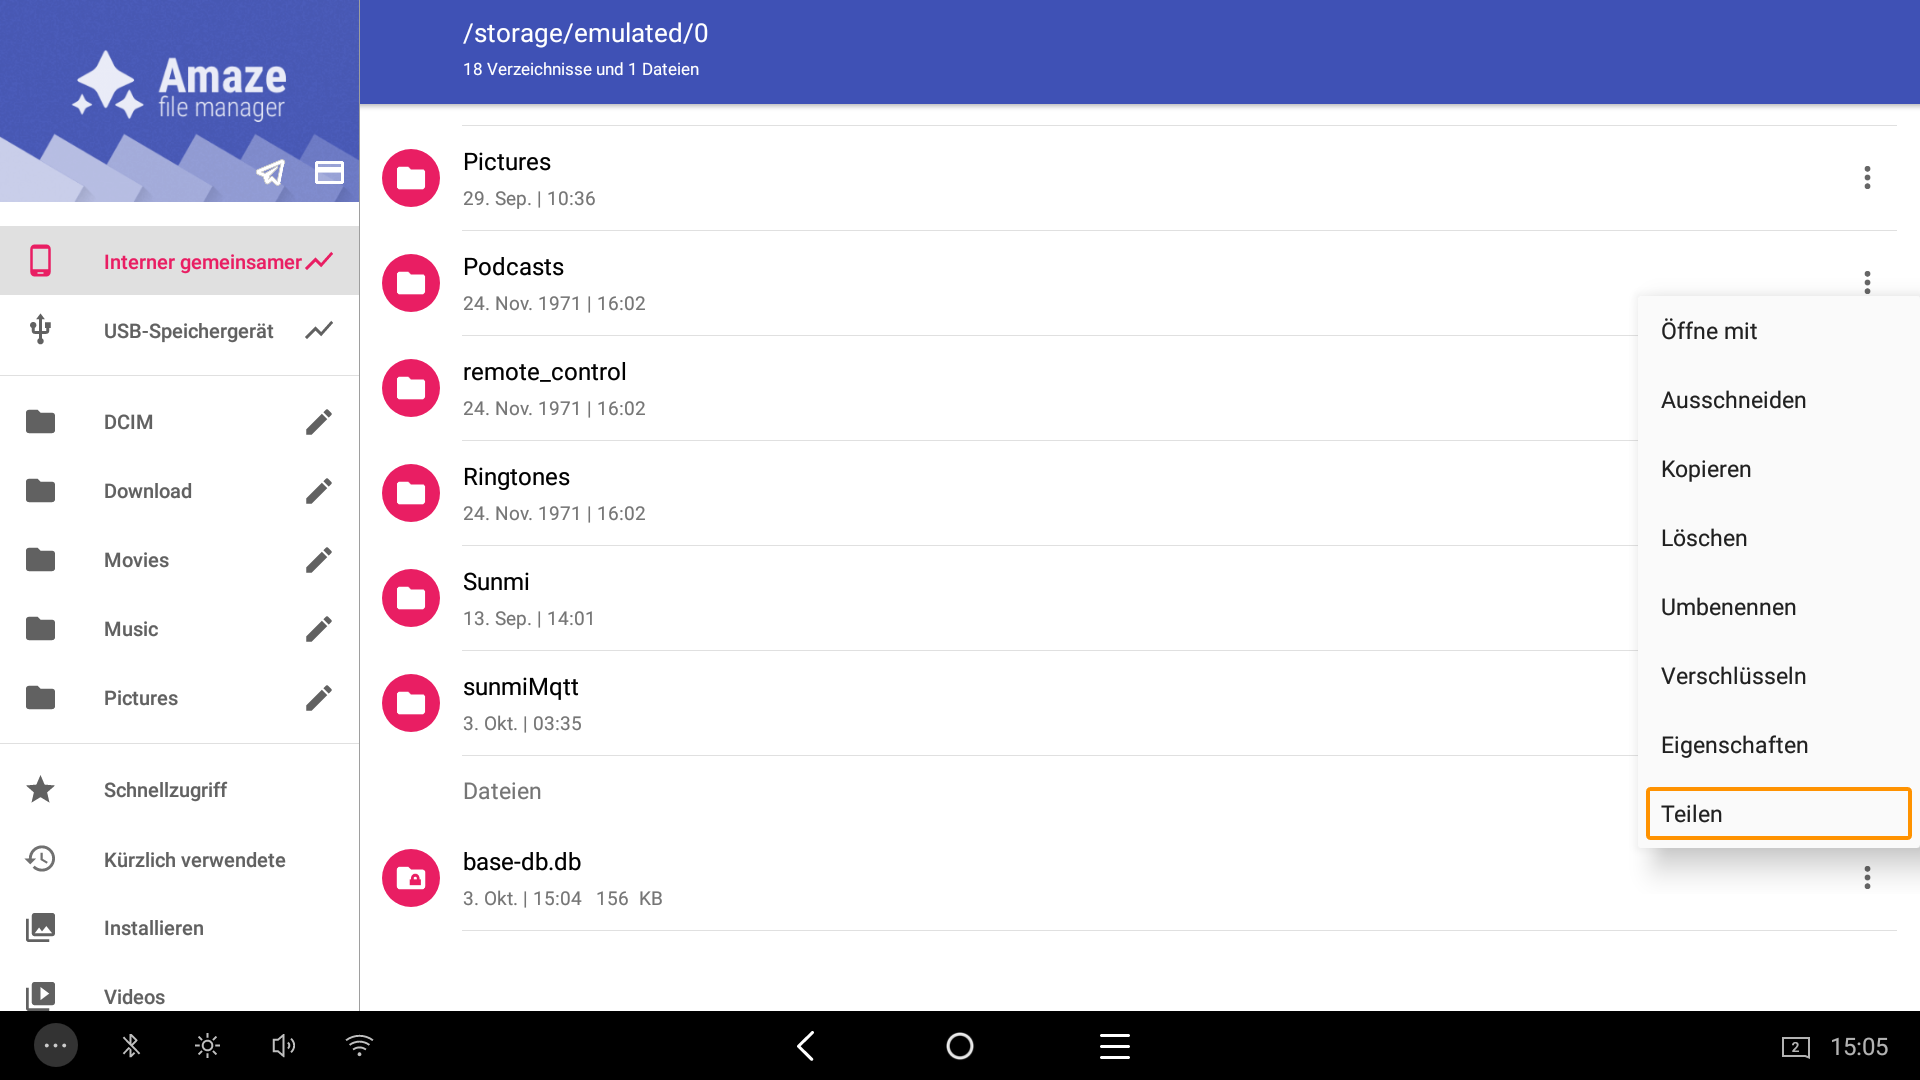
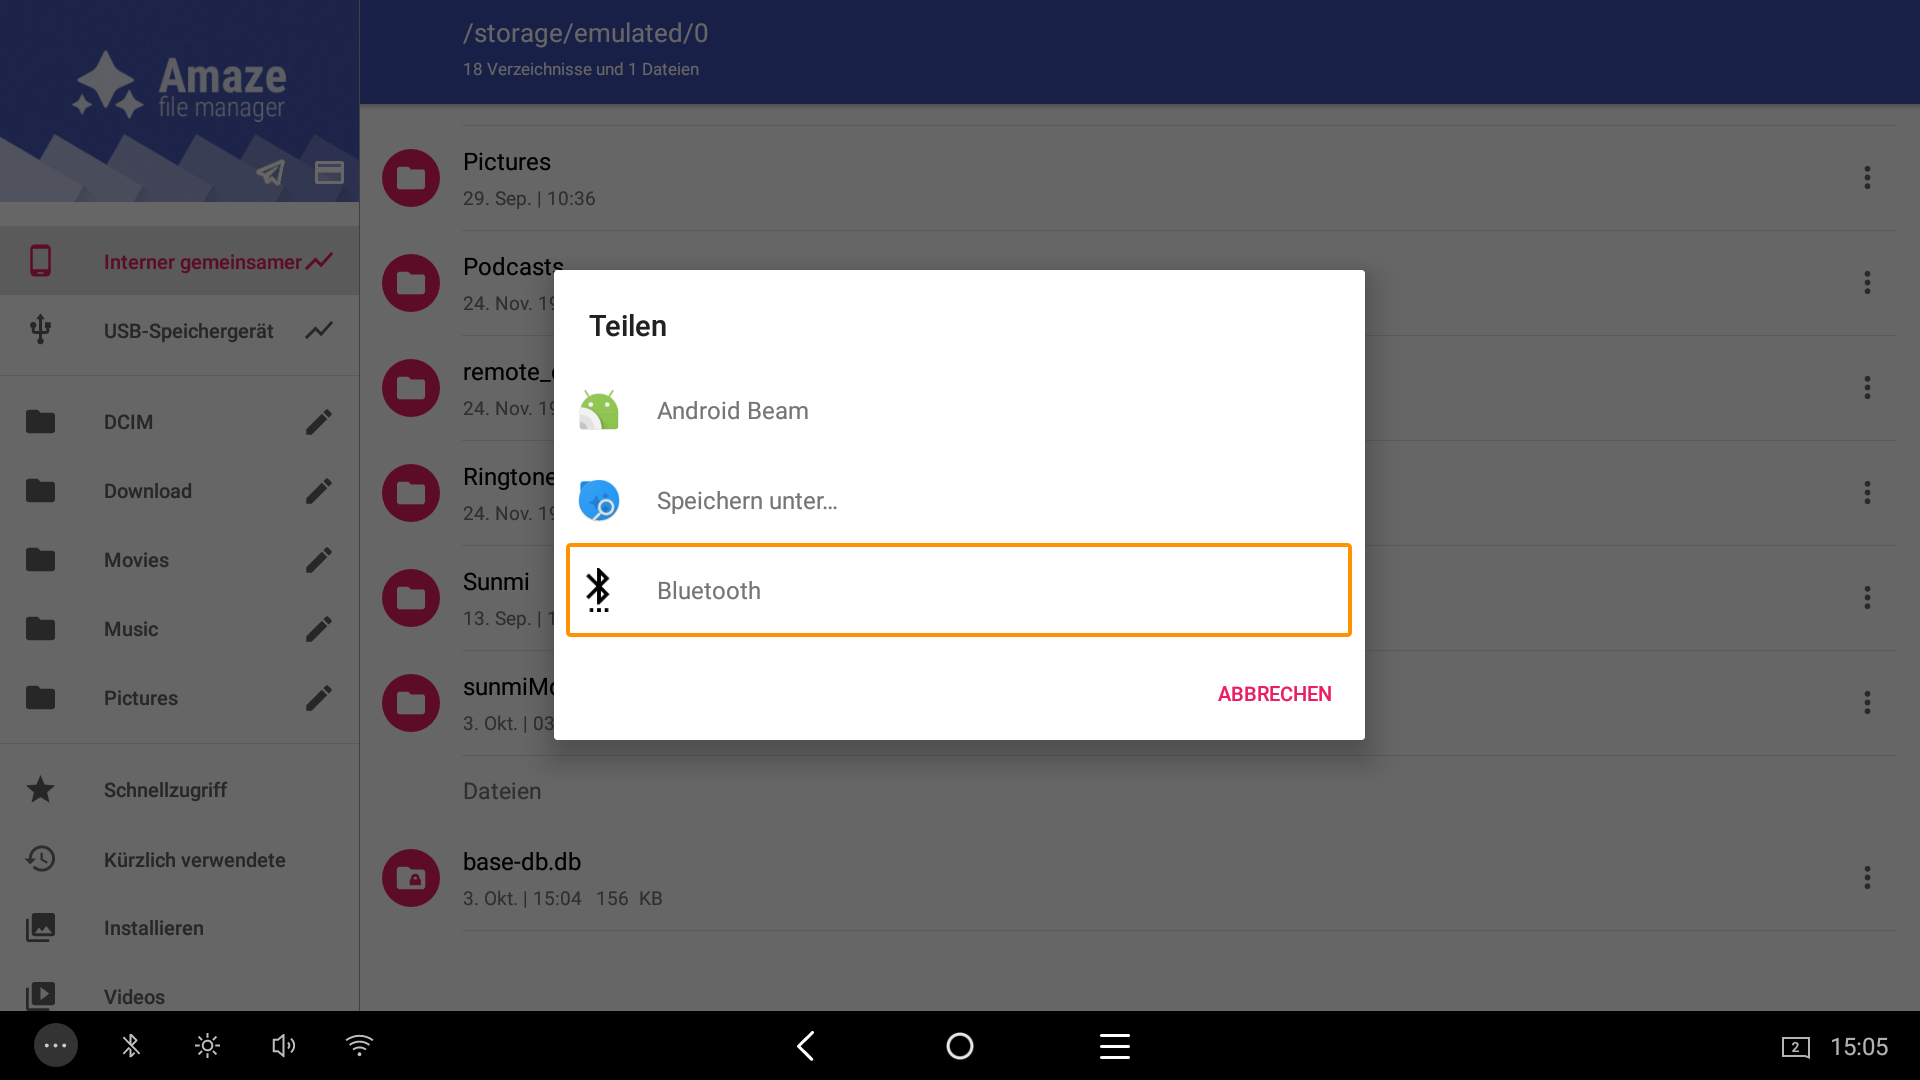
Then select ‘Share’.
Dann klicken Sie auf ‘Bluetooth’.
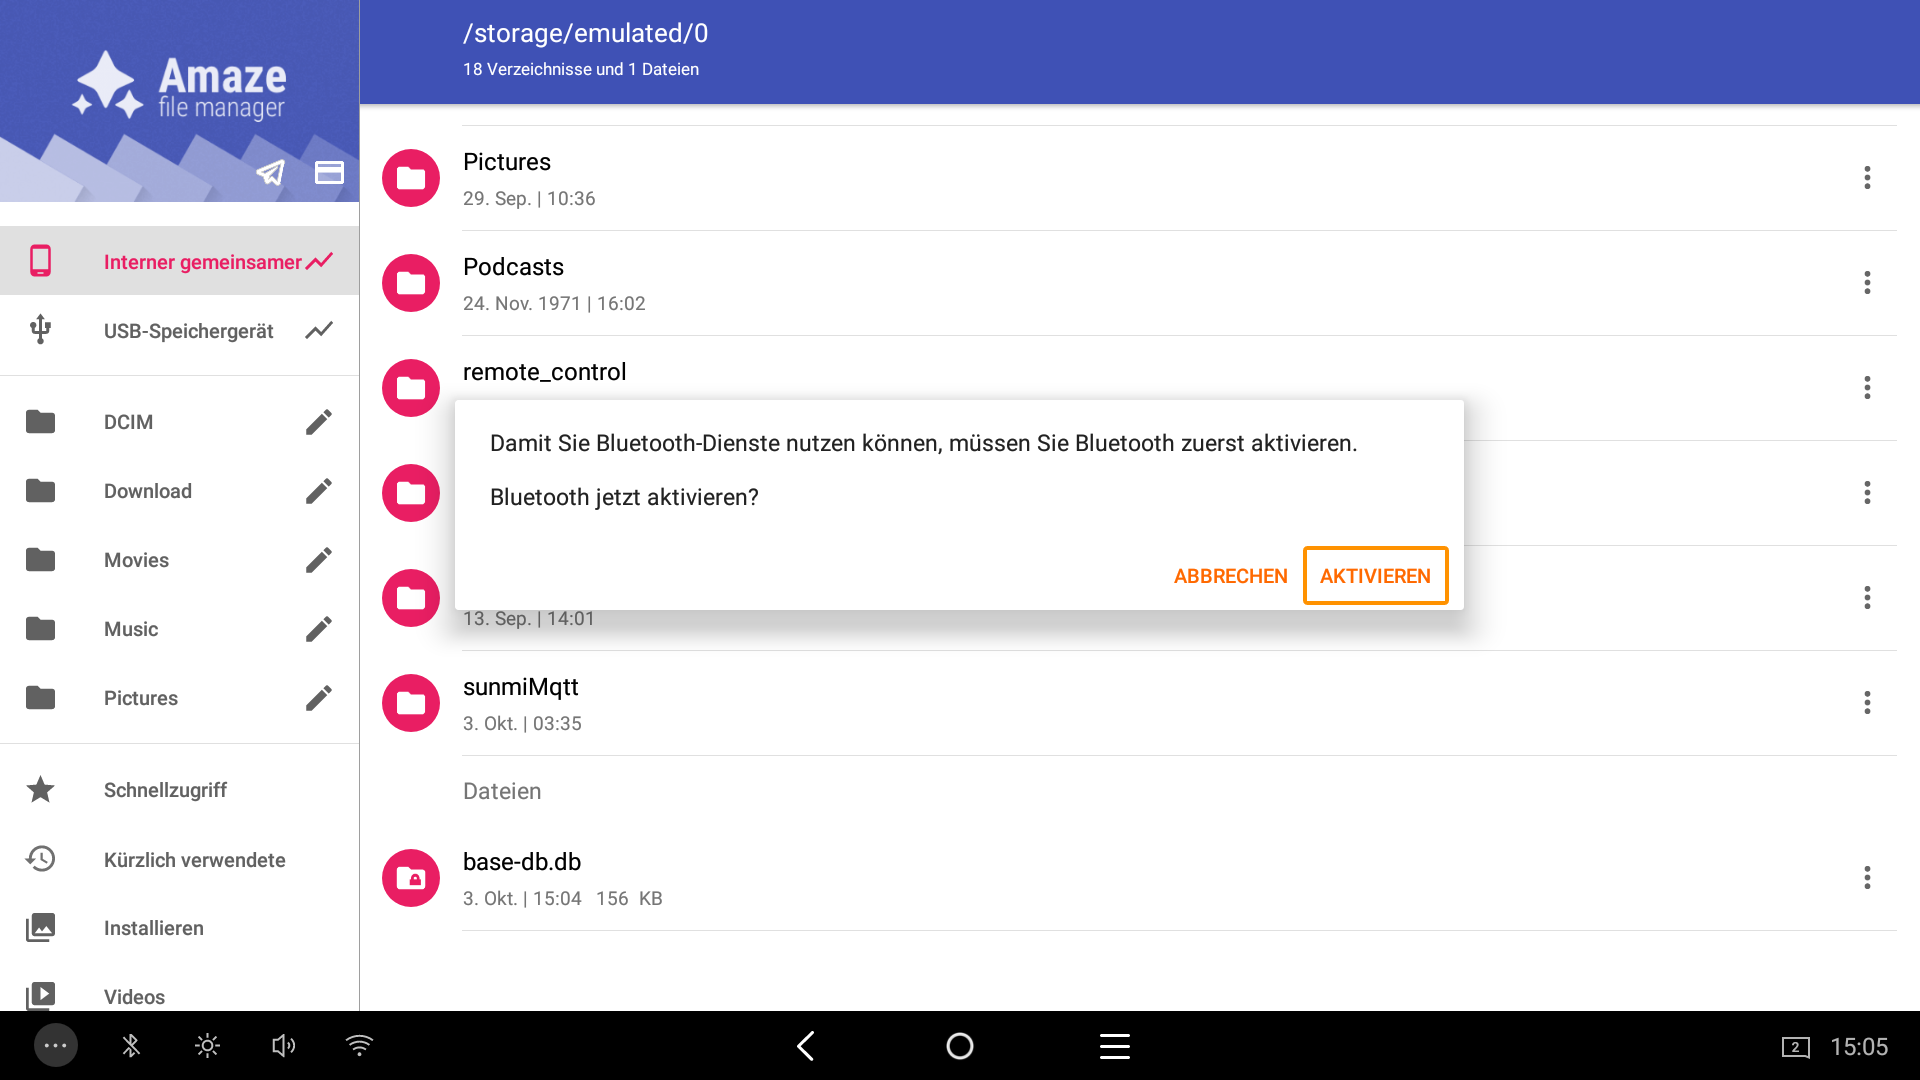
If Bluetooth is not enabled, a window will appear in which you have to click on ‘Enable’ to activate the Bluetooth function on your device.
You will then be redirected to a window where you can select the desired target device.
Ensure that the function for receiving Bluetooth transmitted data is activated on your target device.
X340 and X320
If you want to import a database to an X340 or X320, after clicking on ‘Restore’, a window will open in which you have to click on the ‘Amaze’ program in the centre. Amaze will then open, where you can select your data carrier on the left. Another new window will open where you have to grant permission at the bottom of the screen. You can then select your file in Amaze.
If you encounter any problems or difficulties using the above method, exit kiosk mode, open Amaze, save your database locally, then run it as normal from the primasello app and select the database from the local storage location.