Receipt Printer
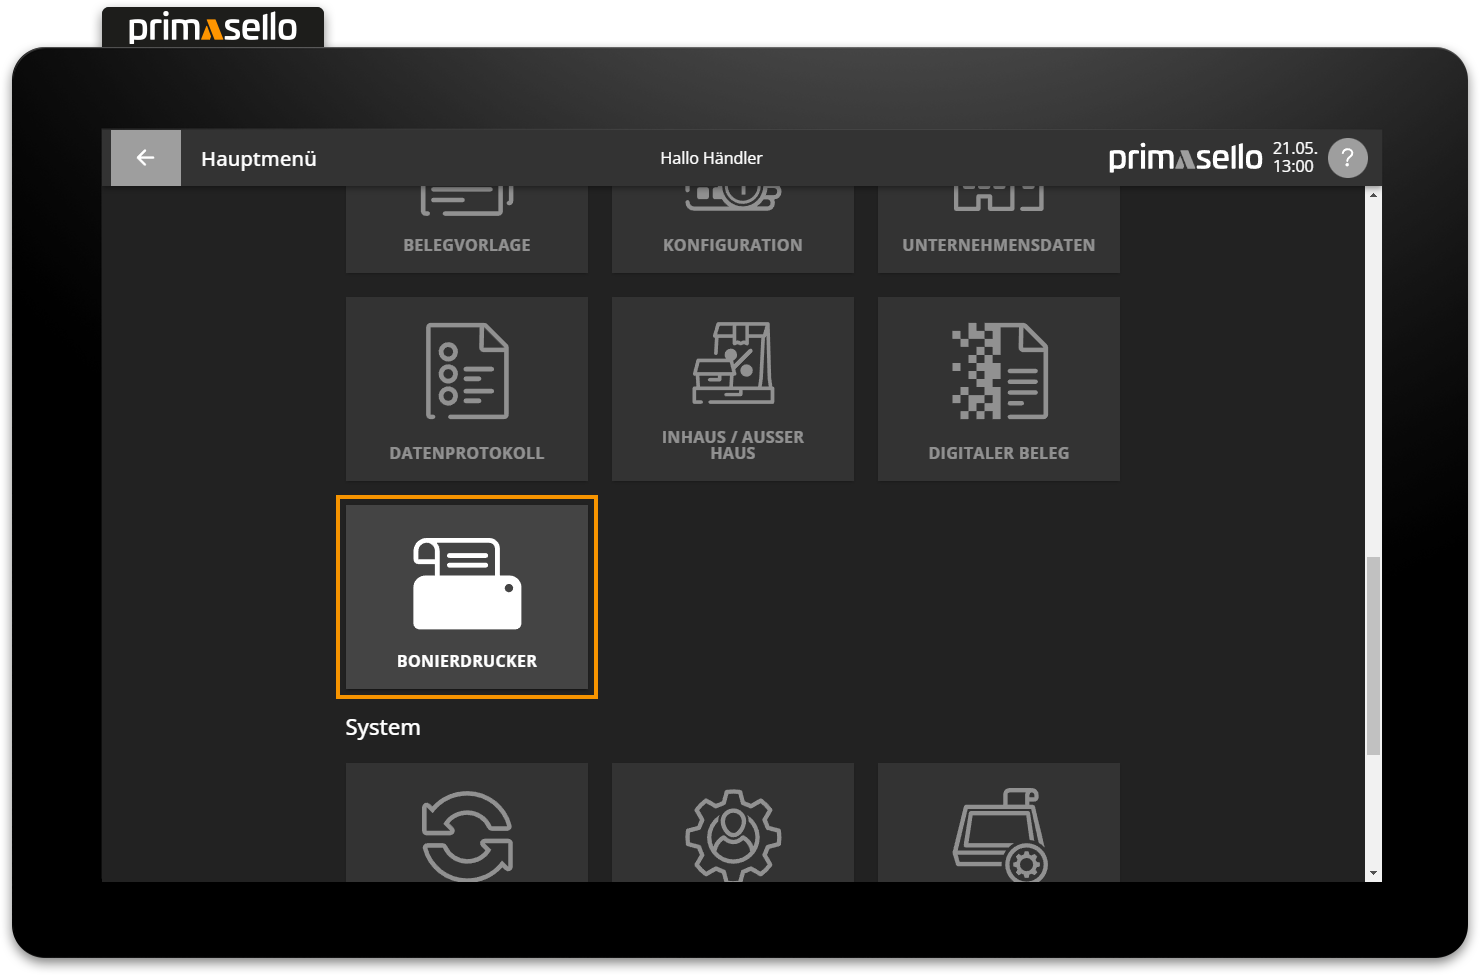
This chapter describes how to add new receipt printers and edit existing ones. Receipt printers can be accessed in the main menu in the ‘Master data’ section via the ‘Receipt printer’ button.
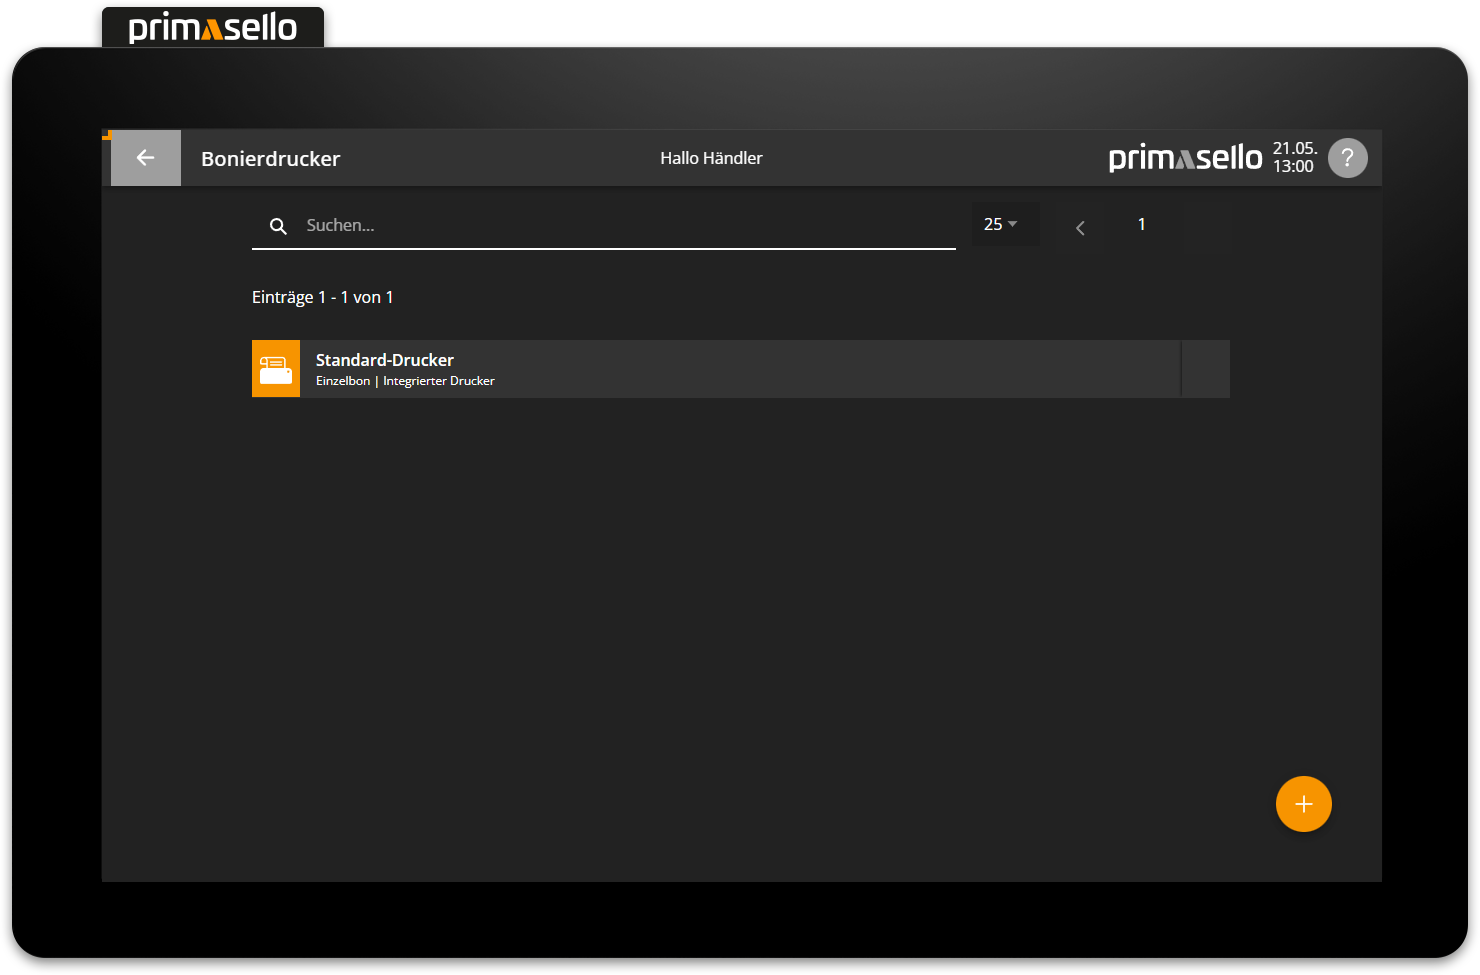
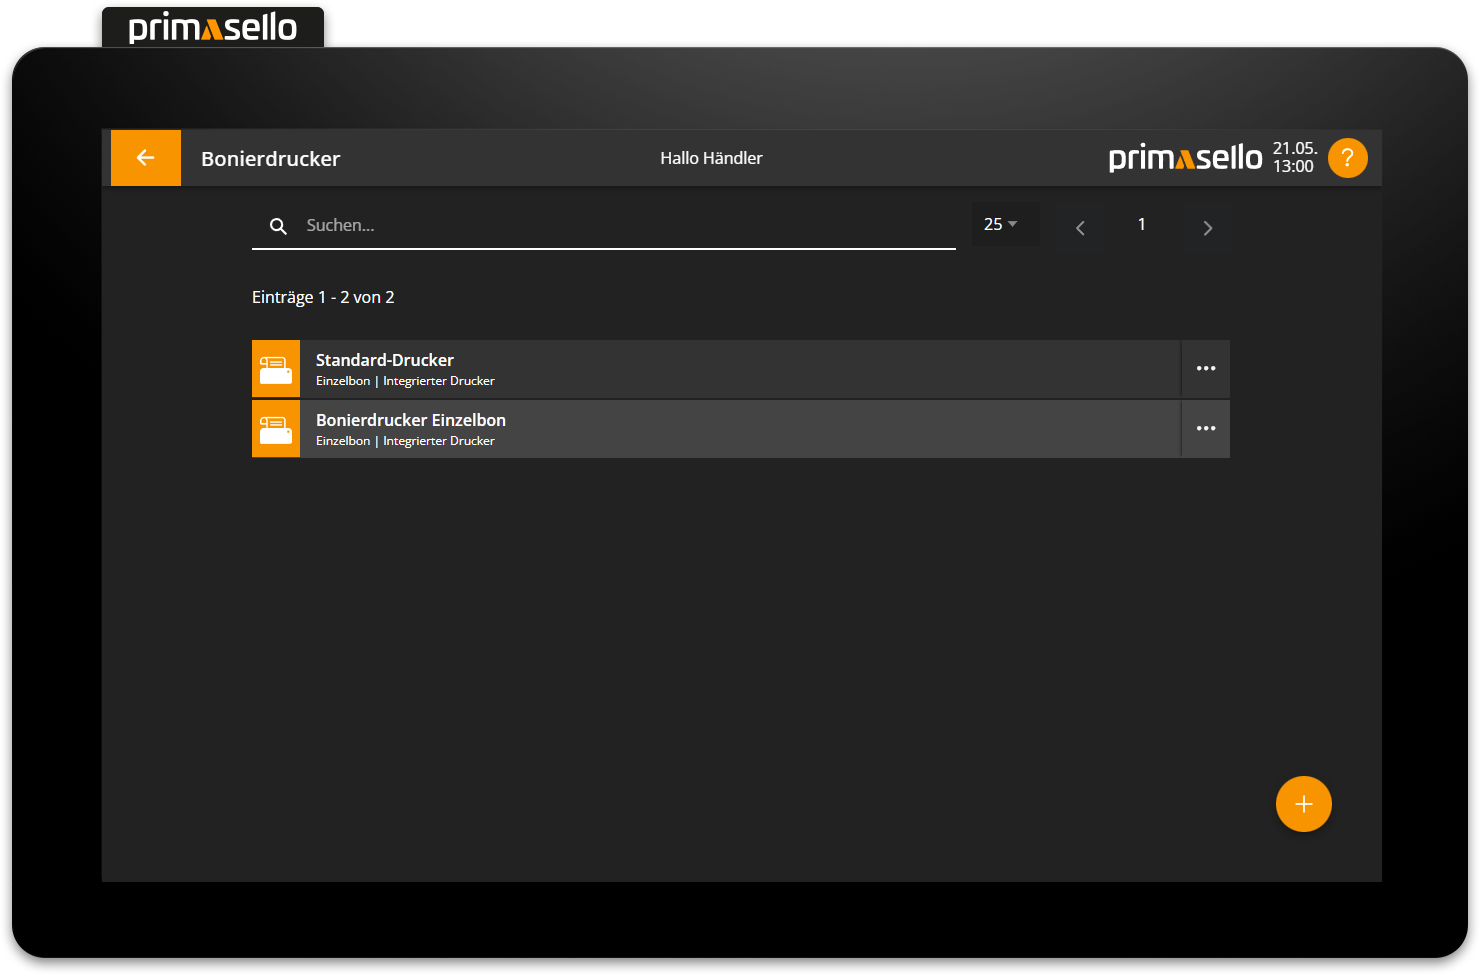
There is a standard receipt printer created by the system.
Add new receipt printer
In the list view of the receipt printers, you can press the orange ‘Plus’ button at the bottom right of the screen to add a new receipt printer.
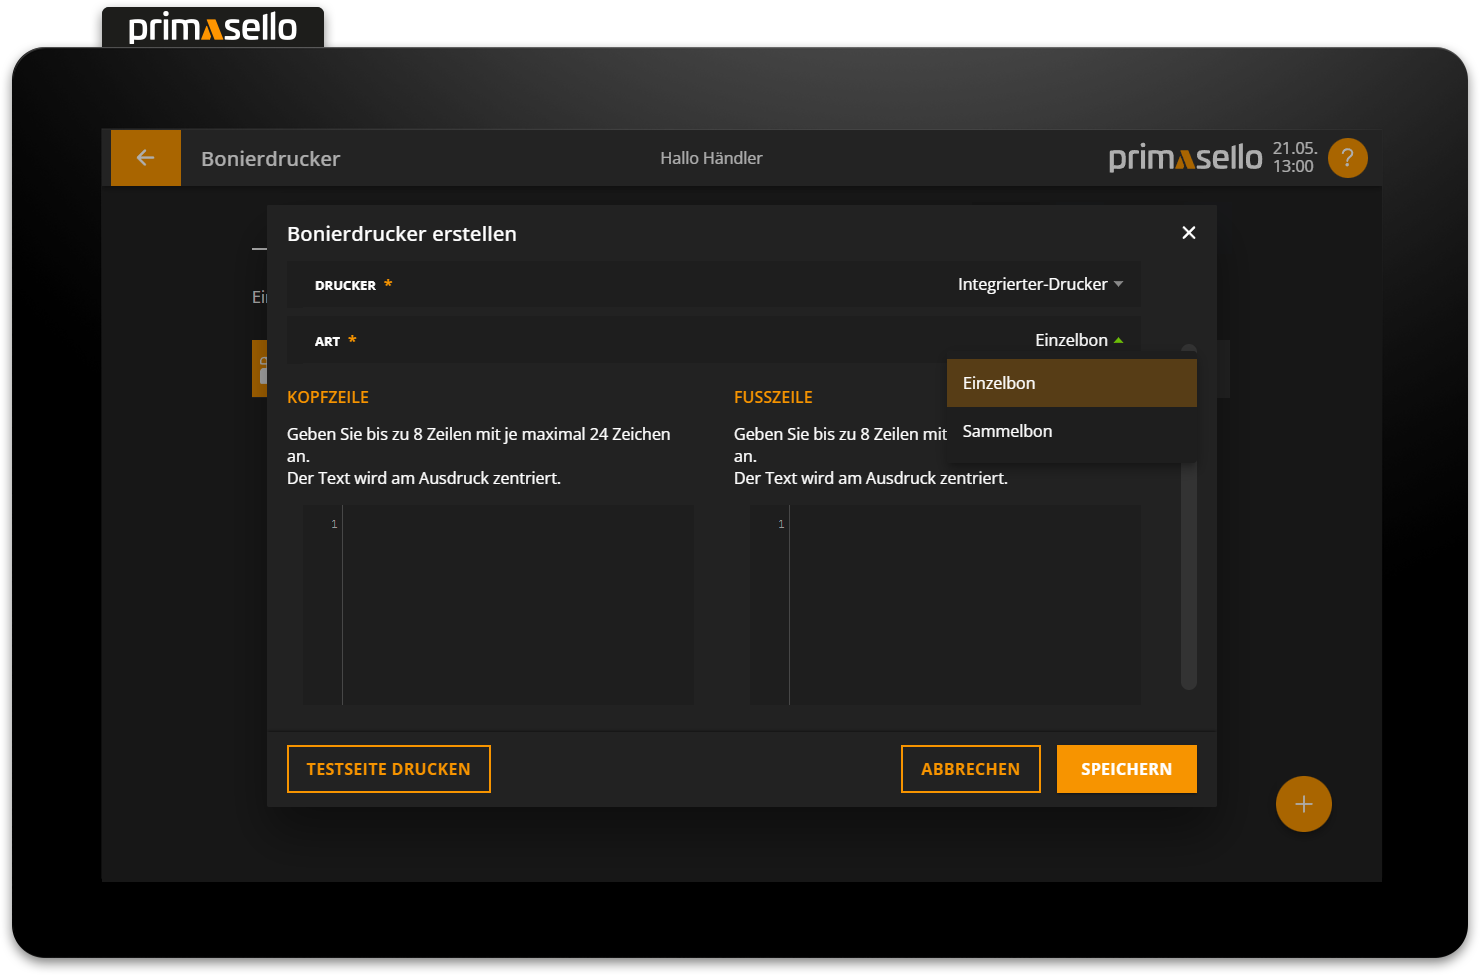
A separate window opens with information about the new receipt printer. All fields are automatically pre-filled and can be edited by clicking on them.
The new receipt printer is automatically assigned a name with a sequential number. By clicking on the name field, the printer can be given a new name.

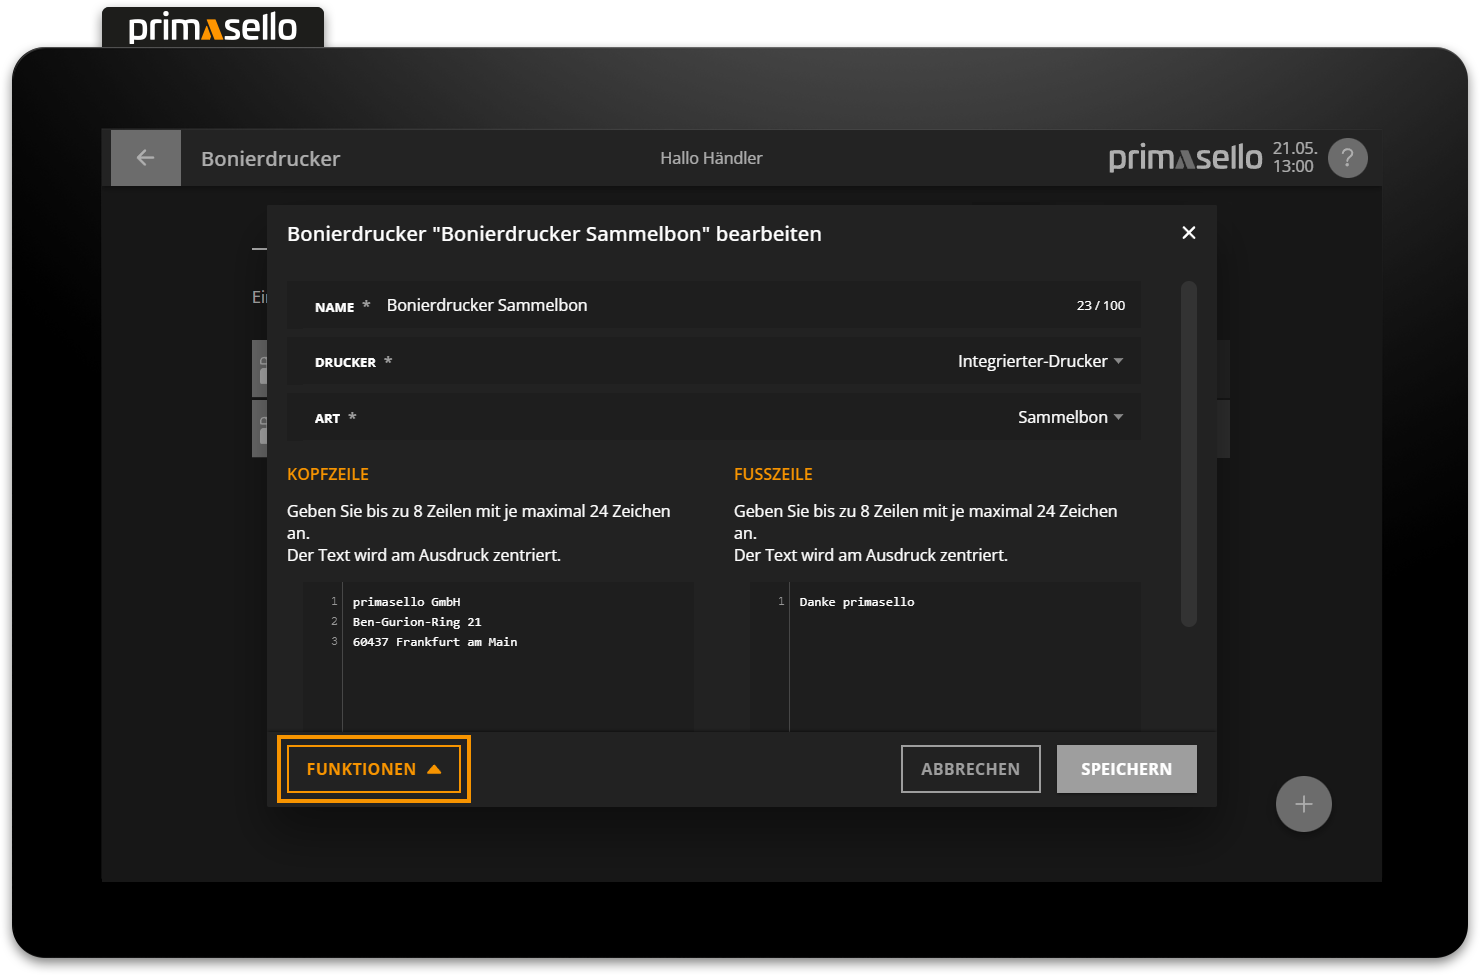
In the Printer field, you can select the printer that is to function as the receipt printer. ‘Integrated printer’ is preselected by default.
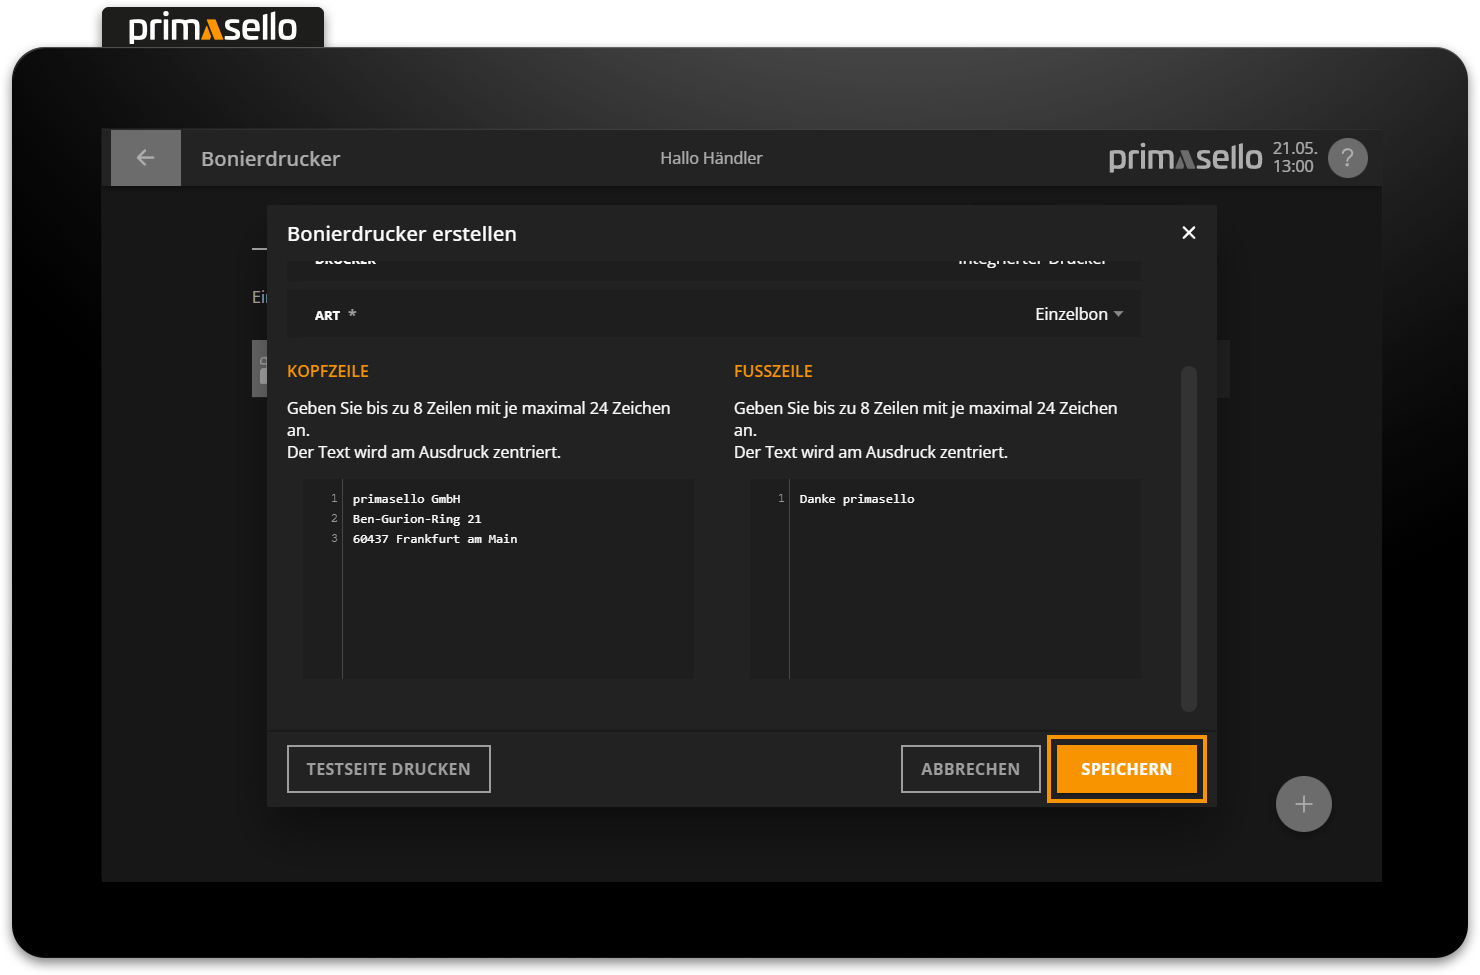
When printing receipts, you can choose between ‘Individual receipt’ and ‘Collective receipt’. With the ‘Individual receipt’ setting, each item is printed on a separate receipt. If ‘Collective receipt’ is selected in the type field, all items are combined on one receipt.
Individual receipt
The individual receipt function is often used at public festivals to first pay for food and drinks at a cash register and then collect them from the individual stands with the receipts.
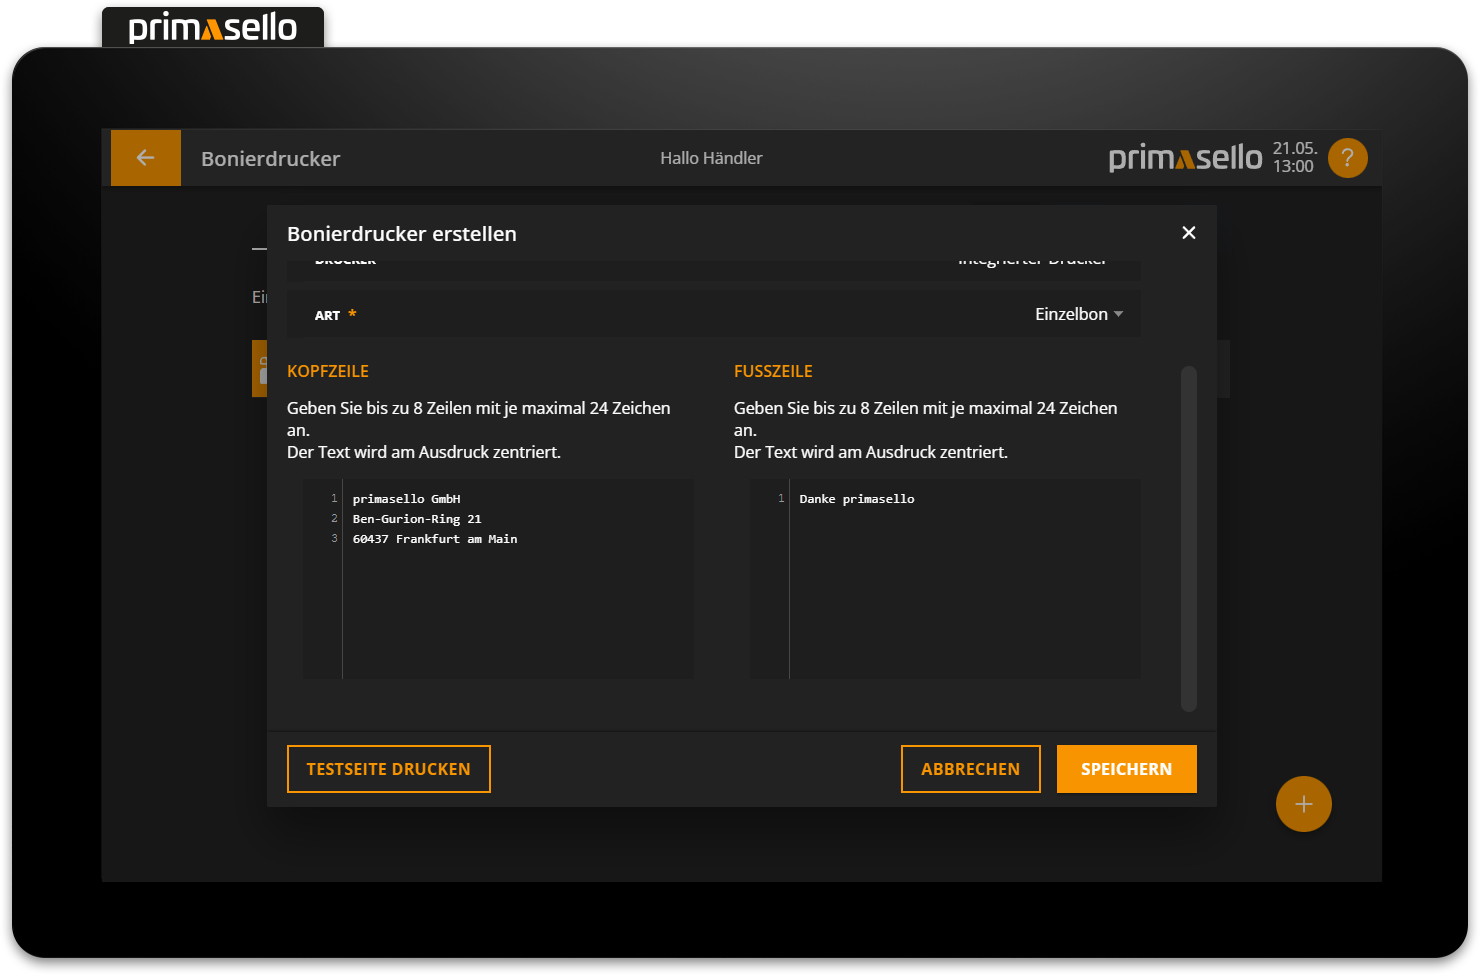
Finally, a separate header and footer can be defined for each receipt printer. These are printed on the receipt above and below the items.
Name of the receipt printer
The name of the receipt printer is not automatically printed on the receipt. If you want this information to be printed, you have to enter the name in the header or footer.
Pressing the orange ‘Save’ button in the lower right corner adds the new receipt printer and closes the window. You can cancel the addition of a new receipt printer by pressing the ‘Cancel’ button or the ‘x’ button in the upper right corner – all settings will be lost.
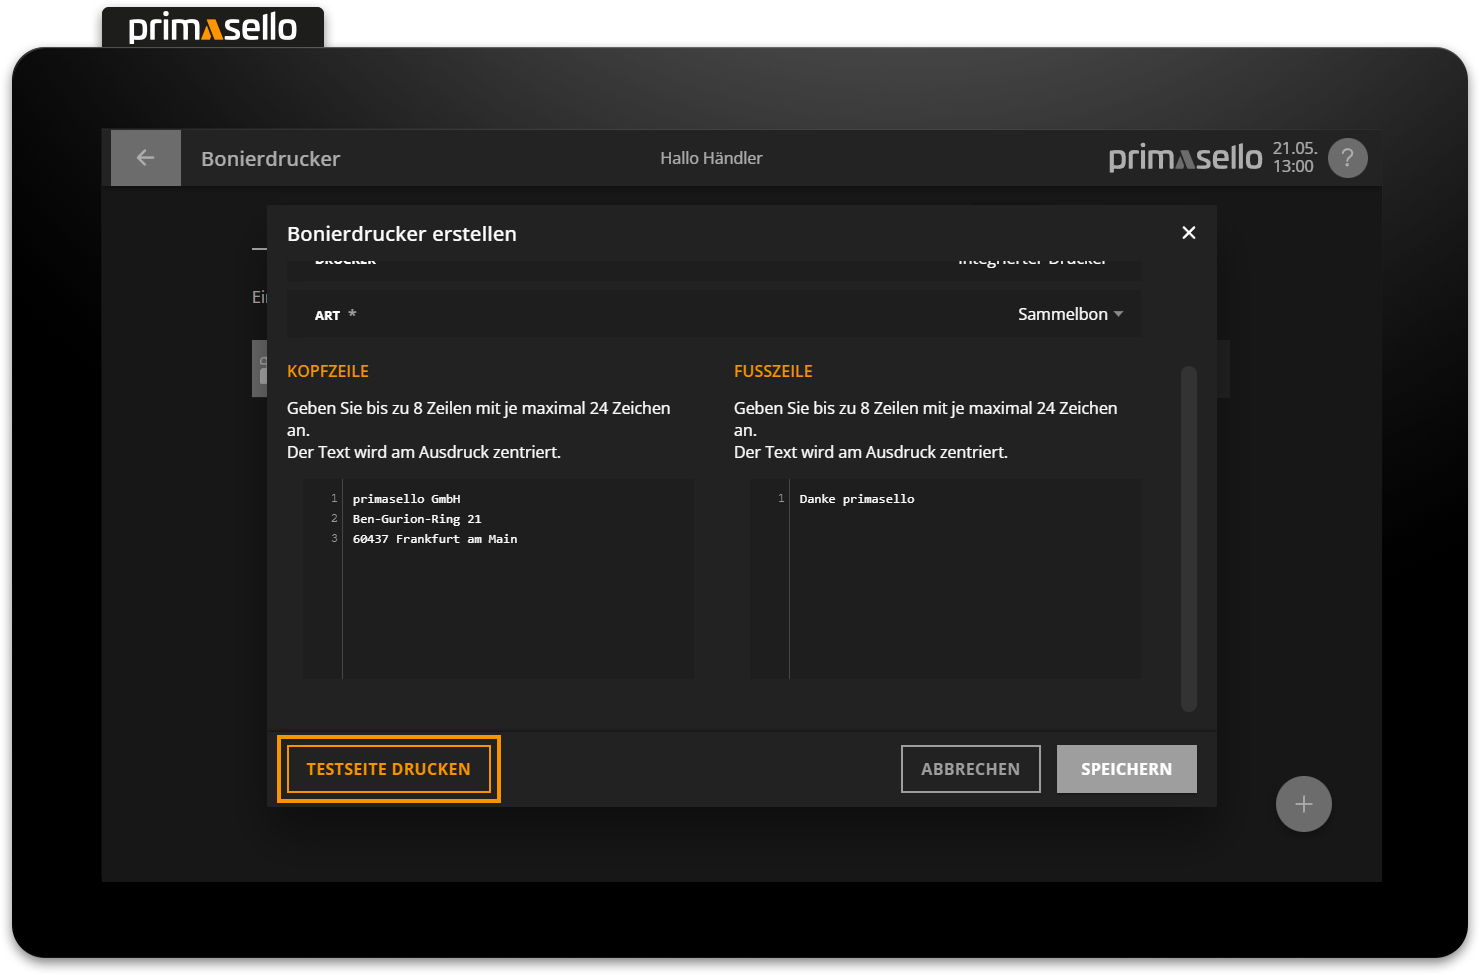
Print test page
To check the settings of a receipt printer, a test page can be printed. To do this, press the ‘Print test page’ button in the lower left corner. A test print will be printed on the selected printer.
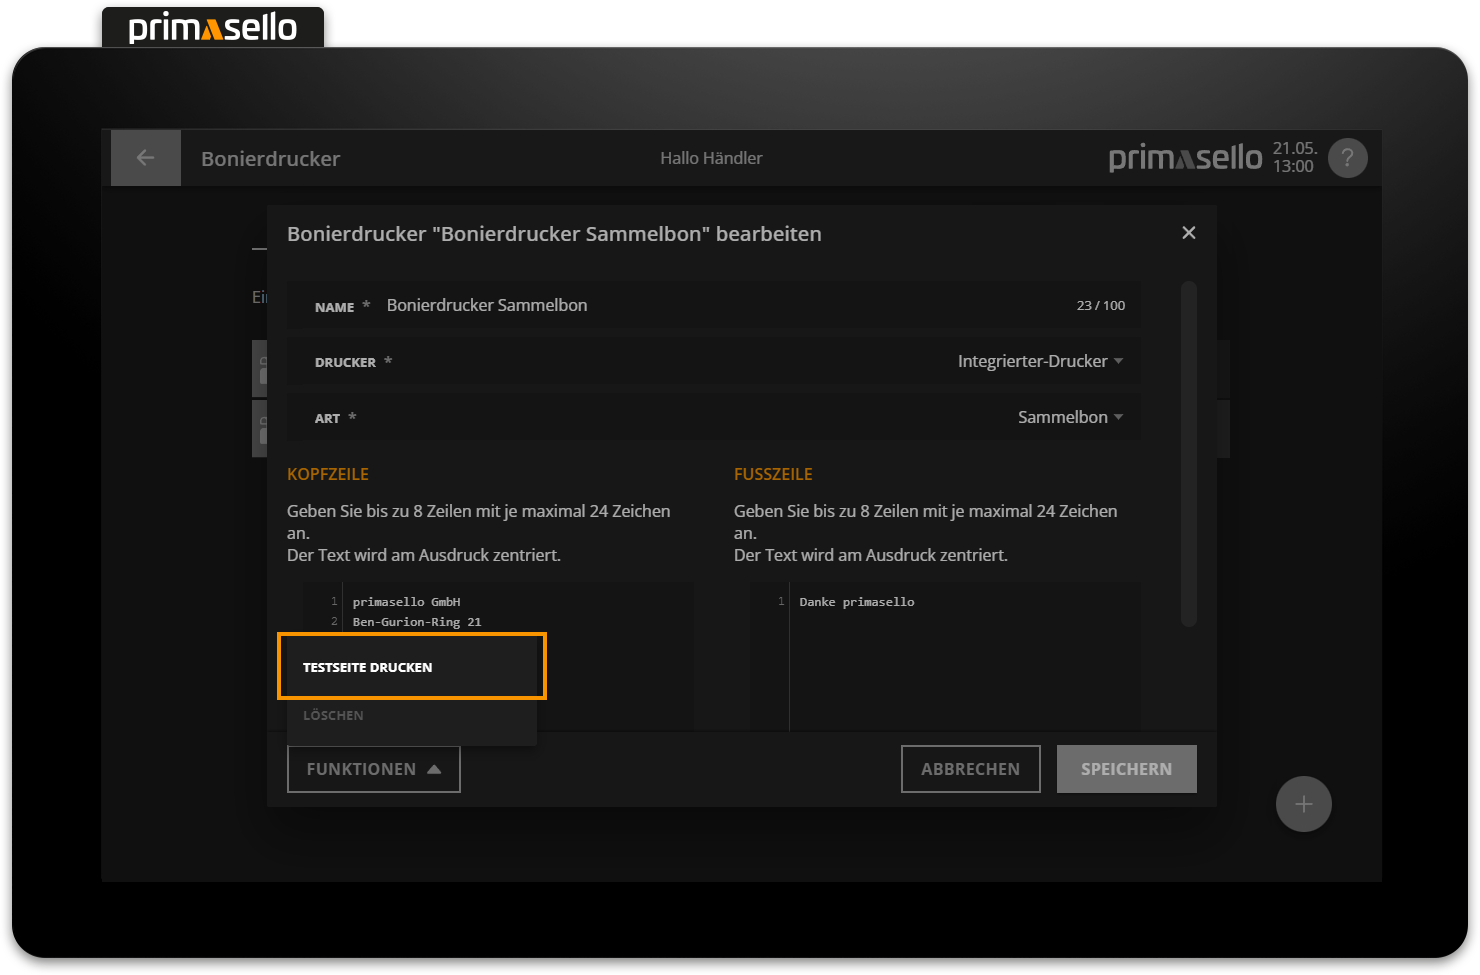
For existing receipt printers, the 'Print test page' button is located in the submenu of the 'Functions' button in the lower left corner.
Edit receipt printer
To edit an existing receipt printer, press the respective entry in the list or alternatively press the button with the three dots at the end of the line.
A separate window opens with information about the selected receipt printer. You can edit this by clicking on one of the fields.
Pressing the orange ‘Save’ button in the lower right corner applies the changes to the receipt printer and closes the window. Editing a receipt printer can be cancelled by pressing the 'Cancel' button or the ‘x’ button in the upper right corner – all changes will be lost.
Delete receipt printer
To delete a receipt printer, select it from the list to open the detail window for the desired receipt printer.
The ‘Functions’ button is located in the lower left corner. Pressing this button opens a submenu with the menu item ‘Delete’.
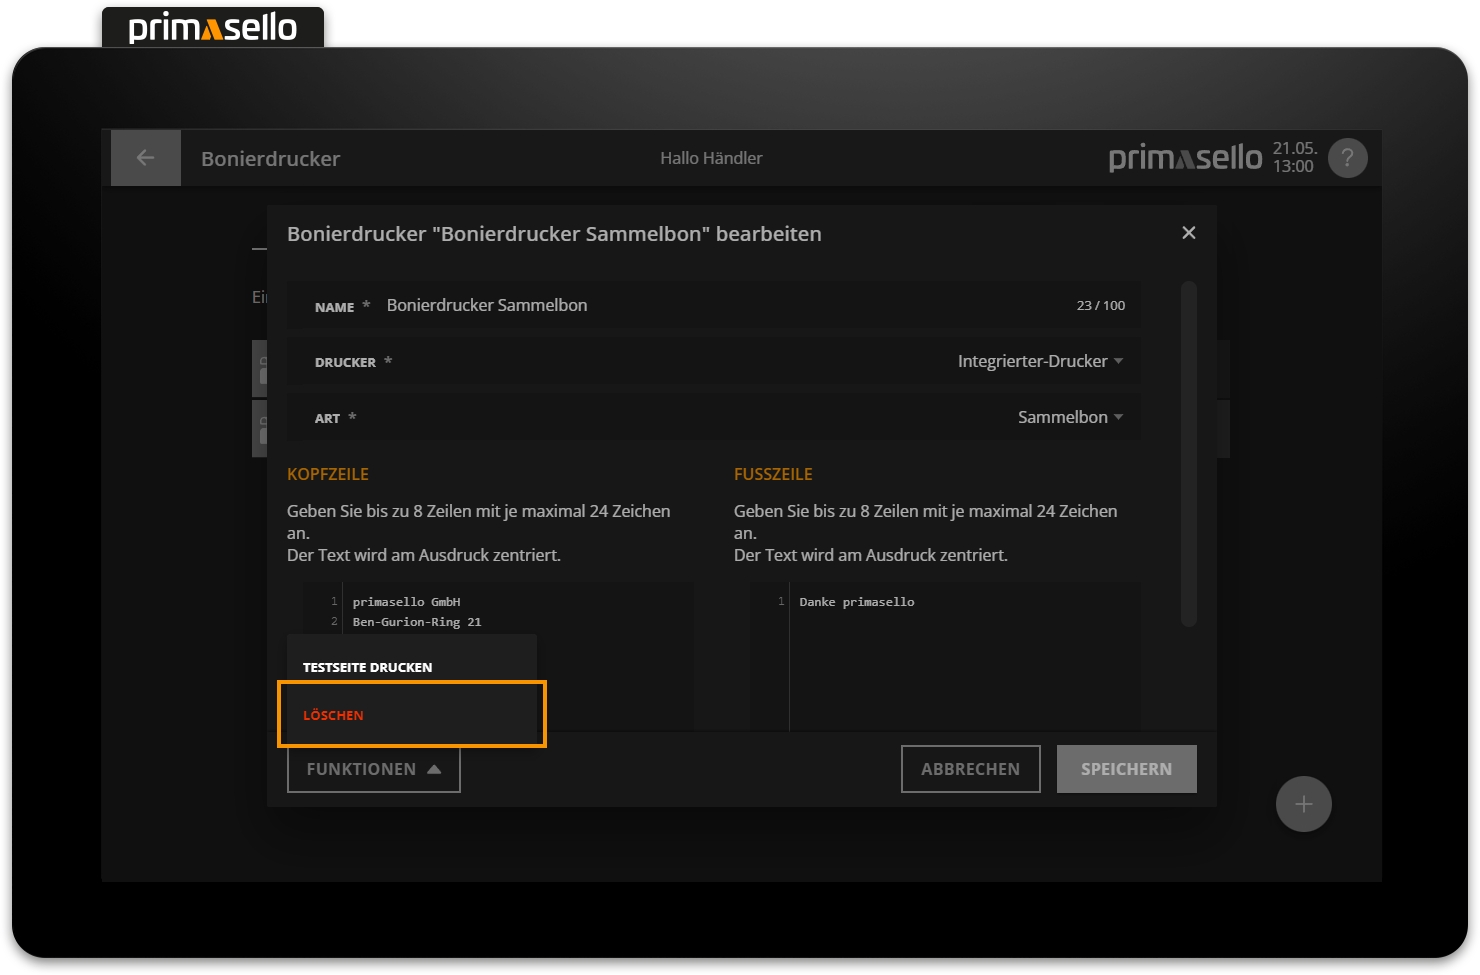
When this button is pressed, a security prompt appears, which has to be confirmed by pressing the ‘Yes’ button. The receipt printer is then deleted and the window closed. To cancel the deletion process, press the ‘No’ button.
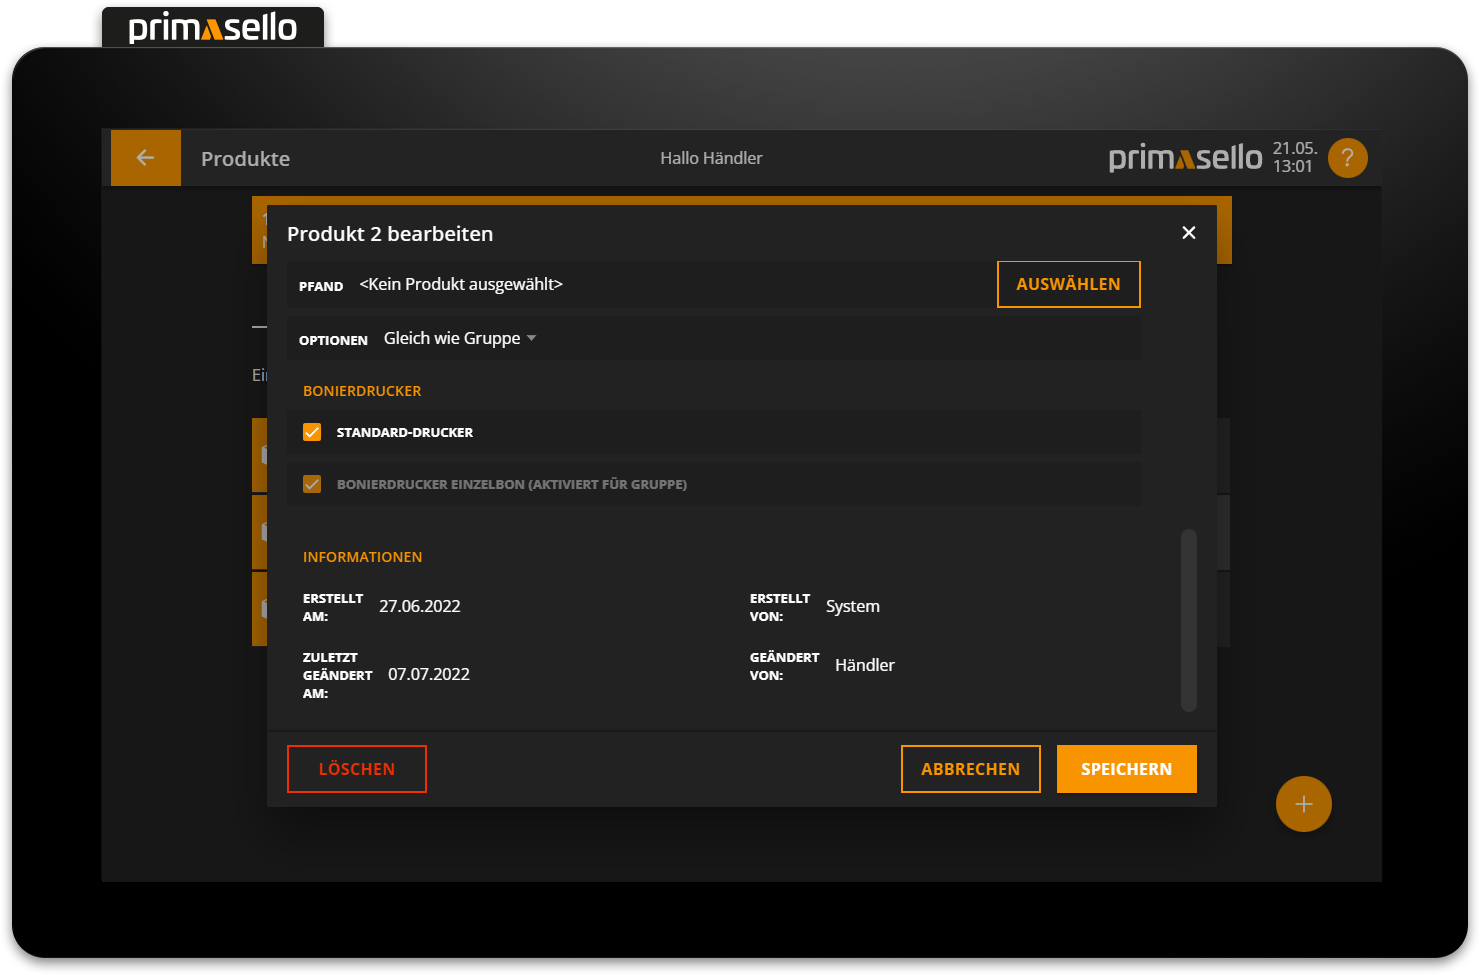
Assign products & product groups
Receipt printers can be assigned to a single product or an entire product group. When editing products or product groups, simply select the desired receipt printer under the heading ‘Receipt printer’ – multiple selections are possible.
If a receipt printer is selected for a product group, a receipt will be printed for all products in that group.
If a receipt printer is selected for a single product, a receipt will only be printed for that product.
If a receipt printer is activated for a product group, the same receipt printer cannot be selected for the products within the group.
Receipts are printed after parking a shopping cart on a table or after creating an invoice on the selected printer.
Products & product groups
How products and product groups can be edited is described in the chapter Products & Product Groups.