Document Template
This chapter describes how to edit the document template. The document template defines the layout of each printout, which is used for all printing processes. The logo (image file), headers (max. 8 lines), footers (max. 8 lines) and hospitality receipt can be edited for the document.
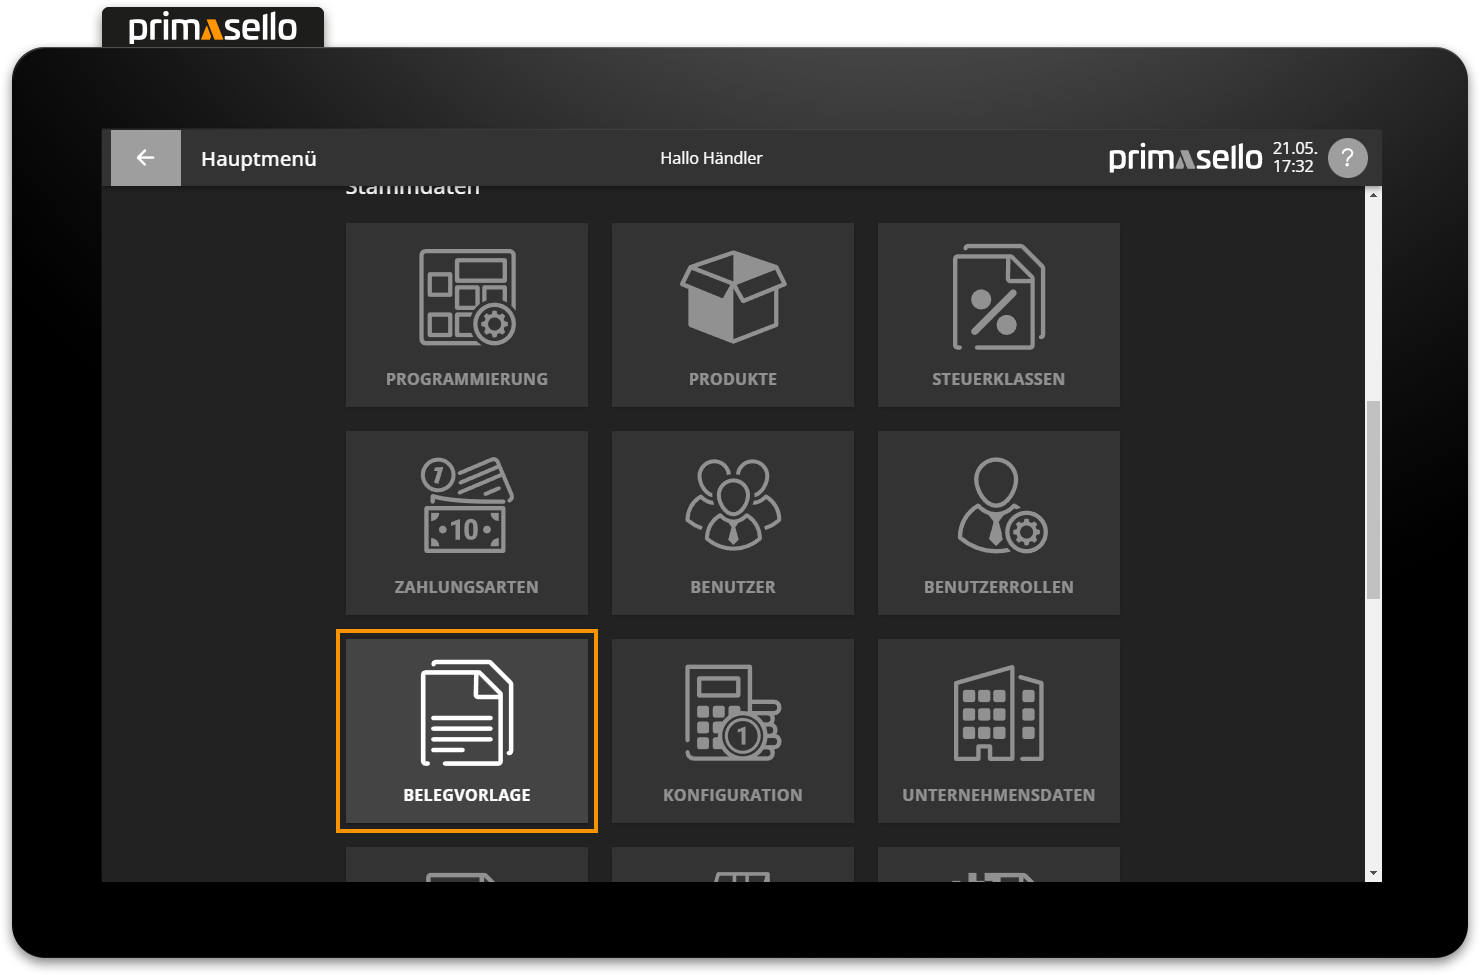
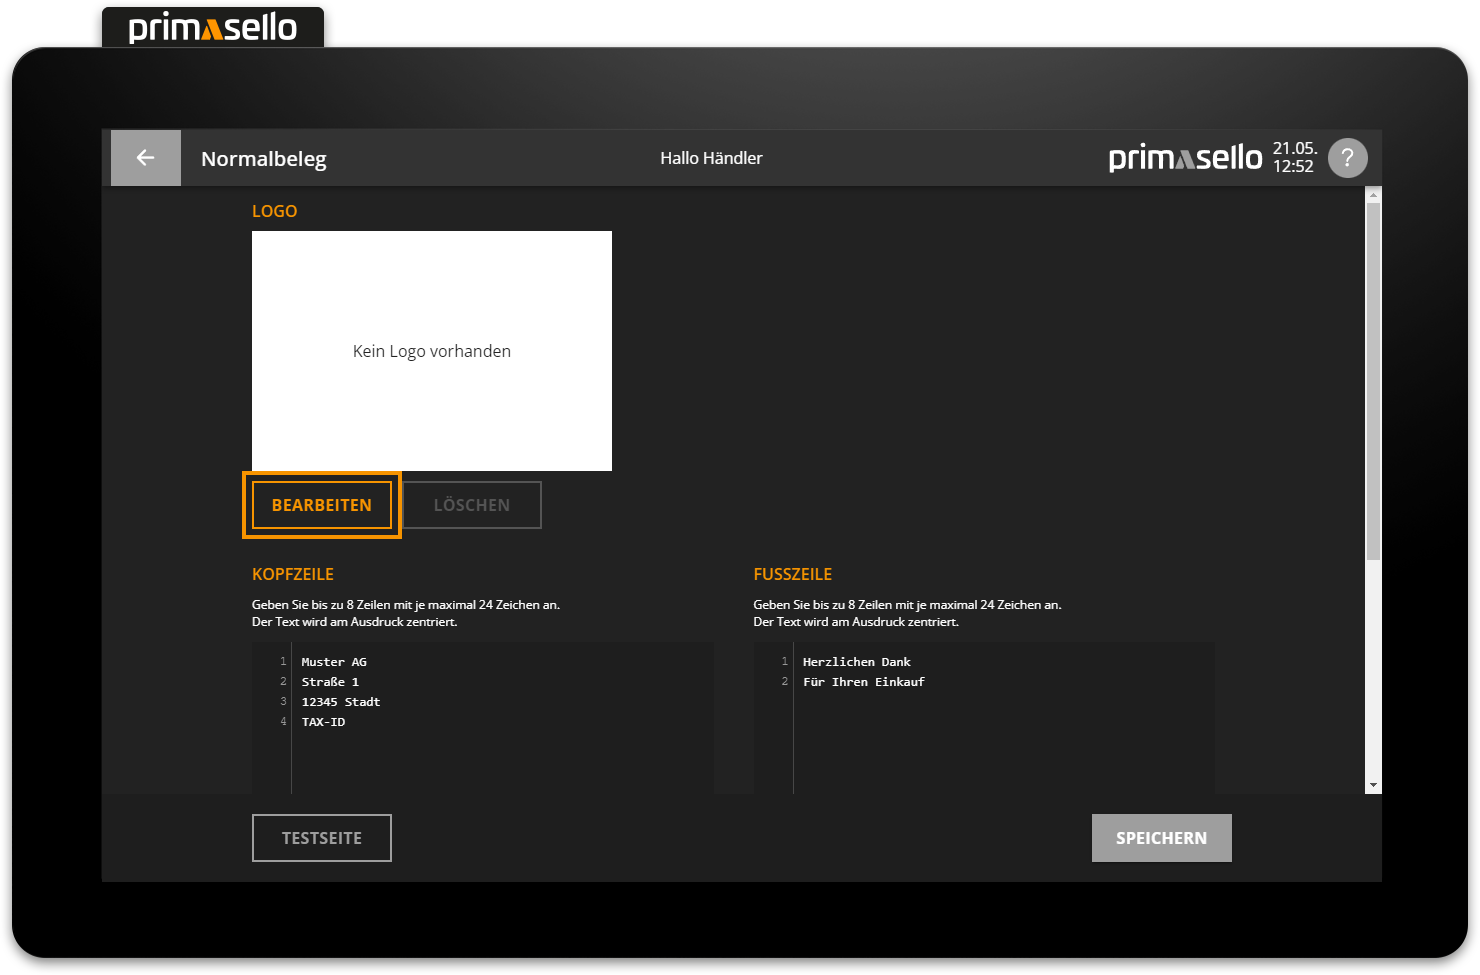
The document template can be accessed in the main menu in the ‘Master data’ section via the ‘Document template’ button. By default, the company data entered during initialisation is transferred to the header. A standard text is pre-filled in the footers. All fields can be edited by clicking on them.
Logo
A logo can be printed at the top of the receipt. To add a logo to the receipt template, click on the ‘Edit’ button below the logo preview. If no logo has been selected, the text ‘No logo available’ will appear in the preview field. Clicking on the ‘Edit’ button opens a new window with the logo settings.
To upload a logo file, you have to select “Choose new image” under Functions. You can choose an image from the device's memory or from a connected external storage medium. The uploaded image is displayed on the left side of the window under the heading original image. Each logo file is converted by the system into a black and white image that can be printed by the receipt printer. The receipt preview of the logo is displayed to the right of the original image.
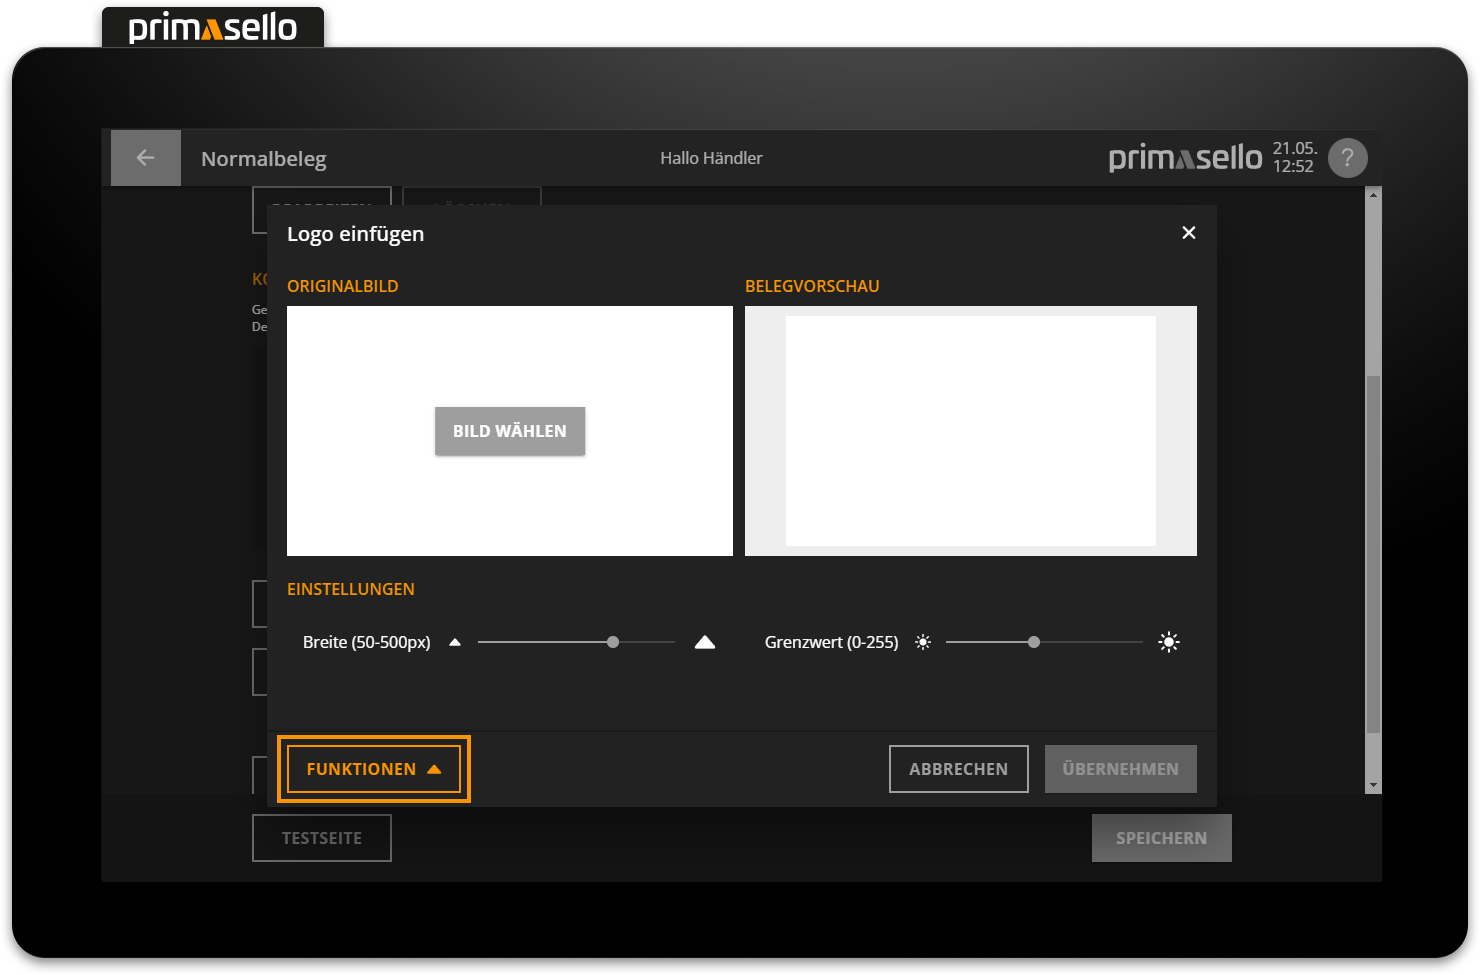
Below the two comparison images are two sliders that can be adjusted by pressing and dragging. The width determines the width of the logo on the printout, which is preset to 360px by default. The second slider determines the threshold value for the colour conversion of the logo. Since the device's thermal printer can only print black or white and no grey tones, the coloured parts of the logo file have to be converted to either black or white. The conversion can be adjusted by moving the threshold slider. Moving the slider to the left will make more parts of the logo white, while moving it to the right will make more parts black. The default threshold is set to 200, which already converts many lighter colours to black.
Pressing the orange ‘Save’ button in the lower right corner saves the settings to the logo and closes the window.
If no logo is uploaded, the receipt will start printing with the header.
Image formats
Images in .jpg and .png formats can be uploaded as logo files in the optimal format of 300x150px / 20kB.
How to load files from a USB stick is described in the chapter Loading data from a USB stick.
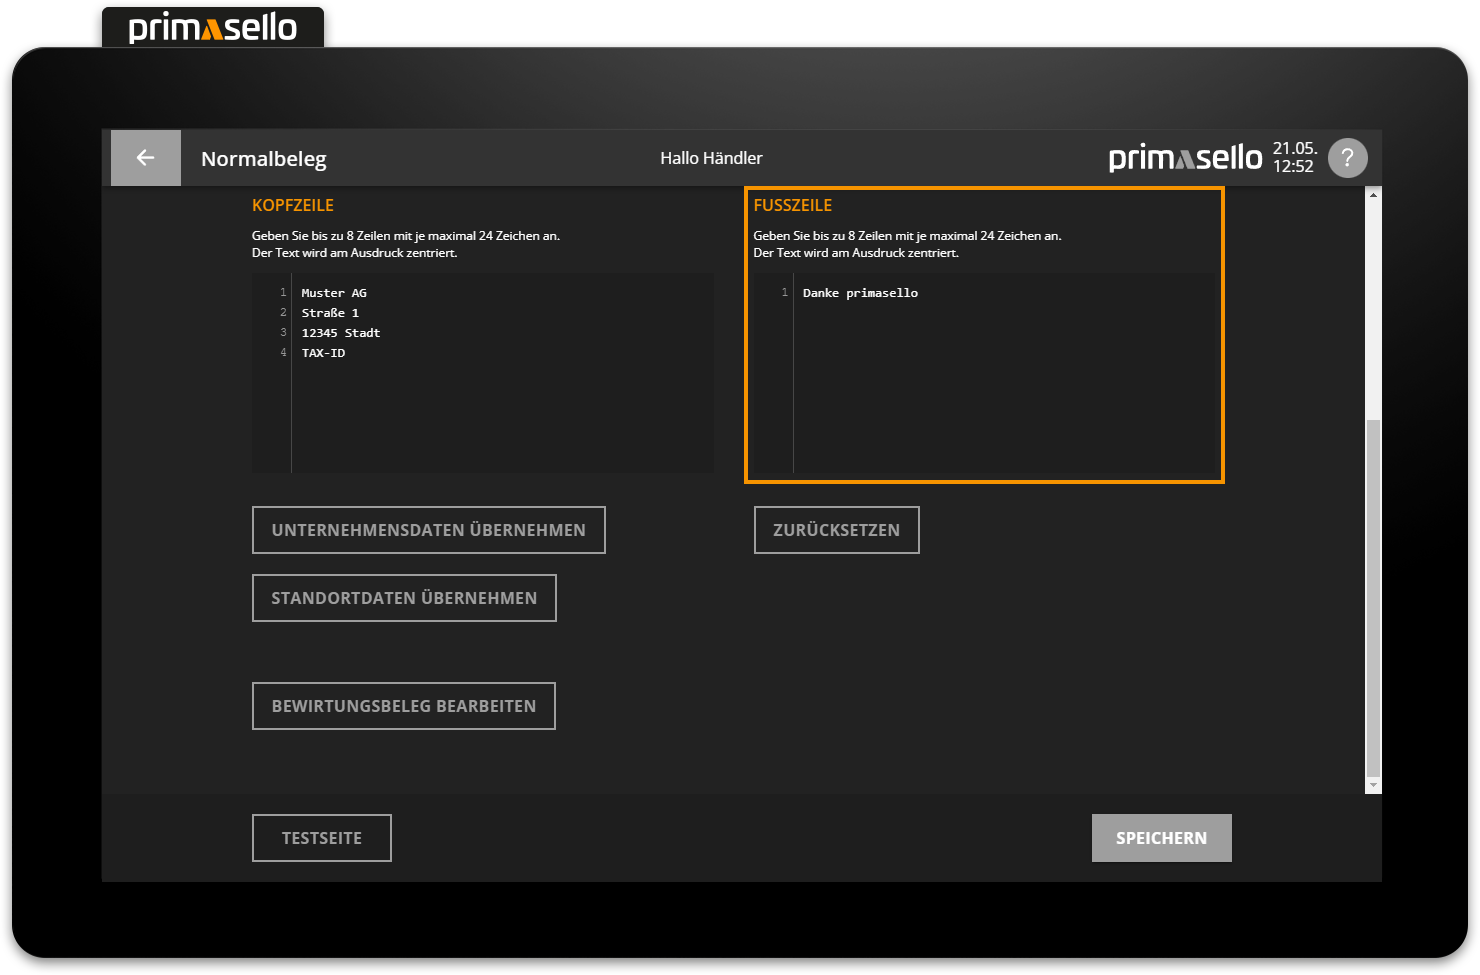
Header
Up to 8 lines can be defined above the actual document printout, which are printed on it as a header. Each line can be up to 24 characters long. The system automatically pre-fills the company data that was entered during the initial setup. You can edit these lines by clicking on them. Once the maximum character length of a line or the maximum line length of the header has been reached, no further entries can be made.

To save the changes, press the orange ‘Save’ button in the lower right corner. After saving, press the ‘Test page’ button to print a demo receipt and view the changed settings.
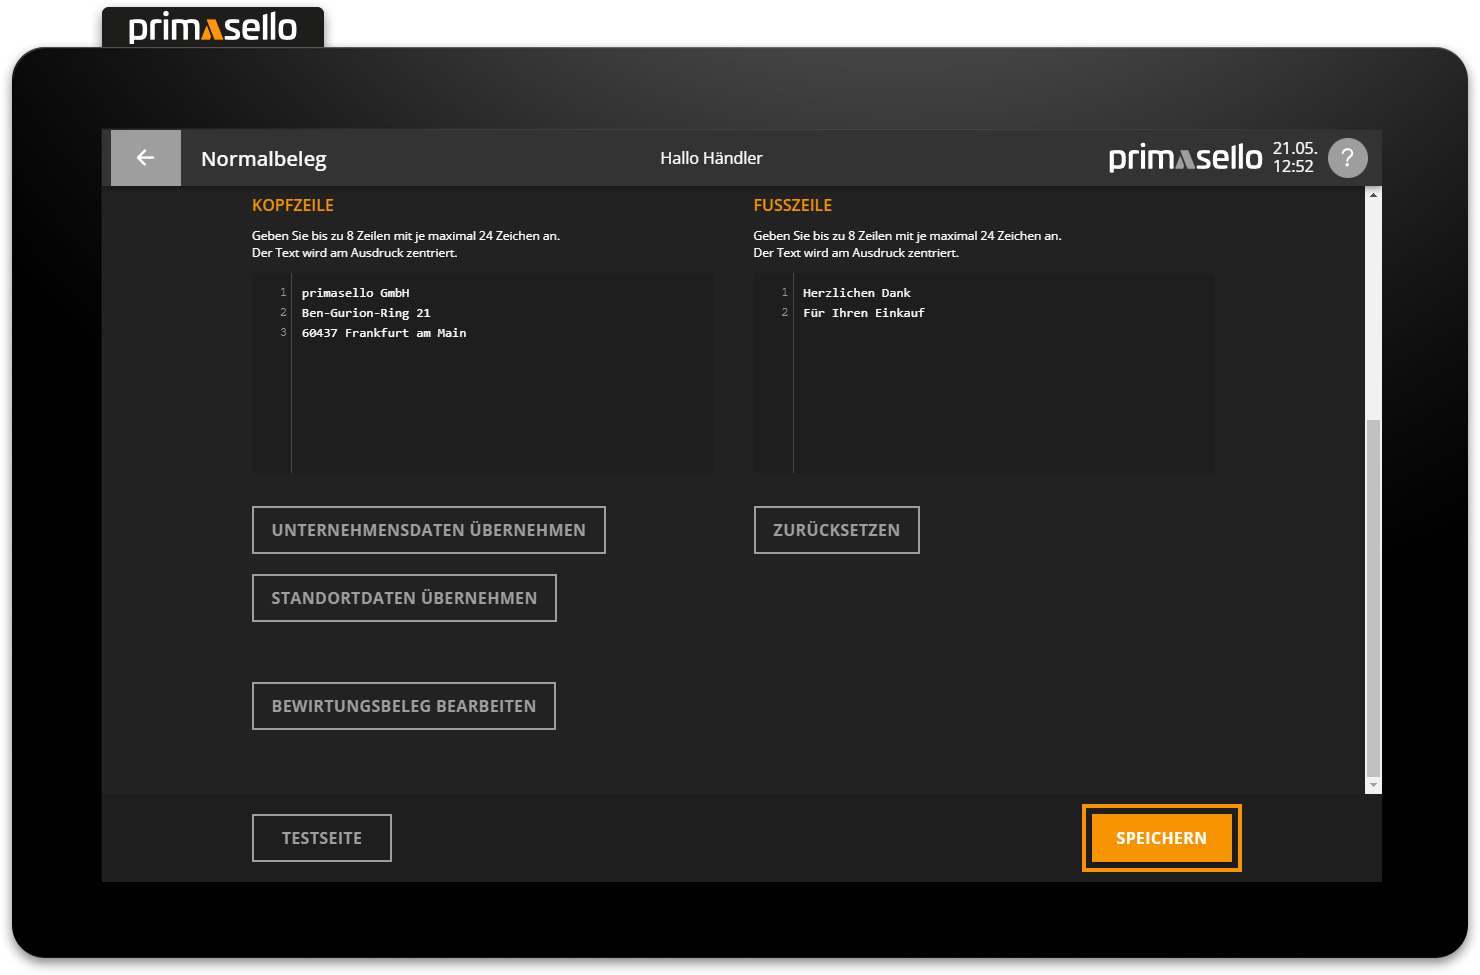
If changes are made to the company data, or if the header is to be reset to the factory settings, the ‘Apply company data’ button can be pressed. This deletes all changes to the header and only the company data currently stored in the master data is printed on the receipt. If the company data contains its own information about the location, this can be transferred to the header using the ‘Apply location data’ button. This button is not displayed if no location data is available.
Company data
How to edit company data and location data is described in the chapter Company Data.
Footer
Up to 8 lines can be defined at the bottom of the receipt, which will be printed on it as a footer. Each line can be up to 24 characters long. The system automatically pre-fills the text ‘Thank you for your purchase’ here. You can edit these lines freely by clicking on one of them. If the maximum character length of a line or the maximum line length of the footer is reached, no further entries can be made.
To save the changes, press the orange ‘Save’ button in the lower right corner. After saving, press the ‘ Test Page’ button to print a demo receipt and view the changed settings.
If you want to reset the footer to the factory settings, press the ‘Reset’ button. This will delete all changes to the footer and only the standard text ‘Thank you for your purchase’ will be printed on the receipt.
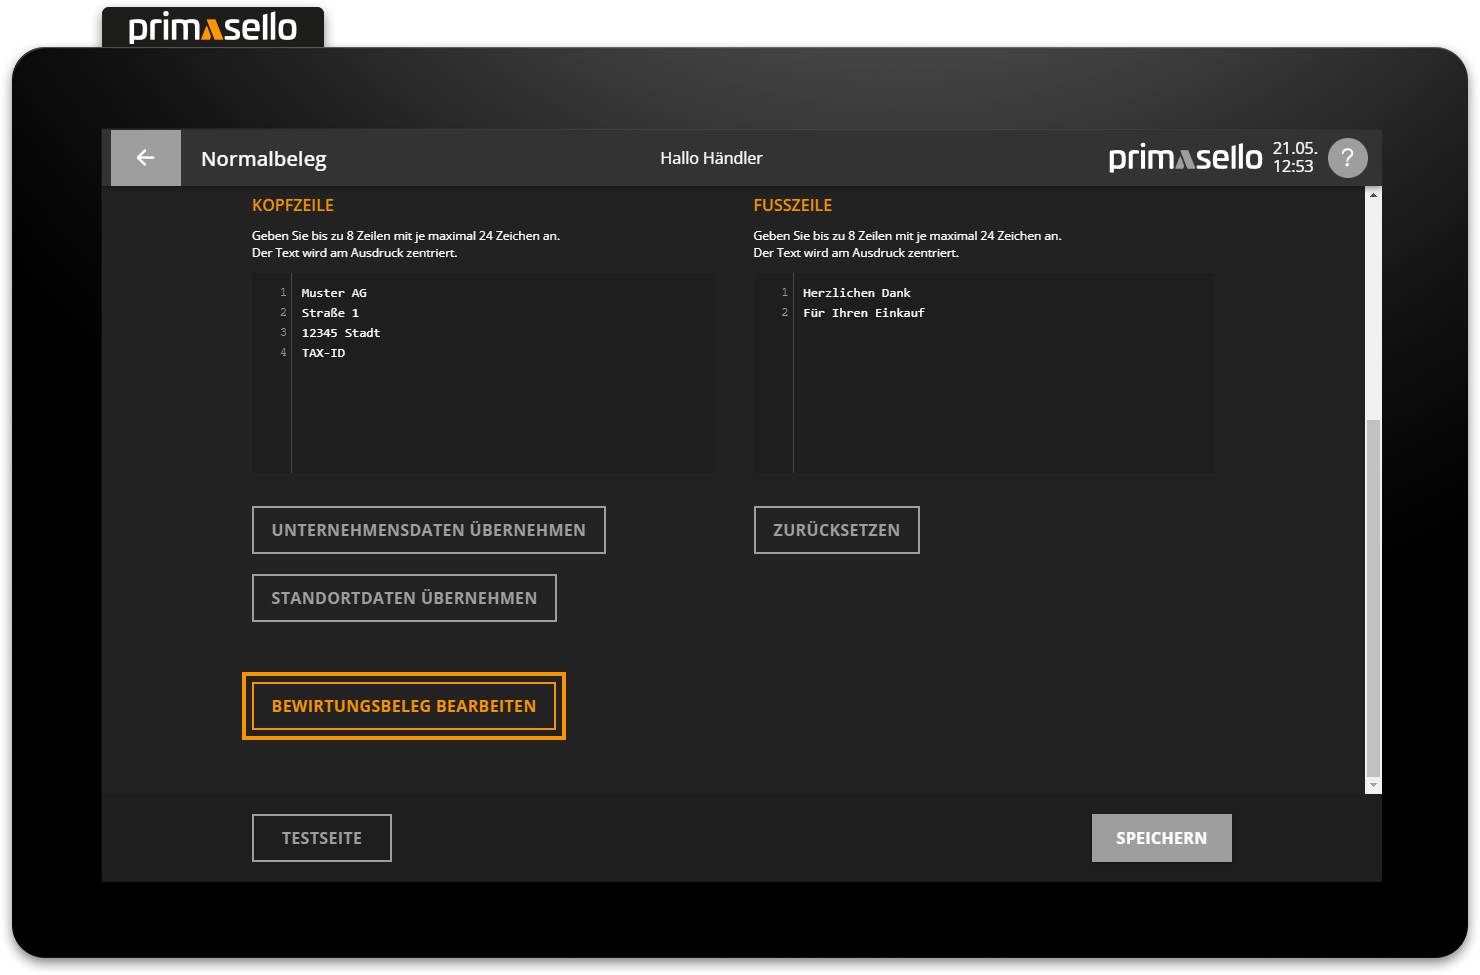
Hospitality receipt
The template for the hospitality receipt can be changed using the ‘Edit hospitality receipt’ button. Pressing this button opens a new window in which the additional imprint for the hospitality receipt can be edited. By default, the legally required sections for printing are pre-filled. However, the template can be edited at any time by clicking within the text area.
To save the changes, press the orange ‘Save’ button in the lower right corner. To exit editing the hospitality receipt template, press the ‘Cancel’ button in the lower right corner – all changes will be lost.
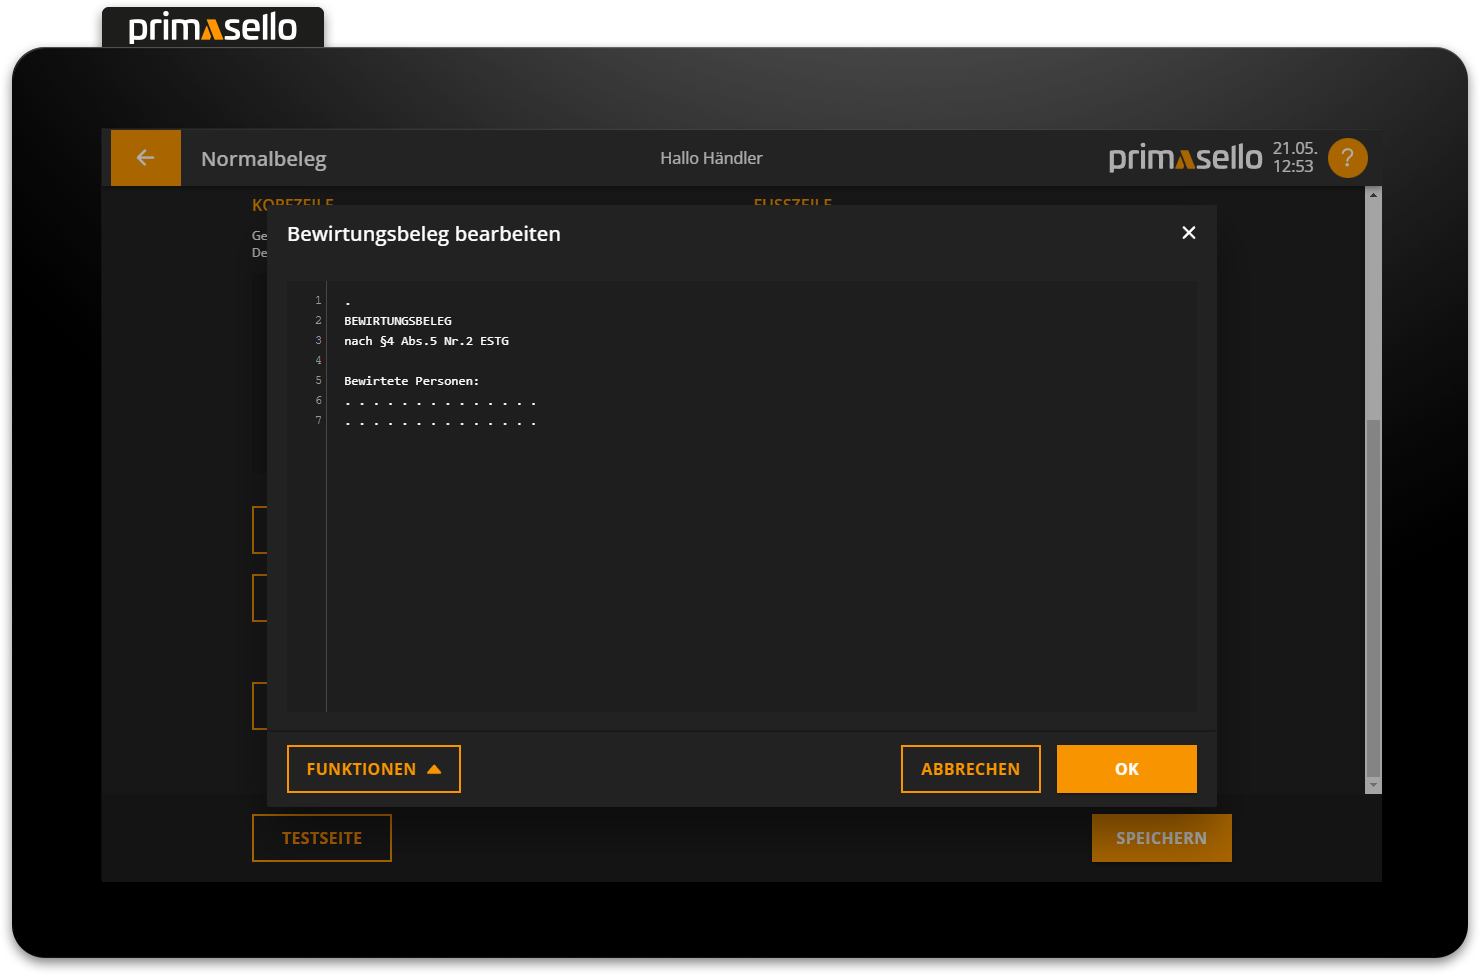
By pressing the ‘Reset’ button in the lower left corner, all changes are deleted and the template is reset to the standard text of the hospitality receipt.