General Programming
Before starting to programme the register interface, all necessary master data should first be created and all adjustments made. Here is a brief introduction to the various instances of master data.
Editing company data
Company data can only be edited after the cash register has been cashed up. If there are receipts that have not yet been archived with a cash up, information about the company, location, cash register and security module can be viewed but not edited, created or deleted.

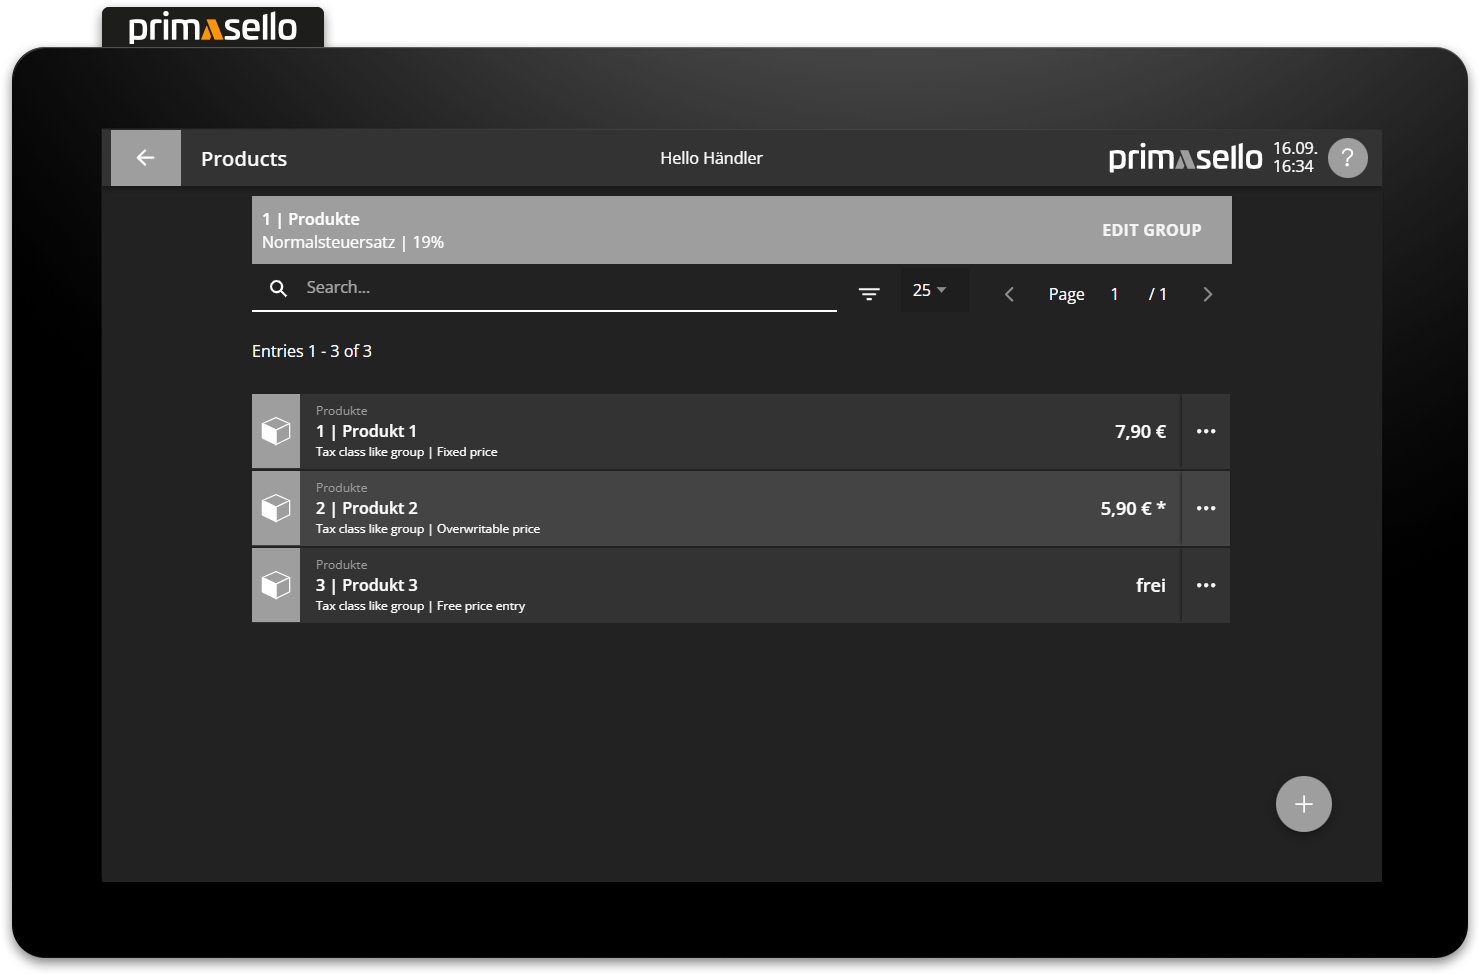
Lists
All entries in the master data are displayed in lists. The number of entries in the list displayed is shown at the beginning of each list (e.g. ‘Entries 1 - 25 of 150’).

Each list has several functions at the top (below the status bar) that make it easier to find entries. Depending on the type of entries, one or more of the following functions are available.
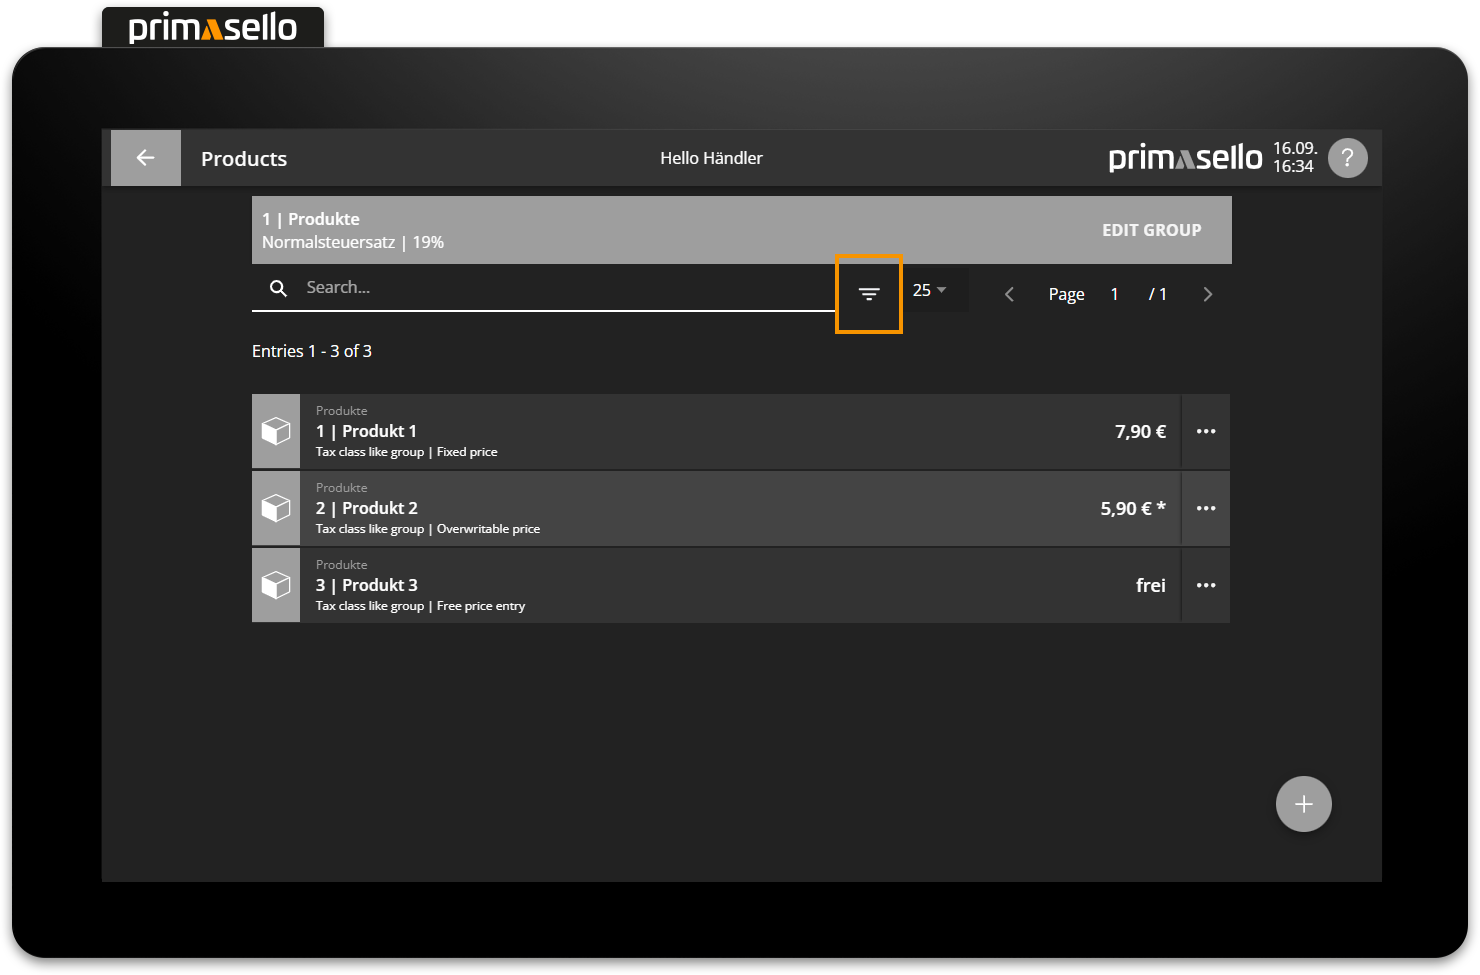
Search bar
The search bar is an input field marked with a magnifying glass icon. By entering text (e.g. product name) or numbers (e.g. item number), the matching entries are displayed in the list below. To end the search, either delete the entry or press the ‘x’ icon at the end of the search bar.

Filter
The filter symbol is located next to the search bar. Pressing this opens the filter options available for this list. Lists can be filtered according to various criteria.
To confirm the selection of one or more filter criteria, press the ‘Submit’ button in the lower left corner of the filter window. The entries in the list will be filtered according to the selected options.
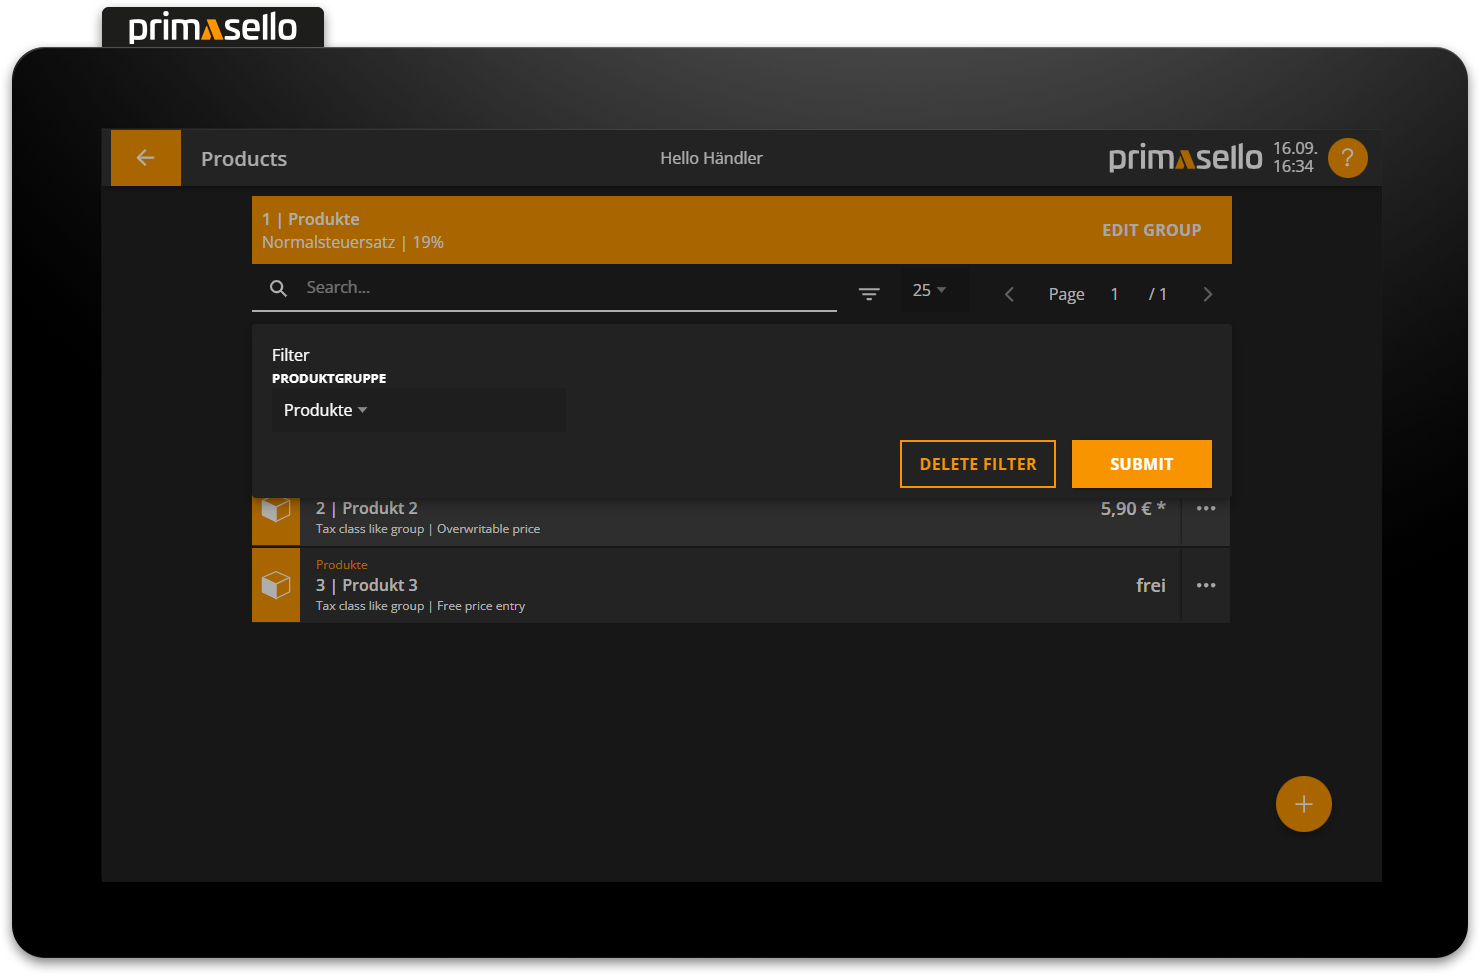
To reset the filter, open the filter window by pressing the ‘Filter’ button again. At the bottom right of this window is the ‘Delete filter’ button, which resets the filter criteria selection and thus clears the filter.
Number of entries per page
The entries per page are limited to 25 entries by default. This number can be changed using the selection field at the right edge of each list. You can choose between 25, 50 or 100 entries per page.

Browse pages
To scroll between the pages of the list, there are two arrow buttons and the current page number on the right-hand side of the screen. If there are more entries stored in the list than the selected number per page, you can switch to the next page by pressing the ‘>’ button. The display at the top of the list is updated to show the entries on that page of the list (e.g. ‘Entries 75 - 100 of 150’).
Entries - Detailed view
Clicking on the entry opens the detailed view.
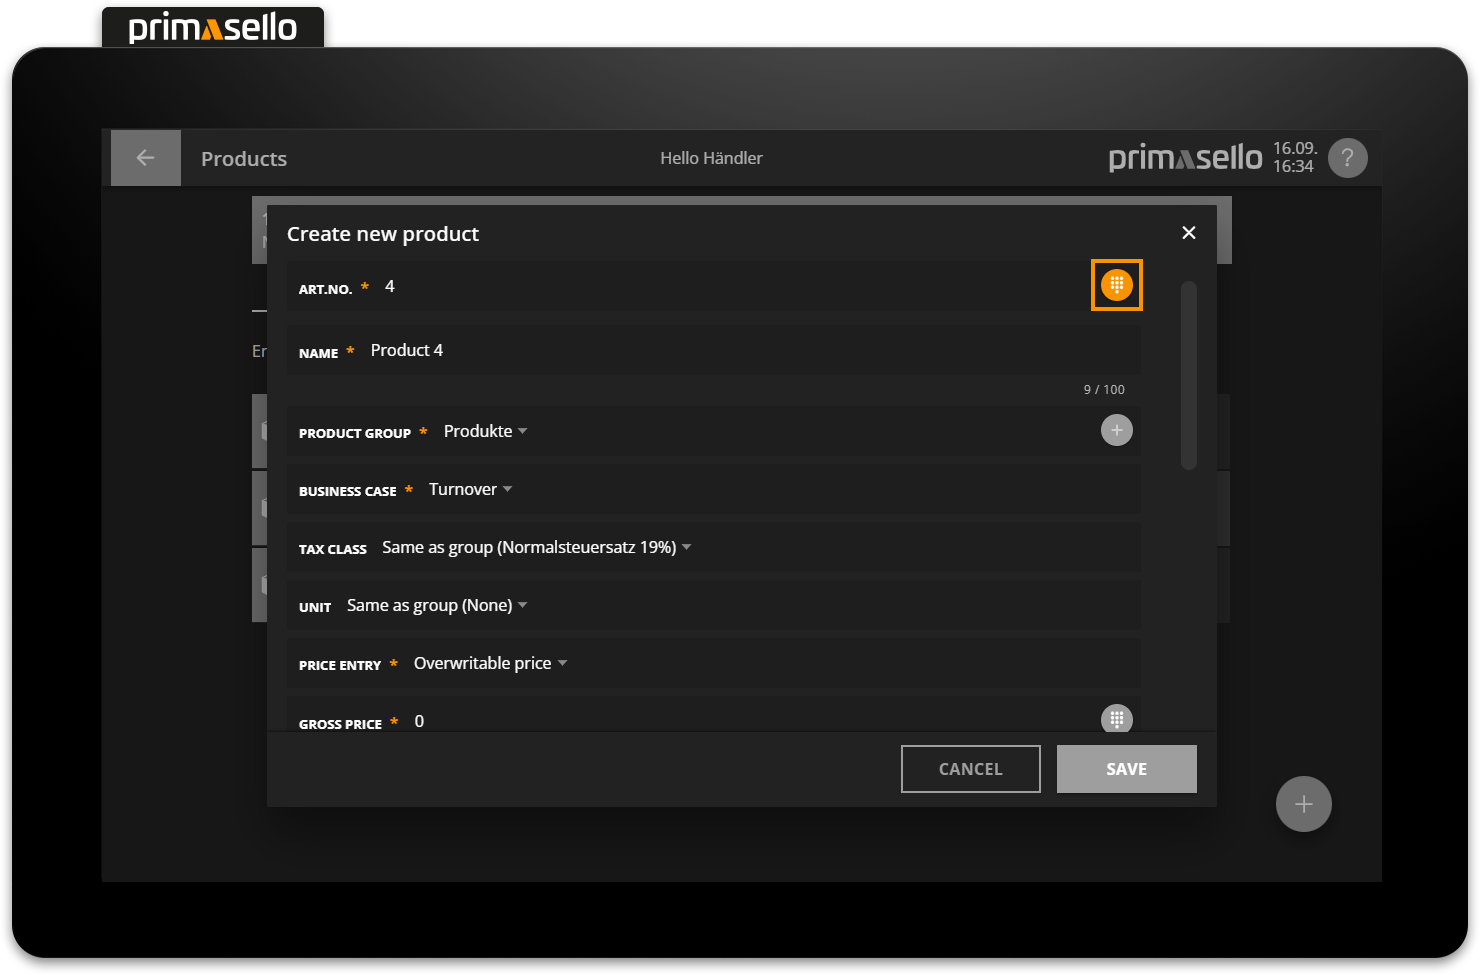
Form fields
When creating a new entry, all form fields are automatically pre-filled with default values and can be edited by clicking on the particular field. Fields marked with an asterisk are mandatory and must be filled in order to save the entry.
The orange ‘Save’ button in the bottom right-hand corner can only be pressed if all form fields have been filled in correctly.
UNBEKANNTER ANHANG
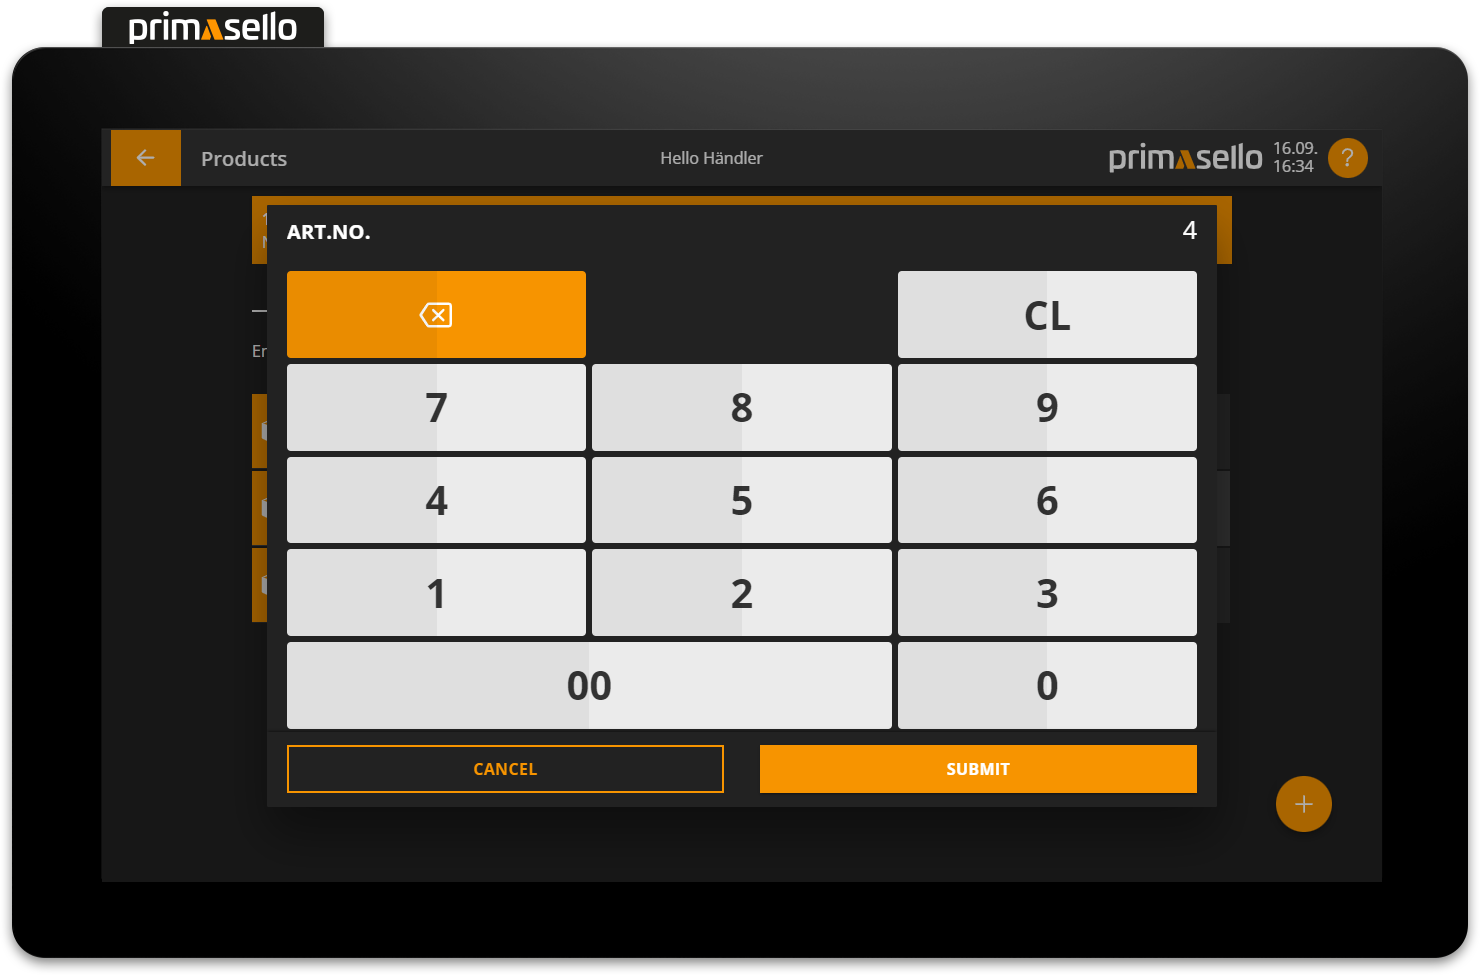
Number input
For fields in which numbers, amounts, percentages or other numerical entries are required, there is a ‘numeric keypad’ button at the end of the form line.
Pressing this opens a new window with the numeric keyboard. All numbers can be entered as usual using this keypad. Amounts are entered in cent (without a comma), while percentages may be entered with a decimal point (with a comma).
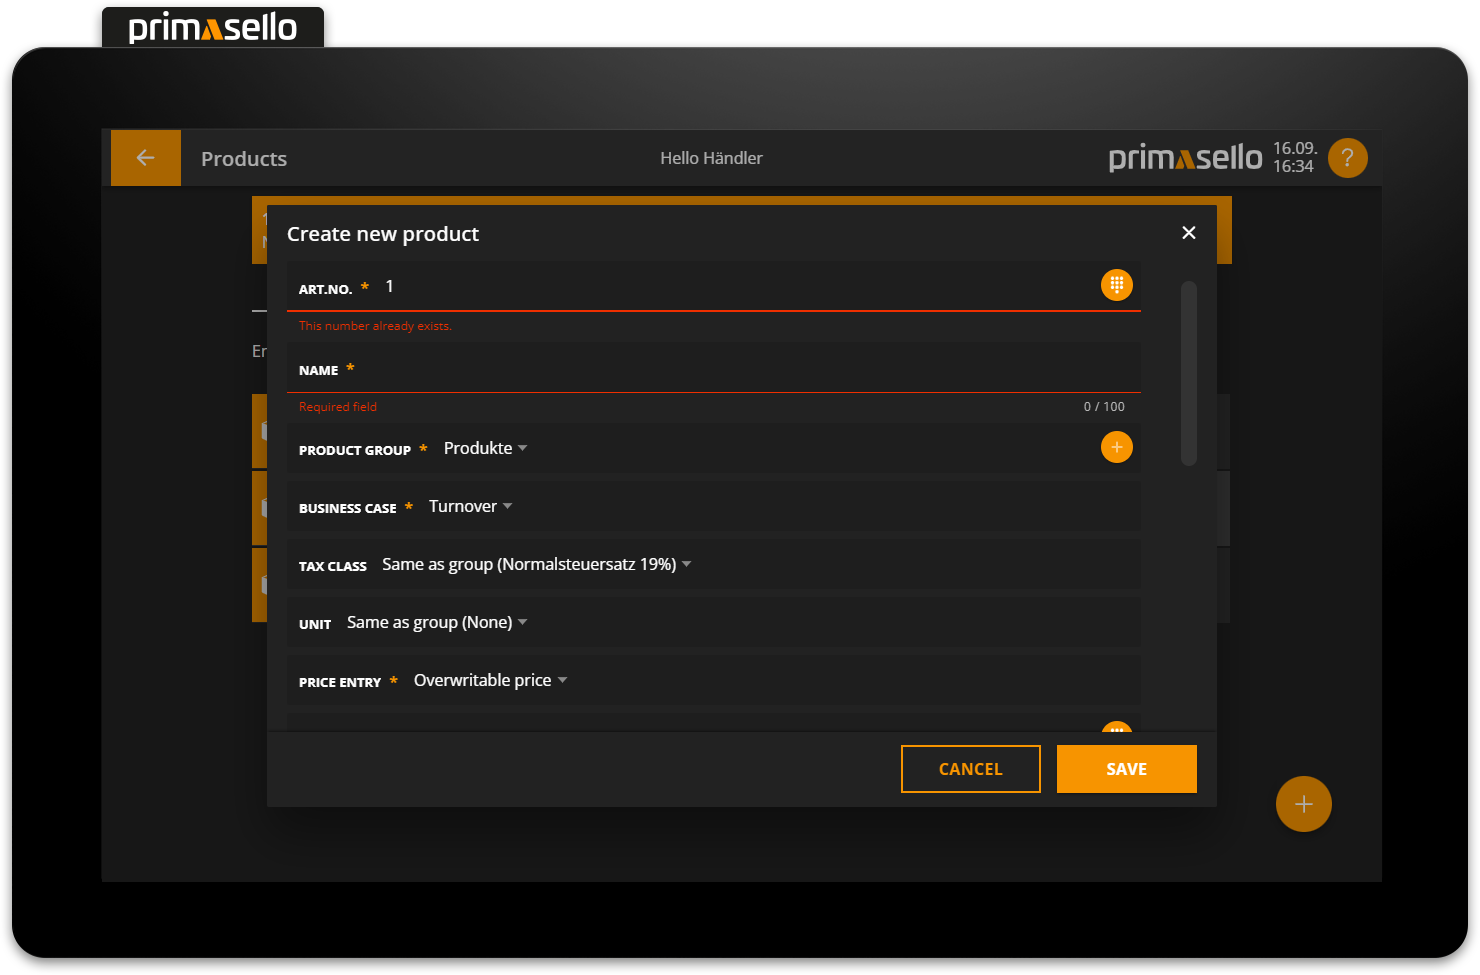
Error messages
If an incorrect or invalid entry has been made in a field, the error is displayed in red.
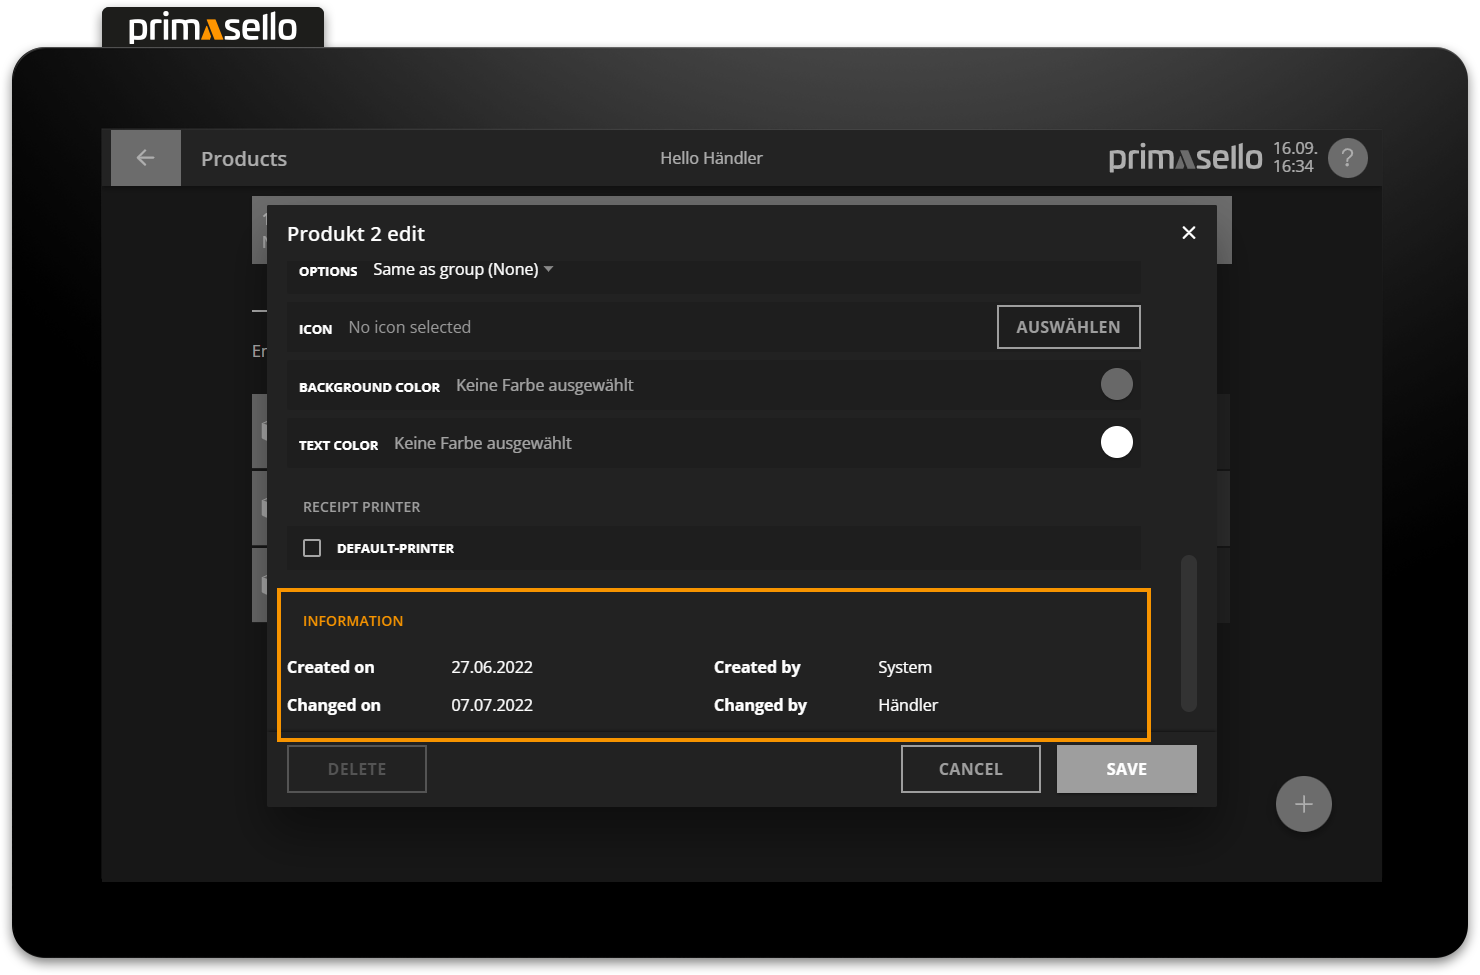
Further information
At the bottom of each detail window, you will find additional information about the entry you have created. This section contains the user and date on which the entry was created, as well as information about the last change made.